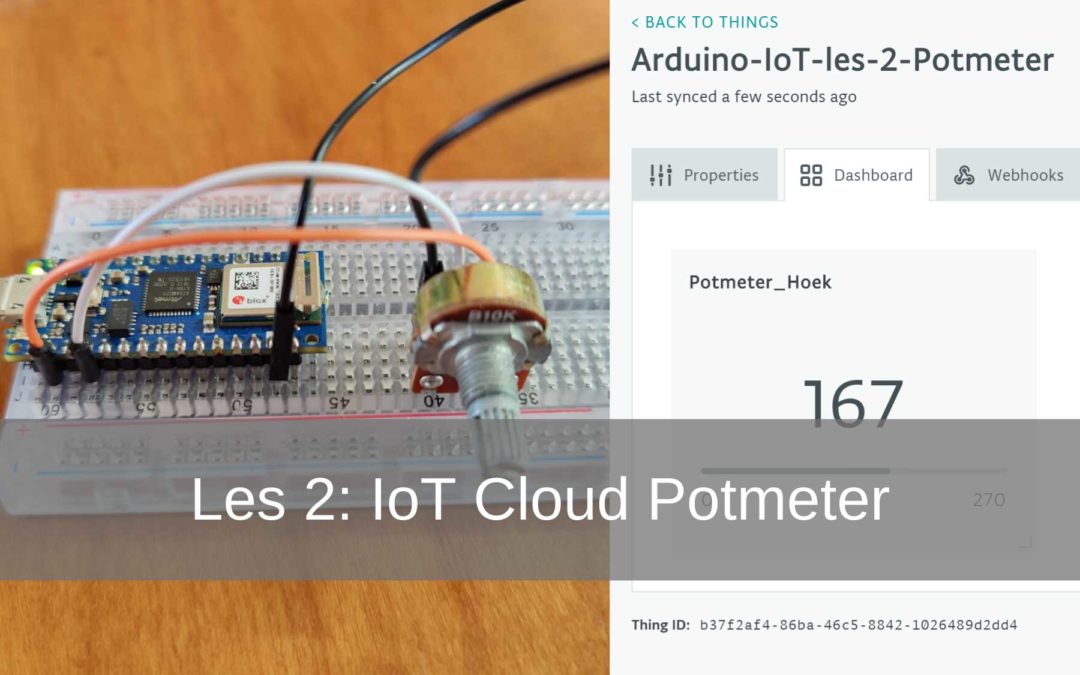
This is the second lesson from the Arduino IoT Cloud manual. Have you not yet taken the first lesson? Check this out HERE. During the first lesson you learned how to turn a light on and off. In this second lesson you will learn how to read the value of a potentiometer and how to display it in the IoT Cloud dashboard.
- Level - Beginner 20%
- Duration - 20 / 30Min 30%
- Costs - € 34,80 complete 25%
Step 1: Requirements
1X Arduino Nano 33 IoT
1X breadboard
3X jumper wires
1X 10K Potentiometer
Arduino Build
Step 2: Setup Arduino Create
For this project we are creating a new “Thing”. You can also use the “Thing” from the previous lesson, but to keep everything clear, let's start over.
If you create a new "Thing" and the same board you will be asked to unlink it. In this project, we've called it "Thing" Arduino-IoT-lesson-2-Potmeter.
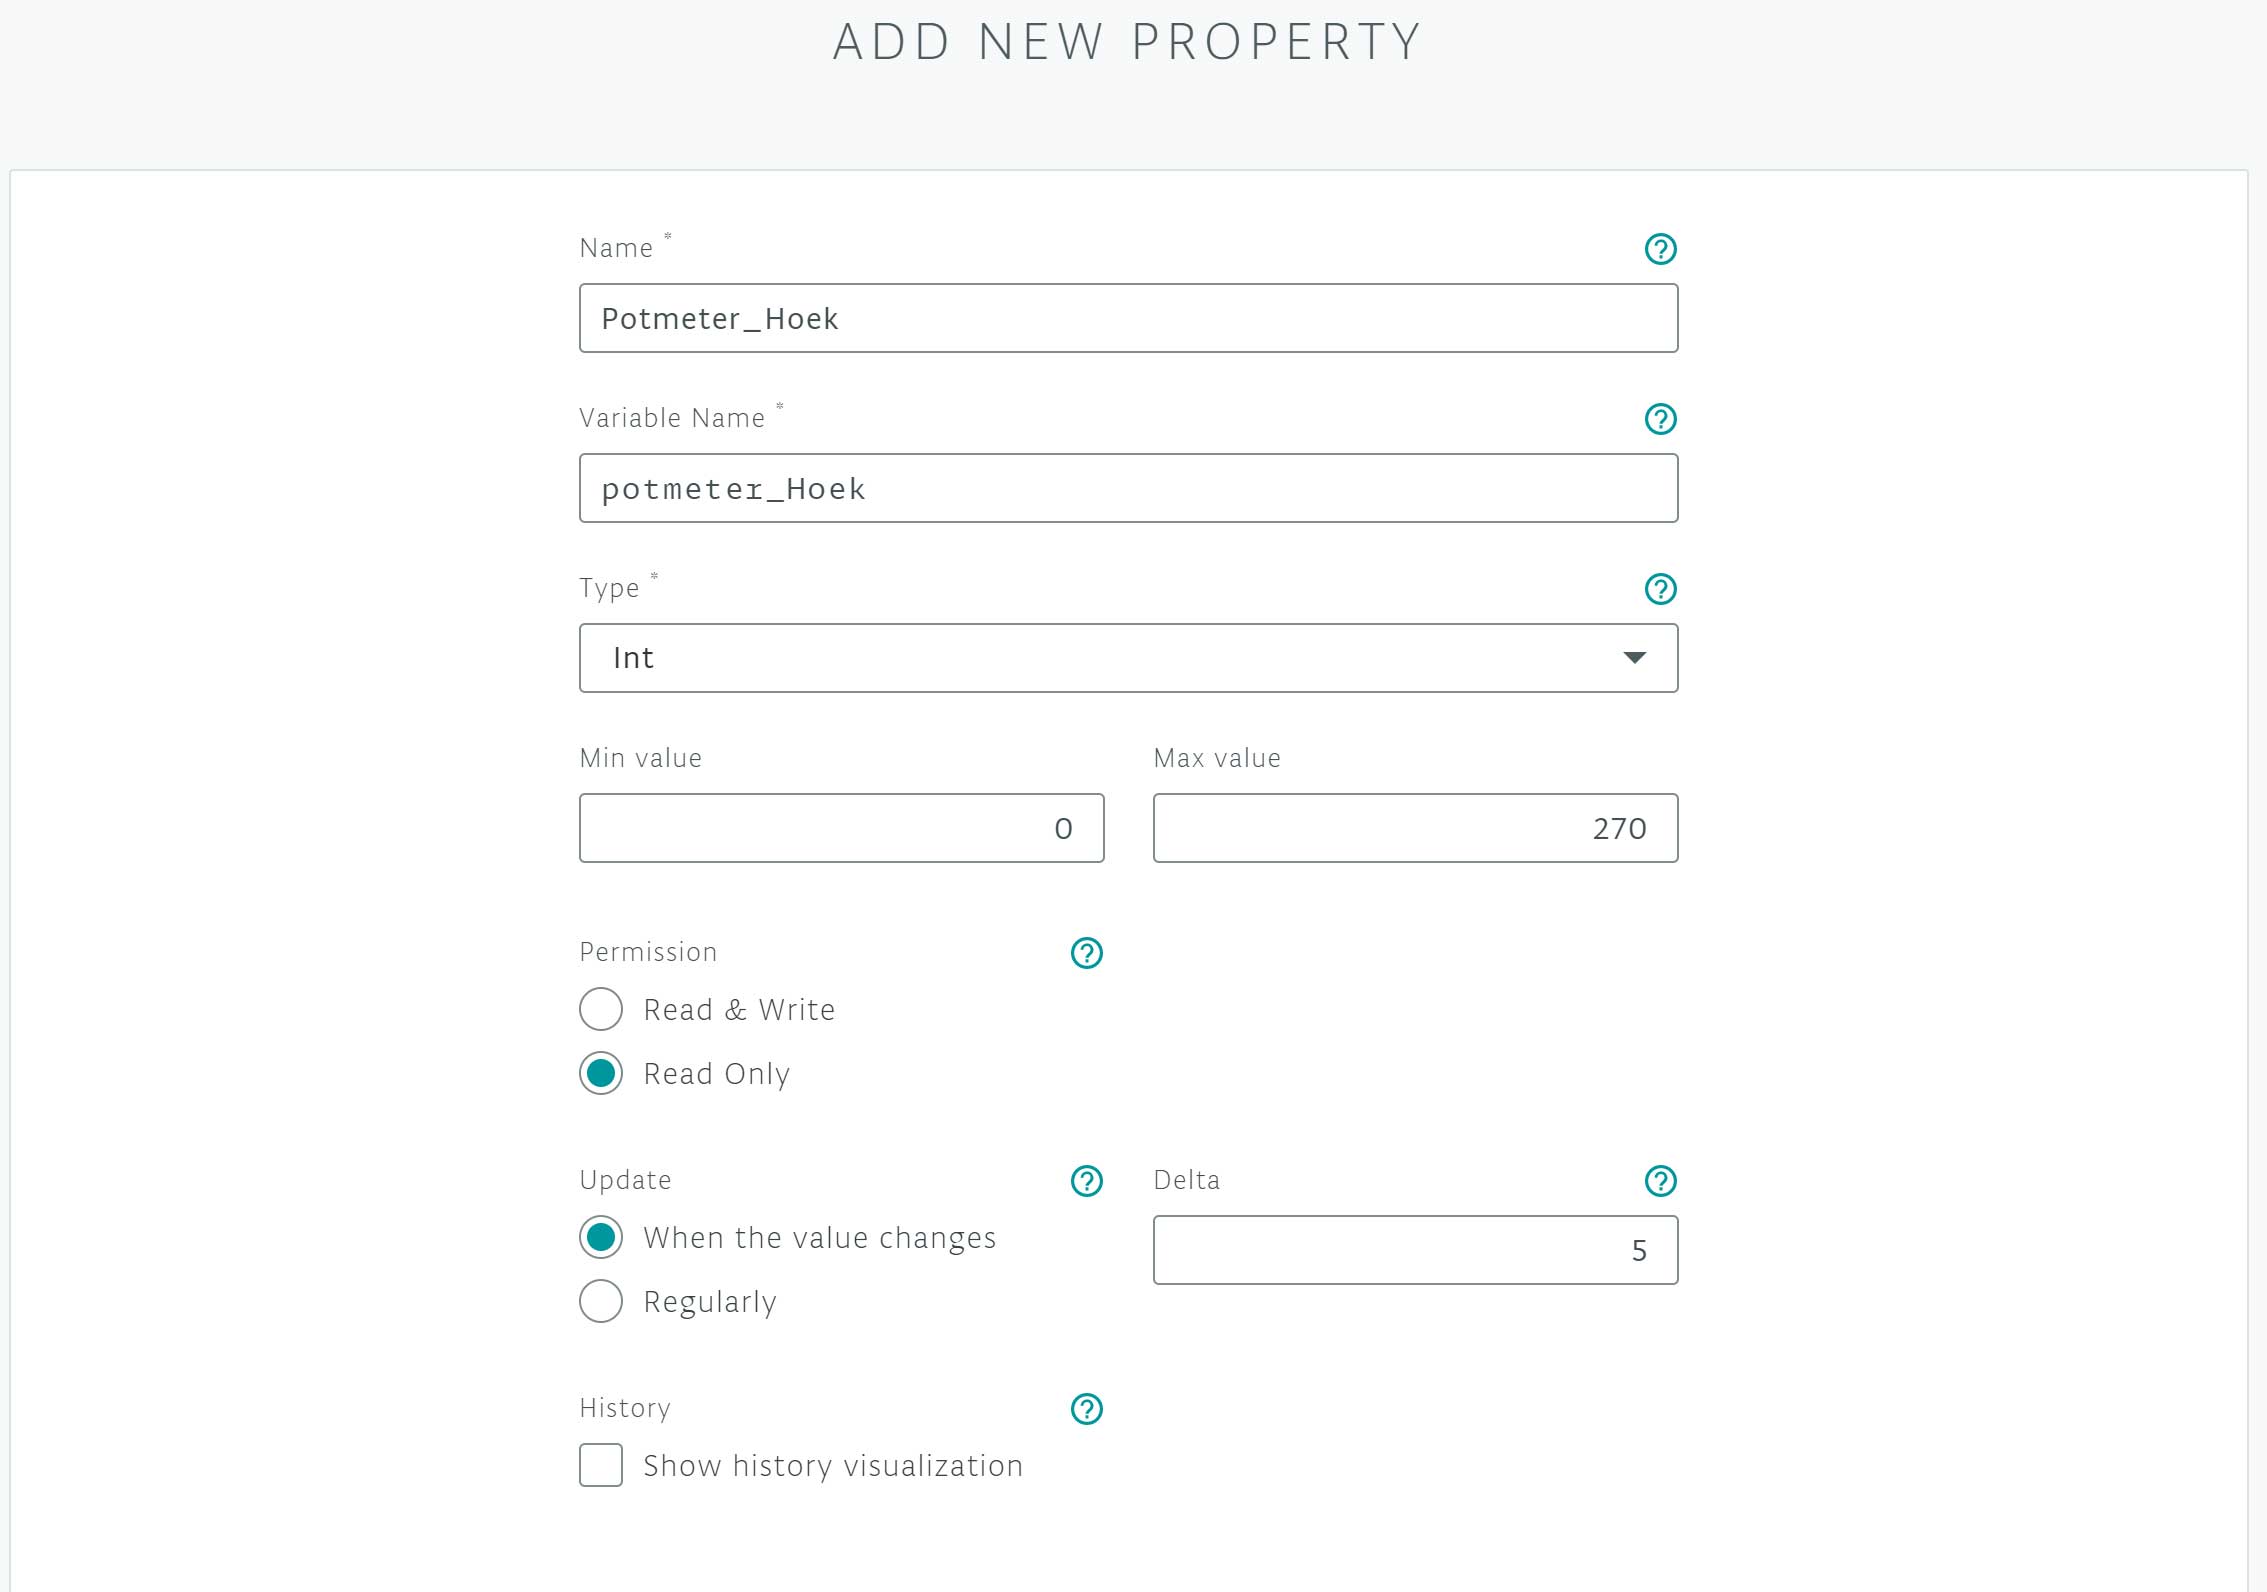
When you have created your ”Thing” you can add another ”property”. In this project the property is a 10K Potmeter. We call this ”property” Potmeter_Angle. At the type we fill ”int" in. We enter 0 at the ”Min Value”. At the ”Max Value” we enter 270.
In this project we select Read only at ”Permission”. We do this because we only have to read the value.
At ”Update” we select ”
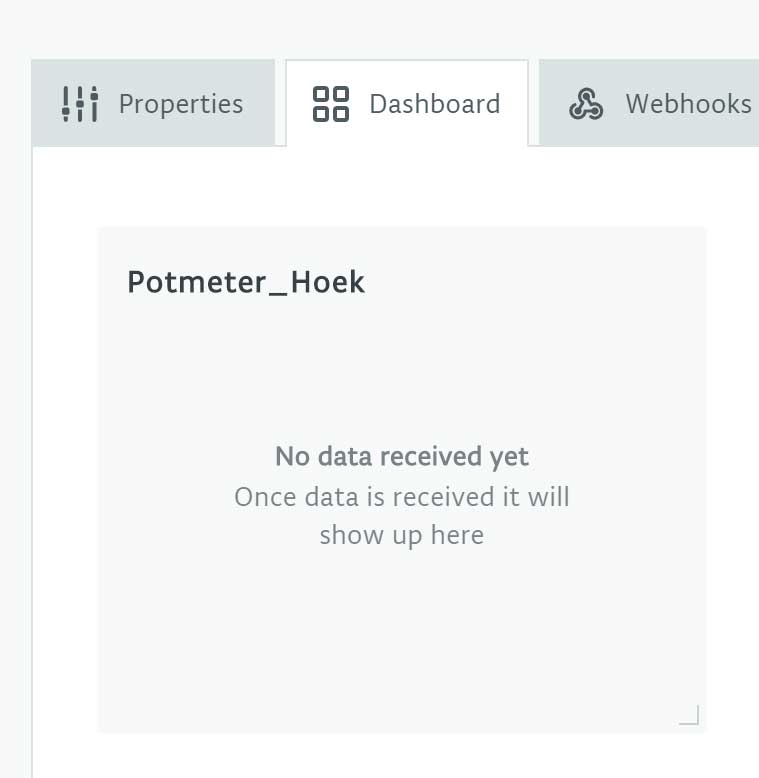
Under the heading ”Dashboard” You can find the newly created property. As you can see, no data is available yet. This is because we have not programmed the Arduino yet. Once the Arduino is properly connected, a value will appear here.
Step 2: Building and Wiring
Now we are going to put the project together.
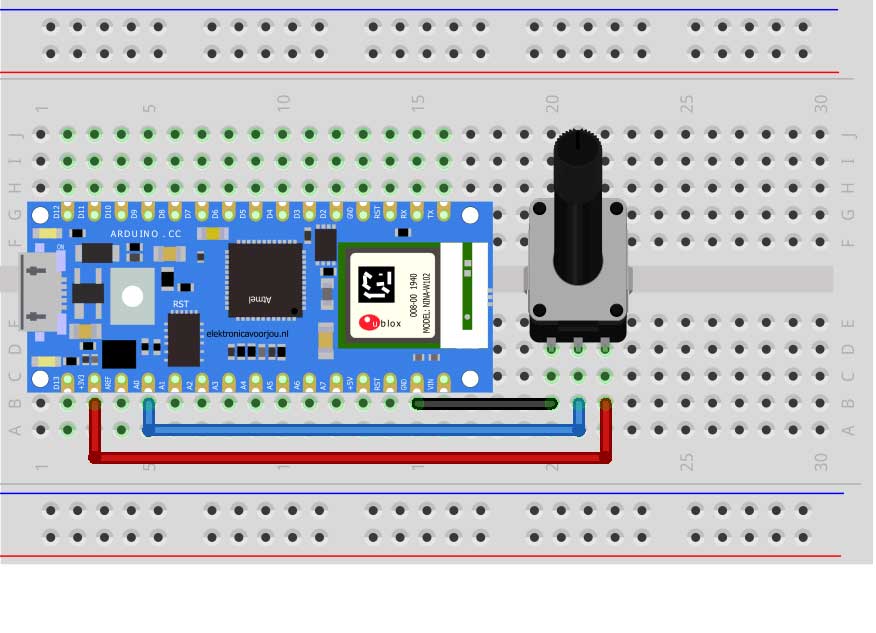
We start by placing the Arduino Nano 33 IoT on the breadboard† In the middle of the breadboard there is a slot. Make sure the pins of the board on both sides of the slot as shown below. Now place the potentiometer and connect the left pin to the GND. Connect the middle pin to A0 and the right pin to the 3.3V. You have now connected the potentiometer correctly and you can start programming.
Step 3: Programming
Now that you have finished wiring and building your Arduino IoT Potentiometer, you can start programming the Arduino Nano 33 IoT. We do this in the same way as in lesson 1.
Below is the code you can use to make the potentiometer work.
#include "thingProperties.h"
#define POTENTIOMETER_PIN A0 // Here we define pin A0 as POTENTIOMETER_PIN
void setup () {
Serial.begin (9600);
delay (1500);
initProperties ();
ArduinoCloud.begin (ArduinoIoTPreferredConnection);
setDebugMessageLevel (2);
ArduinoCloud.printDebugInfo ();
}
void loop () {
ArduinoCloud.update ();
int AngleSensor = analogRead (POTENTIOMETER_PIN); // Here we ensure that the potentiometer is read
potmeter_Hoek = map (AngleSensor, 0, 1023, 0, 270); // Here we indicate what the values of the potentiometer are
}
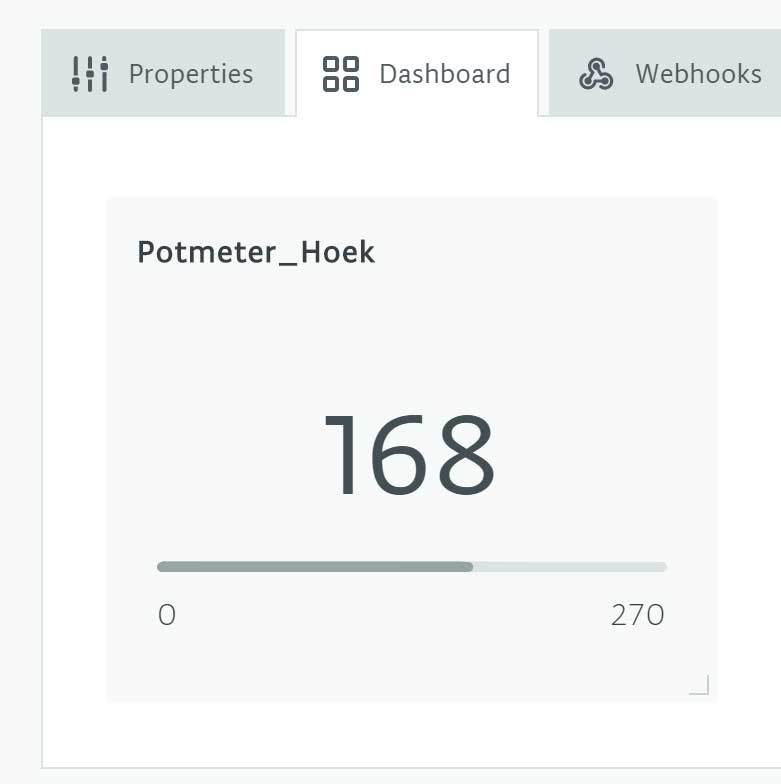
You can now upload this code to the Arduino Nano 33 IoT. If this is successful, select ”Go To IoT Cloud”. In your dashboard you can see the value change live while you turn the potentiometer. You have now successfully completed the second lesson. Now you know how to read a potentiometer via the internet.