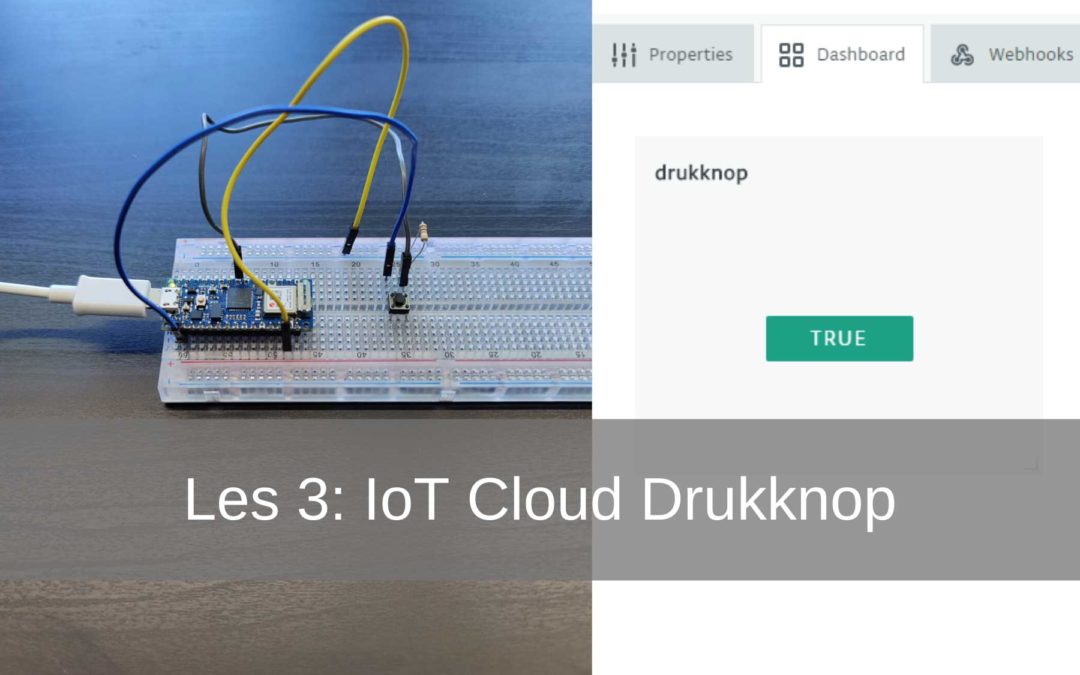
This is the third lesson from the Arduino IoT Cloud manual. Have you not yet taken the first lessons? Check this out HERE. In this lesson you will learn how to see in the Arduino IoT Cloud whether a button is on or off (pressed or not pressed). If you later work with many buttons, you can see the status of this button from the IoT Cloud.
- Level - Beginner 20%
- Duration - 15 / 25Min 25%
- Costs - € 34,05 complete 25%
Step 1: Requirements
1X Arduino Nano 33 IoT
1X breadboard
3X jumper wires
1X Push Button
1X 10K Resistance
Arduino Build
Step 2: Setup Arduino Create
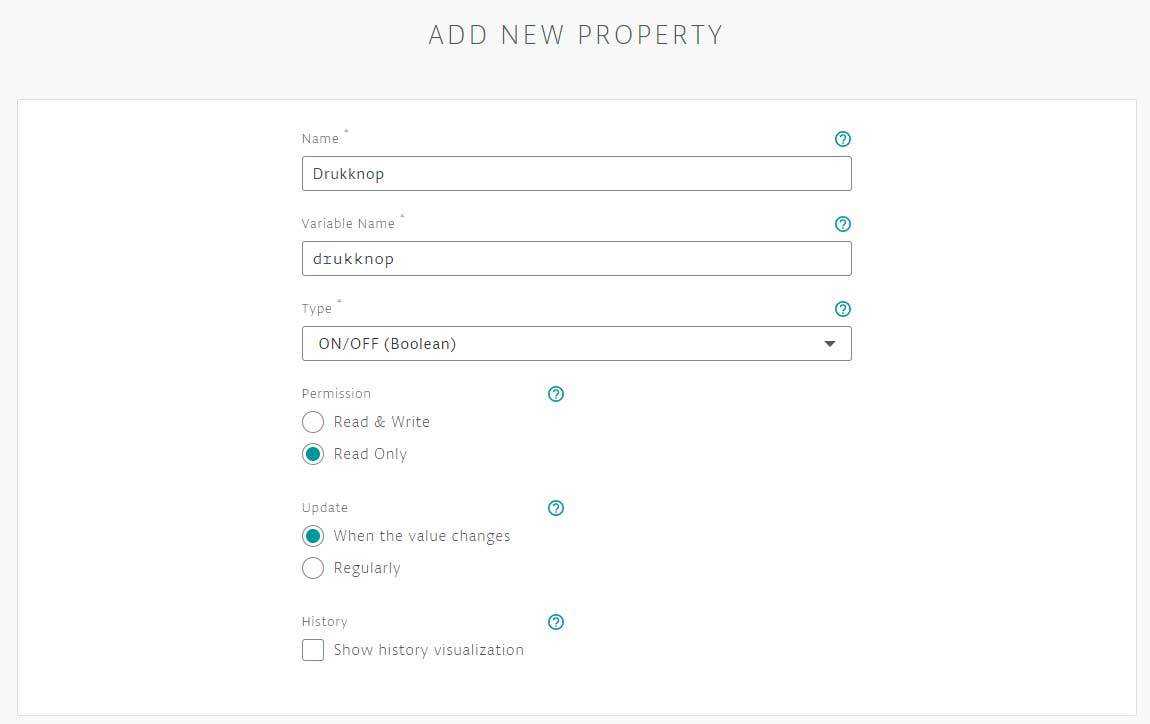
For the project we create a new “Thing”. You can also use one of the “Thing” s from the previous lessons. But to keep everything clear, we are creating a new “Thing” for this project. In this project we have called the ”Thing” Arduino-IoT-Lesson-3-Push Button. When the thing is created we add a property. The property in this case is a Push button. For type we go for the boolean again, but the permission must be read only. We do this because we want to read the physical push button.
Now that we have made the property, we are going to build and wire the circuit.
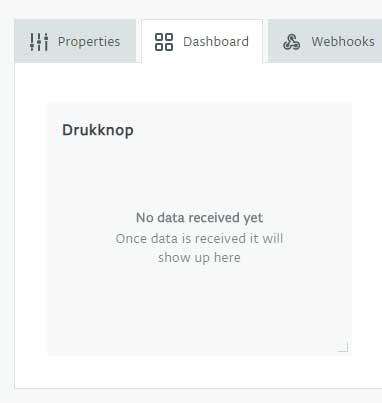
Just like in the previous lesson, you can see that no data has arrived yet. As soon as the code on the Arduino Nano 33 IoT it says "True" or "False". It is generally set to "False", as soon as the button is pressed it changes to "True".
Step 2: Building and Wiring
Now we are going to put the project together.
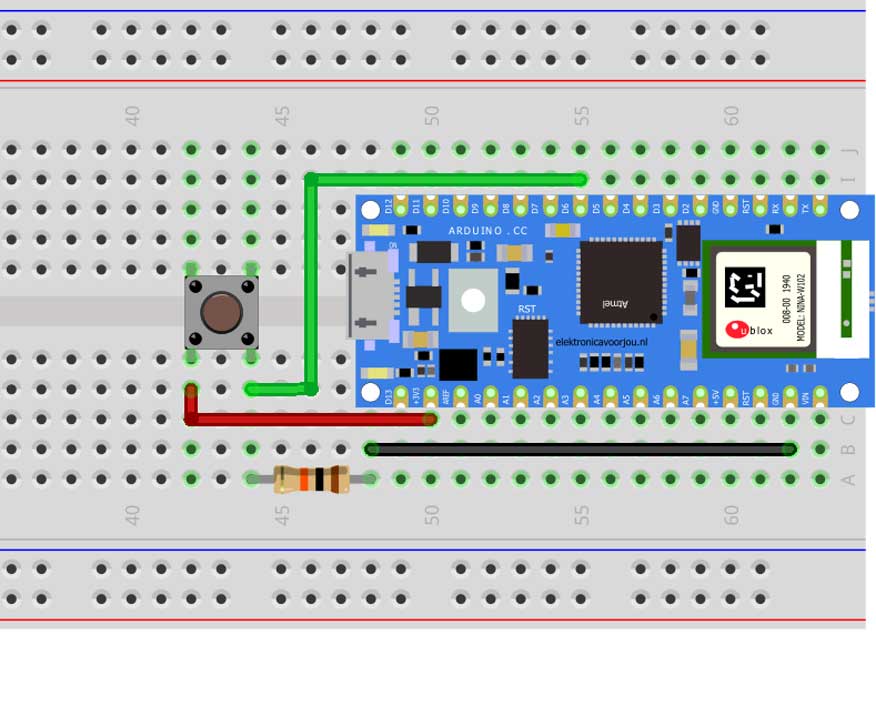
You start by placing the Arduino Nano 33 IoT on the breadboard† In the middle of the breadboard there is a slot. Make sure the pins of the board on both sides of the slot as shown below. The button has 4 connections 2 on each side. Now connect the jumper wires to each pin on one side (see diagram). The button is Normally Open, as soon as the button is pressed a connection is made.
Put the 3,3 volts on the plus side, then we use pin 5 to connect the button. Pin 5 is connected to the negative side of the button. Before connecting the minus to the GND, 10k ohm resistor must be placed between.
Now that you have finished building and wiring the circuit, you can start programming.
Step 3: Programming
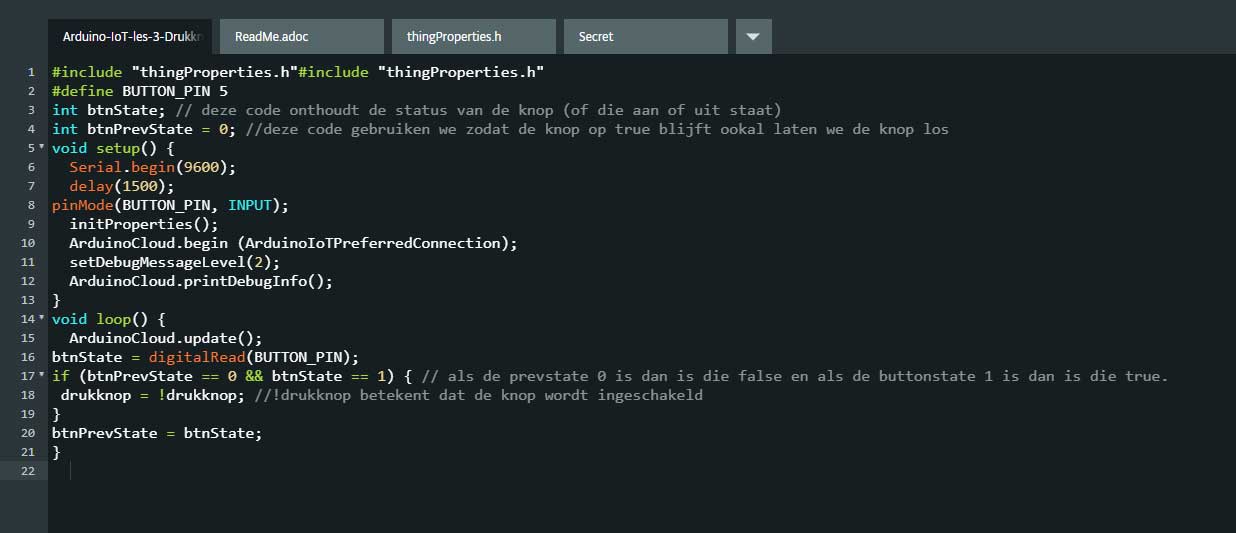
We program the Arduino in the same way as in the previous lessons. The code you will use for this is below. If you want to learn it better, type the code instead of copying and pasting it. You will learn to program better.
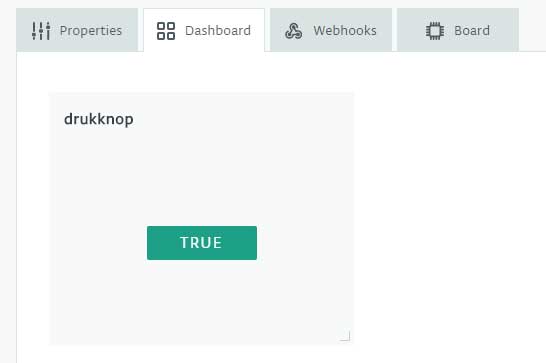
Once you have written the code you can upload it to the Arduino. If this is successful, go back to the IoT Cloud, click on dashboard† If it's right it will say "False". As soon as you press the button, it changes to “True”.
#include "thingProperties.h"
#define BUTTON_PIN 5
int btnState; // this code remembers the button status (whether it is on or off)
int btnPrevState = 0; // we use this code so that the button remains true even if we release the button
void setup () {
Serial.begin (9600);
delay (1500);
pinMode (BUTTON_PIN, INPUT);
initProperties ();
ArduinoCloud.begin(ArduinoIoTPreferredConnection);
setDebugMessageLevel (2);
ArduinoCloud.printDebugInfo ();
}
void loop () {
ArduinoCloud.update ();
btnState = digitalRead (BUTTON_PIN);
if (btnPrevState == 0 && btnState == 1) {// if the prevstate is 0 then it is false and if the buttonstate is 1 then it is true.
push button =! push button; //! push button means the button is turned on
}
btnPrevState = btnState;
}
Now you know how to read data from a push button via the Arduino IoT Cloud!