
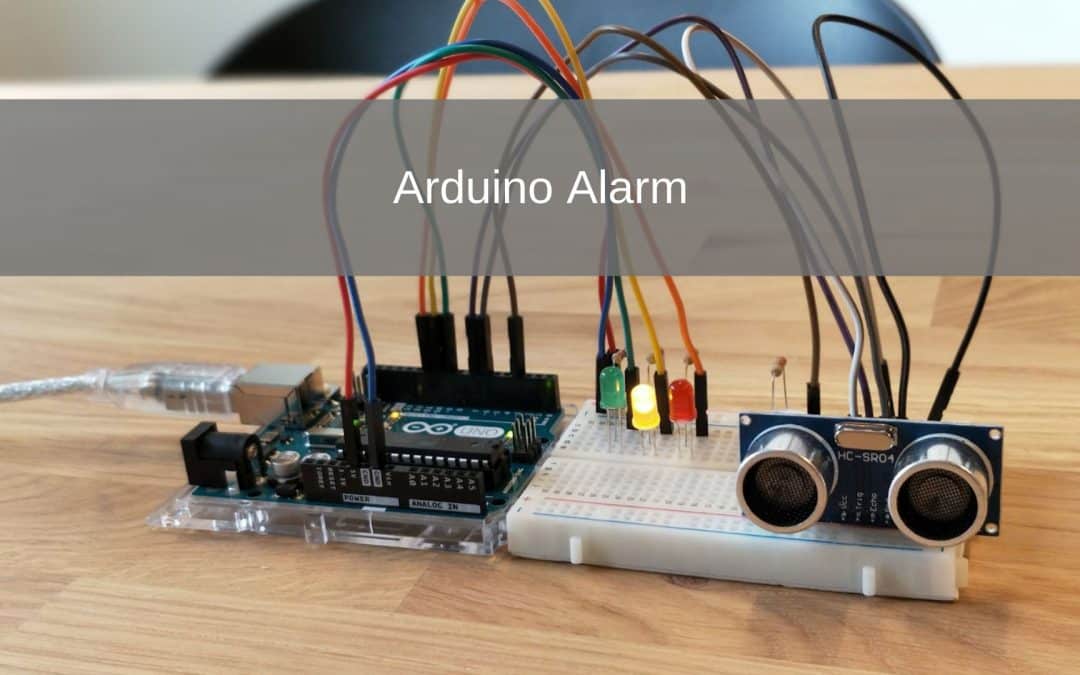
In this project you will learn how to make an Arduino alarm yourself
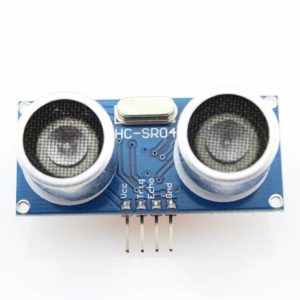
This is a nice project for your room, you can put it almost anywhere and it is easy to adapt to the environment by the simple code. You will also learn to work with the HC-SR04.
In this project we use the HC-SR04 ultrasonic sensor, a buzzer and 3 different color LEDs. With the ultrasonic sensor we measure the distance of an object or person. If this person comes too close, an alarm will sound and a red LED will light up.
- Level - Basic 25%
- Duration - 45/75 Min 40%
- Costs - € 48.85 euros complete 40%
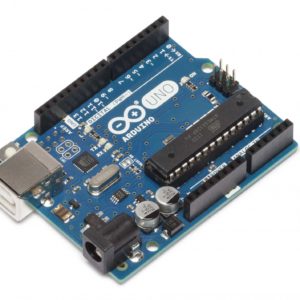
Step 1: Requirements for the Arduino Alarm

Step 2: Build and Wire the Alarm
Now we are going to build the project.
We start with wiring and placing the components on the breadboard do this according to the photo below make sure that the ultrasonic sensor is pointing in the right direction so off the breadboard off. Then the 3 LEDs and buzzer need a resistor. So that the voltage does not become too high and blows up the components. You must pay attention to which pin of the LEDs and buzzer the resistor is connected to. The long pin of the LEDs and buzzer is the + this can be wired directly to the Arduino pins according to the schematic. We connect the resistors to the – (the short pin) of the LEDs and buzzer. These resistors are connected in parallel on the – row of the breadboard connected. Make sure you connect these components in the right way, otherwise your Arduino Alarm will not work! Then connect the other jumper wires according to the diagram.
It is also important that you connect the right components to the right Arduino pins, otherwise the code will not work!
Trig -> pin 7
Echo -> pin 6
Buzzer + -> pin 3
Red LED + -> pin 11
Yellow LED + -> pin 10
Green LED + -> pin 9

Step 3: Programming an Arduino alarm

#define trigPin 7 //#define gives a name to the connection points we use.
#define echoPin 6
#define greenLed 9
#define yellowLed 10
#define redLed 11
#define buzzer 3
int sound = 500; //Here we create a variable for the Hertz (hz) that the buzzer will sound.
void setup ()
{
Serial.begin(9600); //Here we prepare the connection points and the serial monitor
pinMode (trigPin, OUTPUT);
pinMode (echoPin, INPUT);
pinMode(greenLed,OUTPUT);
pinMode(yellowLed, OUTPUT);
pinMode(redLed, OUTPUT);
pinMode (buzzer, OUTPUT);
}
void loop ()
{
long duration; //Here we create two more variables for the distance and the duration that the signal from the sensor is on the way.
long distance;
digitalWrite(trigPin, LOW); //Here we calculate with the duration of the signal what the distance to the object is.
delayMicroseconds (2);
digitalWrite (trigPin, HIGH);
delayMicroseconds (10);
digitalWrite (trigPin, LOW);
duration = pulseIn(echoPin, HIGH);
distance = (duration / 2) / 29.1;
Serial.print(distance); //Here we write the distance on the serial monitor
Serial.println ("cm");
if(distance > 50) //If the distance is large then 50cm:
{
digitalWrite(greenLed, HIGH);
digitalWrite(yellowLed, LOW);
digitalWrite(redLed, LOW);
}
else if(distance < 50 || distance > 10) //If the distance is between 50 and 10 cm:
{
digitalWrite(greenLed, LOW);
digitalWrite(yellowLed, HIGH);
digitalWrite(redLed, LOW);
}
else if(distance < 10) //If the distance is less than 10cm:
{
digitalWrite(greenLed, LOW);
digitalWrite(yellowLed, LOW);
digitalWrite(redLed, HIGH);
tone(buzzer, sound);
delay (100);
noTone (buzzer);
}
else if(distance <=0) //If distance is less than or equal to 0: (error message)
{
Serial.println("Out of range");
tone(buzzer, sound);
delay (500);
noTone (buzzer);
}
delay (300);
}
You now have a working Arduino alarm!
Hi, my son and I have recreated this circuit (without buzzer). We had to change a few things in the code to get things working: Instead of all #define's at the beginning, we immediately turned it into int's with an assignment. (so 'int trigPin = 7 ; ' etc.)
But the most important change: In the check whether yellow should be lit, the code above states 'distance 10', we have changed this to 'distance 10' by adding the '||' replace with '&&', that will make everything work according to plan.
Nicely made I do have a question I try to make it on an arduino leonardo. with a push button and with a counter when you get close. do you know how best to apply that in the code?