4.7 avg.
5183+ reviews5183+ reviews
Order by 16:00 for same day shipping
14 days return
EN
Individual
Business
Arduino project: I2C LCD
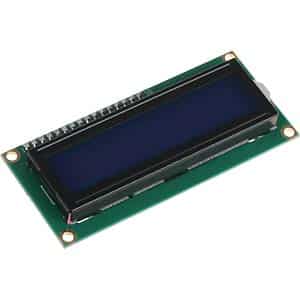
In this project I explain how to connect an I2C LCD.
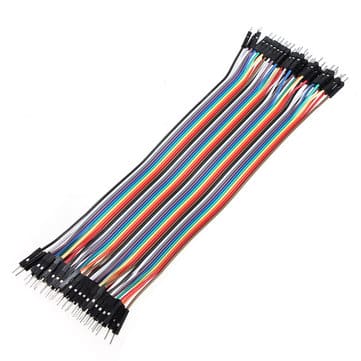
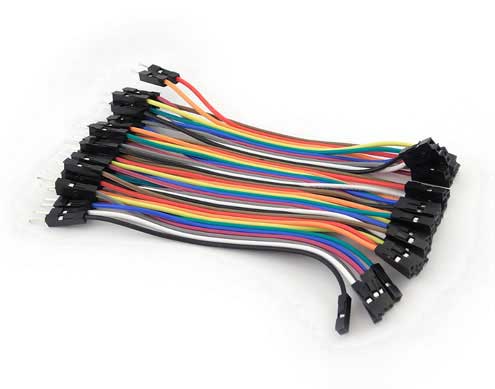
I will also show you how to put text on an LCD and how to make it move. The display we use is connected via the I2C on the back, which means we only need 4 jumper wires.
We also do not need to connect a potentiometer because it is built into the I2C module. We can adjust this by turning it more to the left or more to the right with a screwdriver, by doing this we change the brightness of the screen.
Building and Wiring
Once you have collected all the parts you can connect them together.
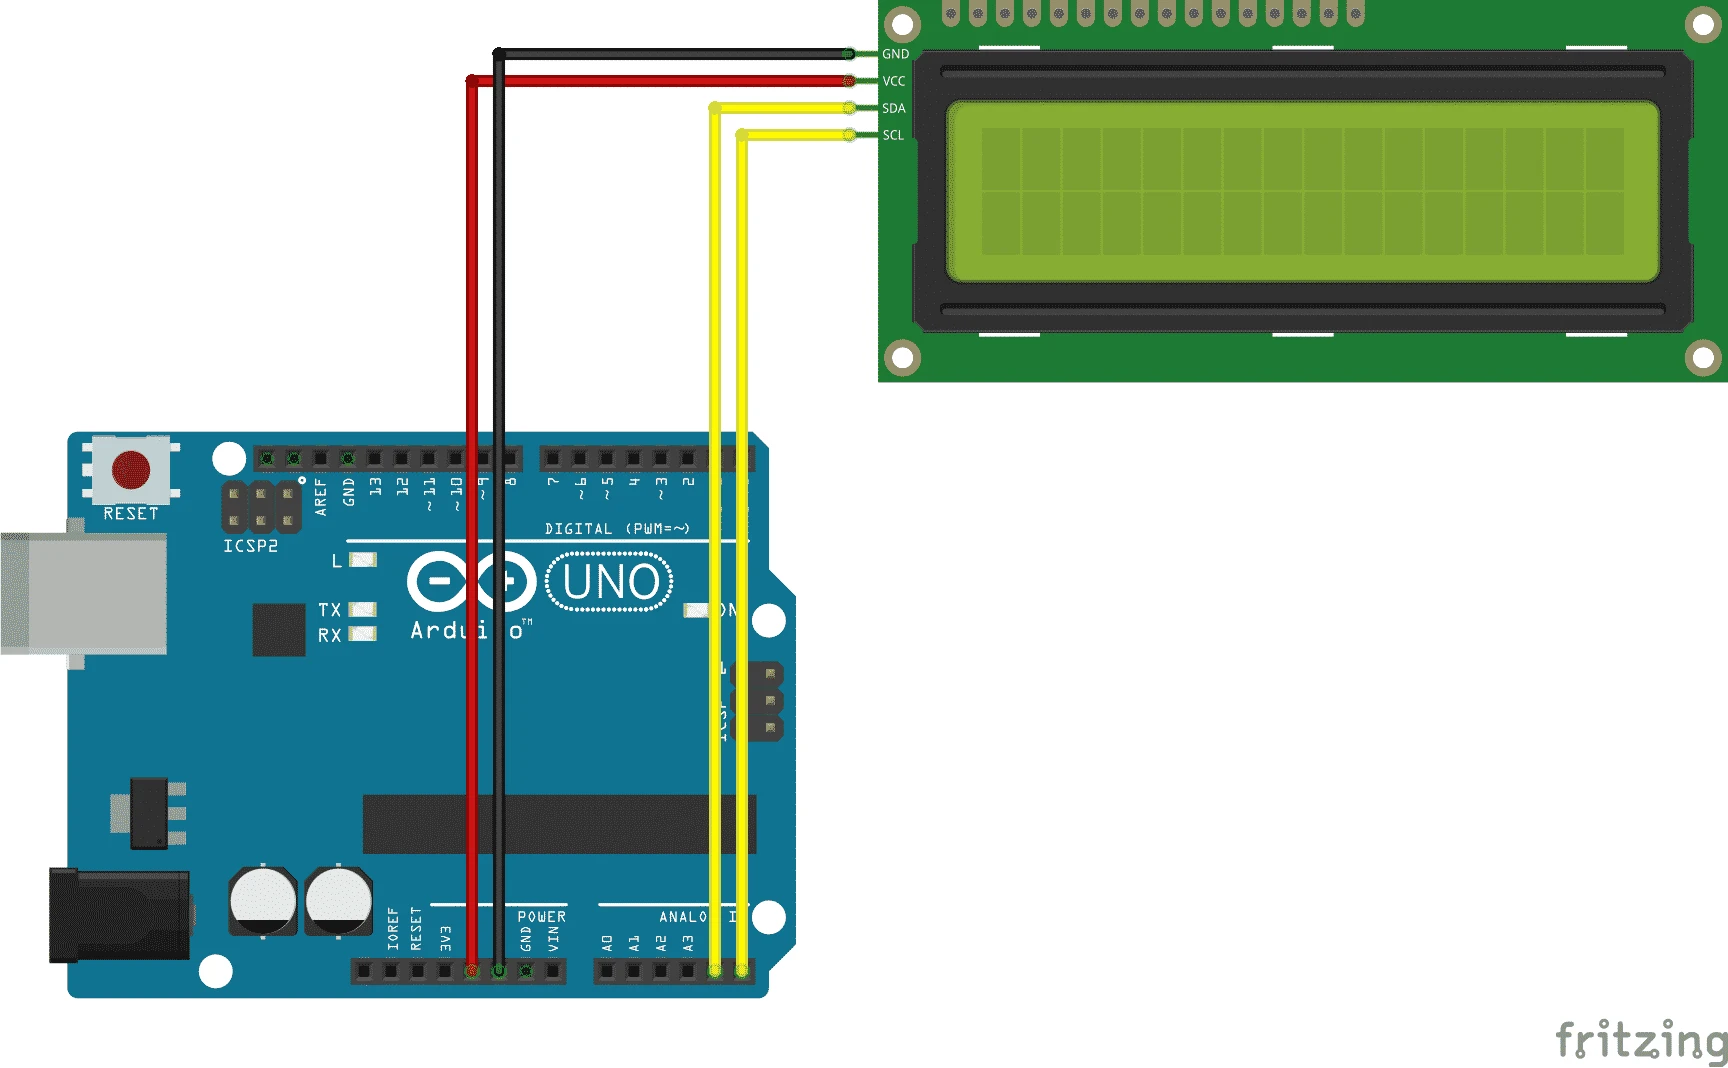
To connect the Arduino to the display you need to put a jumper wire from 5V into the VCC of the display. Once you have done that put a jumper wire from the GND of the Arduino to the GND of the display. Then connect another jumper wire from A4 to the SDA pin on the display and a jumper wire from A5 to the SCL pin on the display.
The reason you use A4 and A5 is because these are the SDA and SCL pins of the Arduino UNO. Where A4 is the SDA pin and A5 is the SCL pin.
Once you have connected everything you can proceed to step 3 programming.
Programming
#include <LiquidCrystal_I2C.h>
#include <Wire.h>

//hier zetten we alle componenten op een pin
int sensor = A0;
int led1 = 2;
int led2 = 3;
int led3 = 4;
int led4 = 5;
int led5 = 6;
int Value = 0;

void setup(){
//Pinnen geven een puls
pinMode(led1, OUTPUT);
pinMode(led2, OUTPUT);
pinMode(led3, OUTPUT);
pinMode(led4, OUTPUT);
pinMode(led5, OUTPUT);
}

void loop(){
//Leest A0
Value = analogRead(sensor);
delay(100);

//als waar 110 of hoger is gaat lampje aan
if(Value >= 110){
digitalWrite(led1, HIGH);
}else{
//anders gaat hij uit
digitalWrite(led1, LOW);
}
if(Value >= 125){
digitalWrite(led2, HIGH);
}else{
digitalWrite(led2, LOW);
}
if(Value >= 140){
digitalWrite(led3, HIGH);
}else{
digitalWrite(led3, LOW);
}
if(Value >= 155){
digitalWrite(led4, HIGH);
}else{
digitalWrite(led4, LOW);
}
if(Value >= 170){
digitalWrite(led5, HIGH);
}else{
digitalWrite(led5, LOW);
}
}