4.7 avg.
5182+ reviews5182+ reviews
Order by 16:00 for same day shipping
14 days return
EN
Individual
Business
Arduino Project: RGB LED Lamp
Building and Wiring
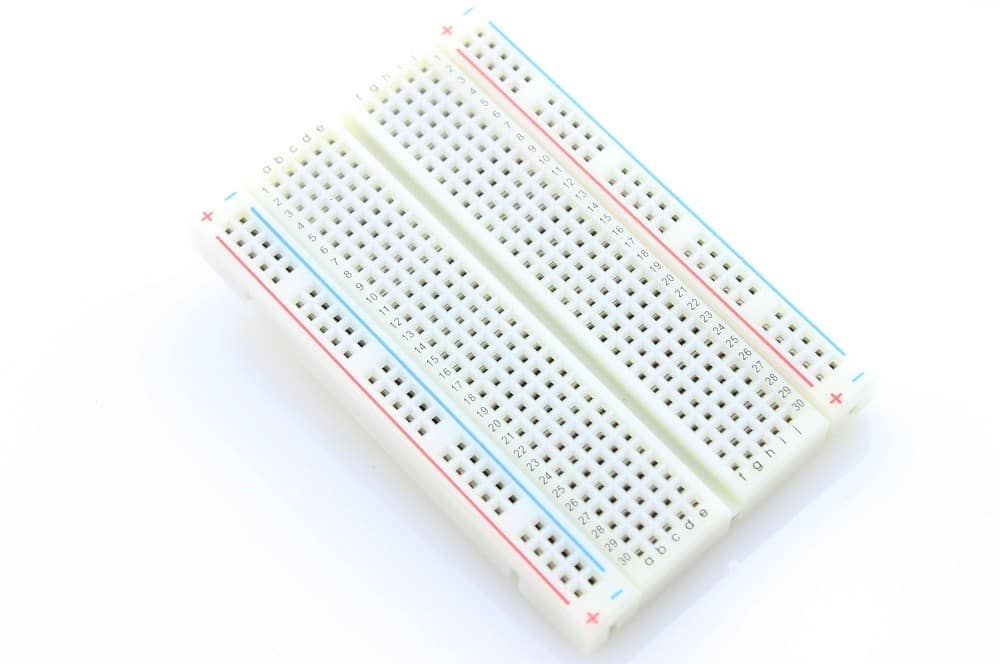
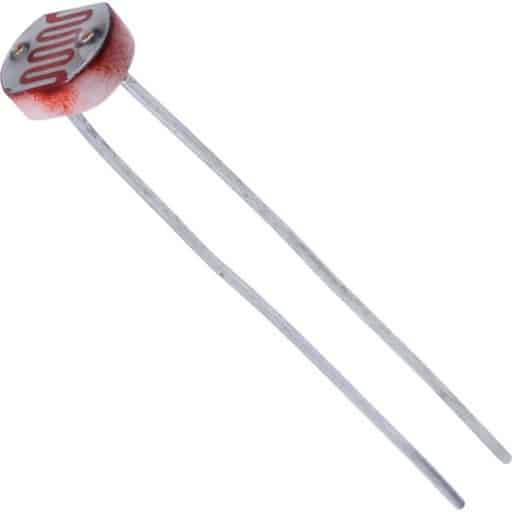
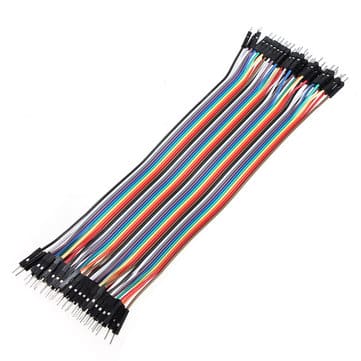
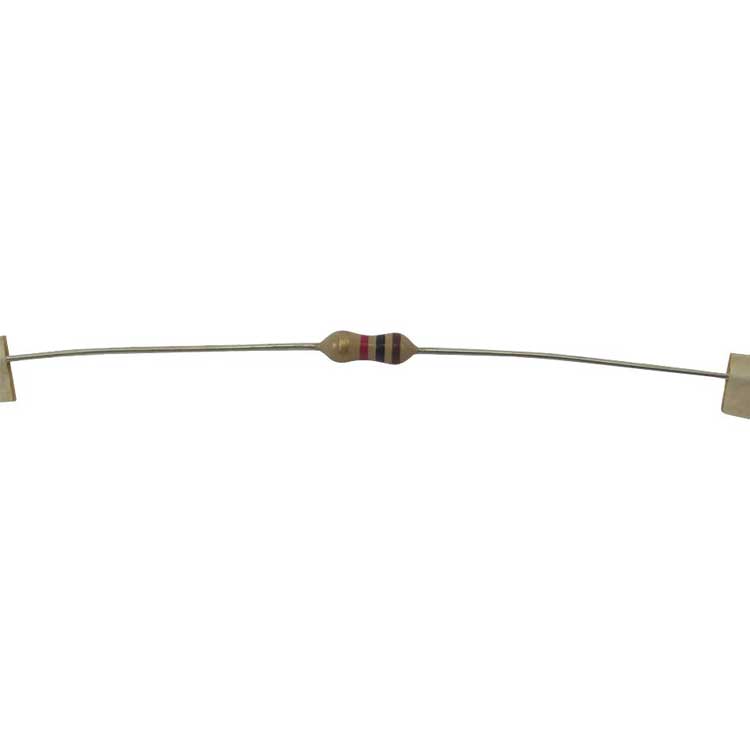
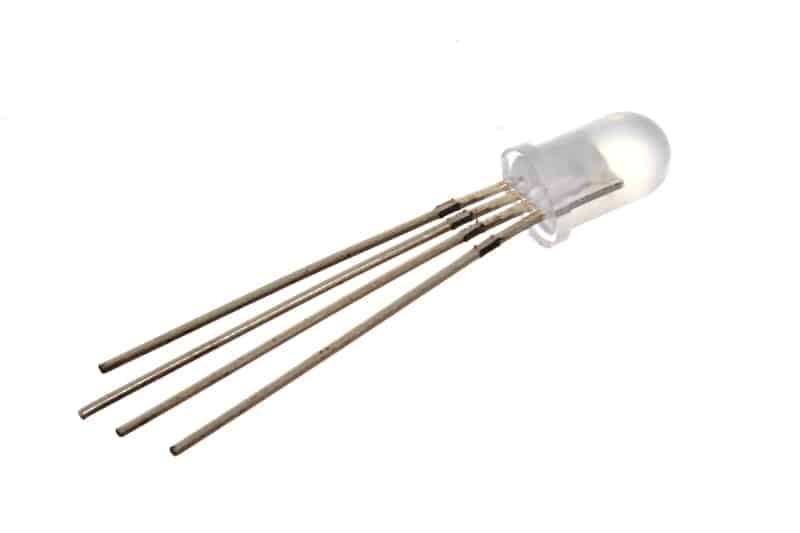
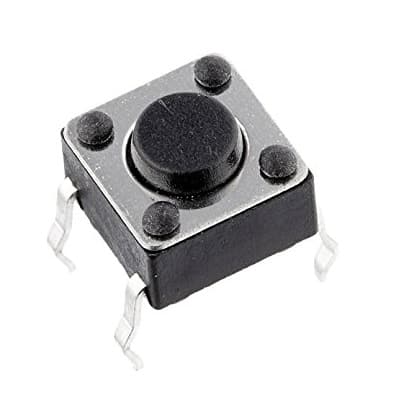
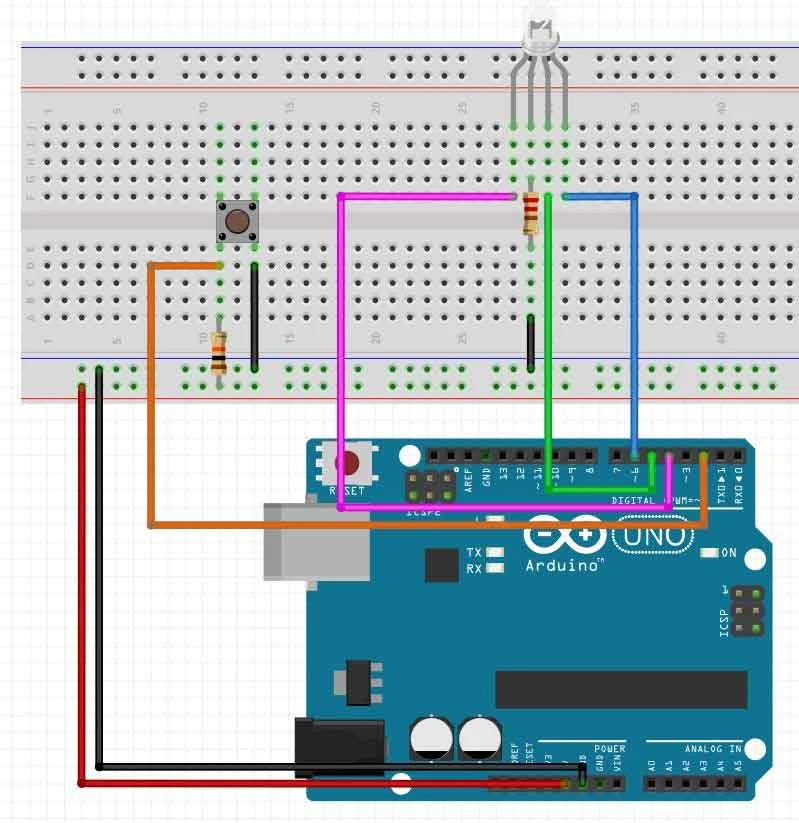
Now we are going to assemble the project. First we connect one of the two GND's of the Arduino to the minus of the breadboard. You connect a 220 ohm resistor to that. The other side of the resistor you connect via a jumper wire to the longest pin of the RGB led, which is the minus of the led light. Then you connect the 5 volts via the breadboard to the push button. Diagonally of the button where 5 volts comes in you put a jumper wire that goes to A0. Then you connect a resistor with 220 ohms to the pin of the push button that is vertically below the 5 volt connection. Finally you connect pins 4, 5 and with the other pins of the RGB led. How you connect these partly determines which color comes first and which last. You can also adjust this in the code.
Programming
int button = 2;
int led1 = 4;
int led2 = 5;
int led3 = 6;
int count = 0;


void setup(){

pinMode(2, INPUT);

pinMode(4, OUTPUT);
pinMode(5, OUTPUT);
pinMode(6, OUTPUT);

}


void loop(){

if(digitalRead(2) == LOW){

count++;

while(digitalRead(2) == LOW);

}
digitalWrite(4, LOW);
digitalWrite(5, LOW);
digitalWrite(6, LOW);

if(count == 1){

digitalWrite(4, HIGH);
digitalWrite(5, LOW);
digitalWrite(6, LOW);

}

if(count == 2){

digitalWrite(4, LOW);
digitalWrite(5, HIGH);
digitalWrite(6, LOW);

}

if(count == 3){

digitalWrite(4, LOW);
digitalWrite(5, LOW);
digitalWrite(6, HIGH);


}

if(count == 4){

count = 0;

}

}