
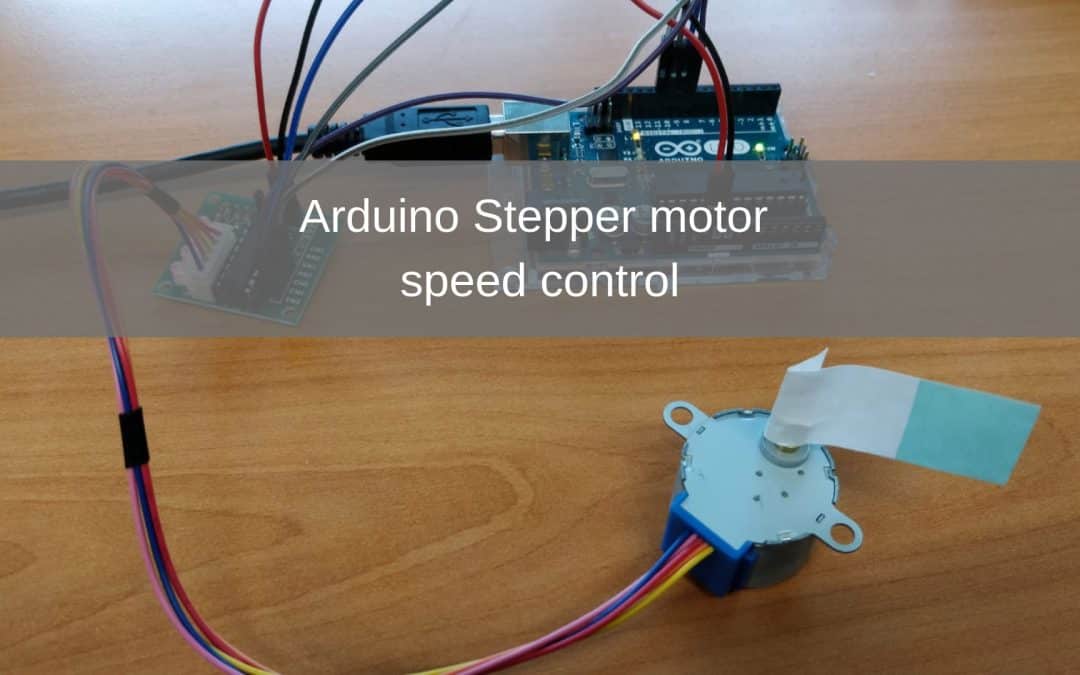
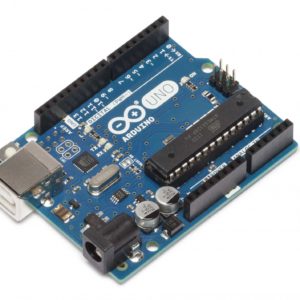
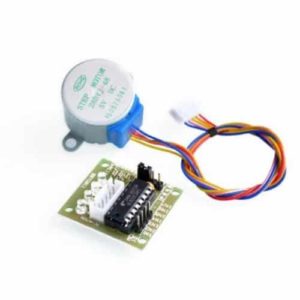
In this project you will learn how to drive a 5V DC 28YBJ-48 Stepper Motor with a ULN2003 Driver Board and an Arduino Uno. At the end of this project you can control a stepper motor yourself to later make a machine, a robot or even a 3D printer. This Arduino project is relatively easy and safe for beginners to do. It is a short project that takes about 15 minutes and the equipment costs about € 32,50.
- Level - Beginner 25%
- Duration - 10 / 15Min 25%
- Costs - € 32,35 euros complete 30%
Step 1: stepper motor project supplies
You don't need much for the stepper motor speed control project. To a Arduino Uno, an 5V DC 28YBJ-48 Stepper Motor with ULN2003 Driver Board and jumper wires of ten and twenty centimeters are sufficient.

Step 2: Connect Stepper Motor to the Arduino Uno
When you have collected all the supplies we can start assembling the project.
To connect the stepper motor to the Arduino, plug in the white connector on the driver board. You connect the driver to the 5V & Ground pins of the Arduino Uno and pins 8 to 11. On the fritzing below you can see how to connect the driver.

Step 3: Arduino stepper motor code
Now that you are done connecting the wiring you can start programming the Arduino Uno.
For this code we need to insert a library
A Library or Include file often contains code that can often be reused in other Sketches. Often libraries (libraries) are a collection of related functions aimed at a particular application. For example to control a strip with LEDs, special mathematical functions or, for example, to control an LCD screen.
A Library is also available for this stepper motor. This library comes standard with the Arduino IDE. You can do 2 things to add this library to the code.
1: Enter the code #include.
2: In the top bar, go to Sketch -> Use Library -> Arduino Libraries and select Stepper.
With both options you get the same result.
You can copy the code below to the Arduino IDE
#include
// Change this to fit the number of steps per revolution
const int Steps per revolution = 100;
// Initialize the stepper library on pins 8 through 1
Stepper My Stepper (Steps Per Rev, 8, 9, 10, 11);
int Step Counter = 0;
// number of steps taken by the motor
void setup ()
{
void loop () {
// Read sensor value:
int sensorValue = analogRead (A0);
// Range 0 to 100:
int motorSpeed = map (sensorValue, 0, 1023, 0, 100);
// set the motor speed:
if (motorSpeed> 0) {MyStepper.setSpeed (motorSpeed);
// step 1/100 of a revolution:
MyStepper.step (Steps Per Rev / 100); }
}
Adjust the code to determine the speed and direction of the motor!
Are there parts on the market that fit the shaft of a stepper motor 28YBJ-48 and how to attach them?
Or is a NEMA a better choice?