4.7 avg.
5183+ reviews5183+ reviews
Order by 16:00 for same day shipping
14 days return
EN
Individual
Business
Arduino Project: Touch lamp
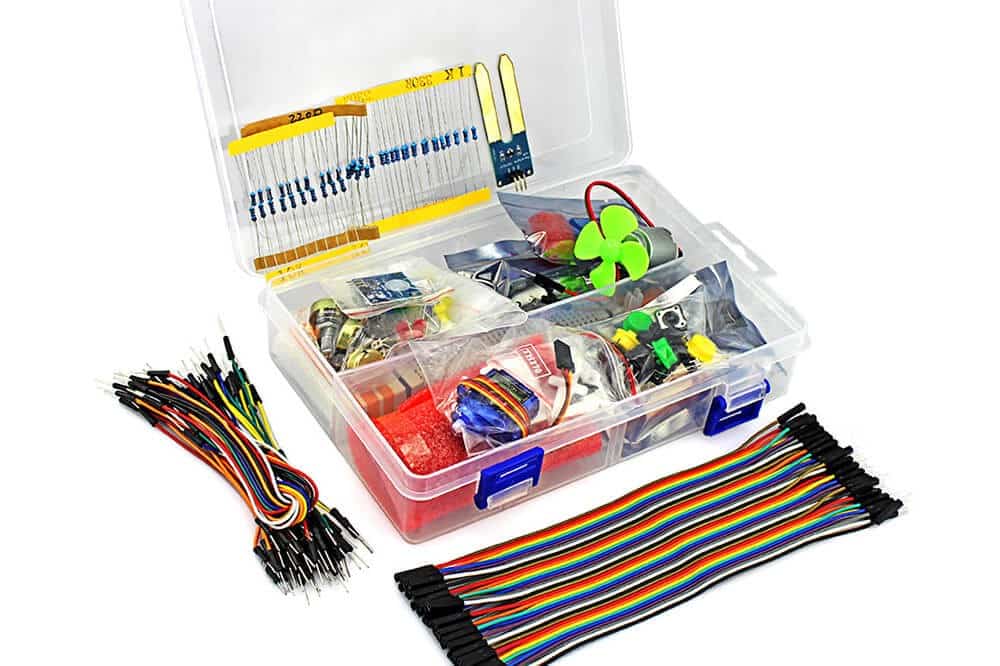
This is the 17th project from the Starter kit for Arduino.
You will learn how to control 3 LED lights with an Arduino Uno and a Touch sensor.
This is an easy project that you can complete in about 15 minutes. But this is also a great project to customize the code to turn it on and off with a different pattern.
Building and Wiring
Now we're going to put the project together.
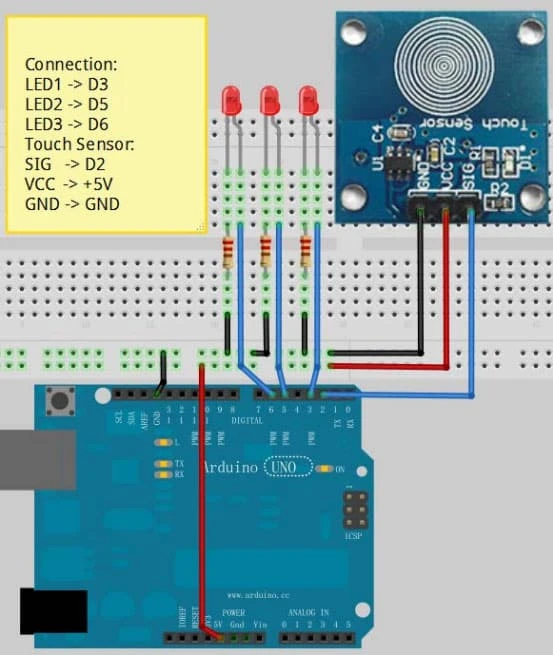
We start by wiring and placing the components on the breadboard do this according to the picture above. Place the touch sensor so that you can reach it well.
If you turn the touch sensor around you also need to reverse the order of the wires.
The 3 LEDs all need a 220k resistor because the voltage across the LEDs becomes too high and destroys them.
If you do this, the resistor must be connected to the + pin of the LEDs. You can recognize the + pin because it is longer than the - pin.
Once you have connected all the components to the breadboard according to the diagram, you can connect everything to the Arduino.
It is important that you connect everything in the correct place, if this is not done the code will not work.
GND TS -> GND
VCC TS. -> 5V
SIG TS -> pin 2
B LED+ -> pin 3
R LED + -> pin 5
G LED + -> pin 6
Programming
/*
* Author: Elecrow Engle
* Date:7/21/2017
* IDE V1.8.2
* Email:engle@elecrow.com
* Function:
*/
const int touch = 2;
const int Bled = 3;
const int Rled = 5;
const int Gled = 6;
//int lastime=0;
//int val=0;
int count=0;

void setup()
{
analogWrite(Bled,0);
analogWrite(Rled,0);
analogWrite(Gled,0);
attachInterrupt(0, swRGB, RISING);
}

void loop()
{
switch(count)
{
case 1:
analogWrite(Bled,255);
analogWrite(Rled,0);
analogWrite(Gled,0);
delay(500);
break;
case 2:
analogWrite(Bled,0);
analogWrite(Rled,255);
analogWrite(Gled,0);
delay(500);
break;
case 3:
analogWrite(Bled,0);
analogWrite(Rled,0);
analogWrite(Gled,255);
delay(500);
break;
case 4:
RGBflash();
break;
case 5:
analogWrite(Bled,0);
analogWrite(Rled,0);
analogWrite(Gled,0);
delay(500);
break;
}
}

void swRGB()
{
count++;
if(count>5)
count=0;
}

void RGBflash()
{
for (int c=0,b=255,a=0; c<=255,b>0,a<=255;c++,b–,a++){
analogWrite(Bled,c);
analogWrite(Rled,b);
analogWrite(Gled,a);
delay(5);
}
for (int a=255,b=0,c=255; a>0,b<=255,c>0;a–,b++,c–){
analogWrite(Bled,c);
analogWrite(Rled,b);
analogWrite(Gled,a);
delay(5);
}
}