
- Level - Medium 50%
- Duration - 20-30 min 30%
- Costs - € 58,44 complete 25%
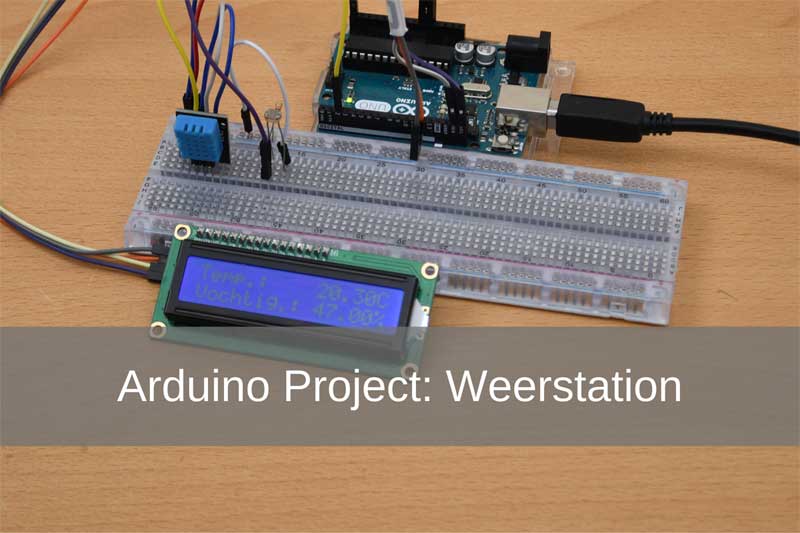
Step 1: supplies Arduino weather station
| Product: | Quantity: | Price: | |
| 1 | Arduino Uno | 1 | €23,95 |
| 2 | Breadboard | 1 | €9,95 |
| 3 | Jumper Wire M / F | 2 | €4,45 |
| 4 | Jumper Wire M / M | 3 | €4,45 |
| 5 | Resistance 10k Ohm | 1 | €0,05 |
| 6 | LDR | 1 | €1,19 |
| 7 | DHT11 | 1 | €4,45 |
| 8 | I2C LCD Display | 1 | €9,95 |
| Total | €58,44 |
Step 2: Wiring Arduino Uno
First we will connect everything. The diagram below shows a Fritzing diagram. If you connect the components as follows, you can go to the next step.

Step 3: programming the Arduino
We program the Arduino in the Arduino IDE. The code you will use for this is below. If you want to learn it better, type the code instead of copying and pasting it. You will learn to program better.