
Manual Raspberry Pi 4B starter kit with Heatsink Case

Assemble the heatsink case
The Heatsink Case consists of one bottom and one top. Two fans are mounted on the top.
Components:
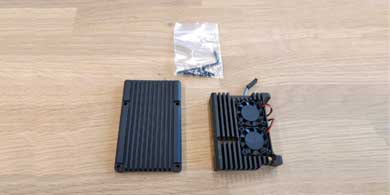
The part on the left is the bottom. The top is on the right. There is also a bag with 4 bolts and an Allen key.
Step 1:
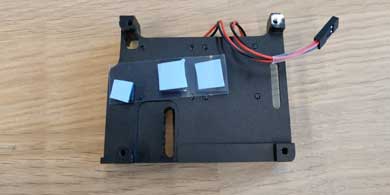
On the inside are 3 heat conductive stickers with a foil over it. Remove the foil.
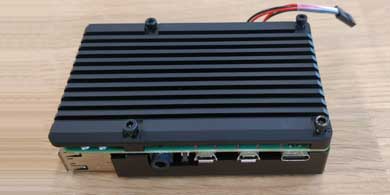
Step 2:

Position the top of the housing as shown above on the Raspberry Pi.
Step 3:
turn the Raspberry Pi over and place the bottom. Place the 4 bolts and tighten them using the Allen key.
Step 4:
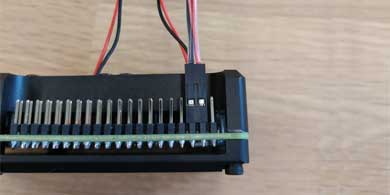
Connect the fan to the outer row of GPIO Pins. The red wire is on the second and the black on the third pin from the right.
Step 5:
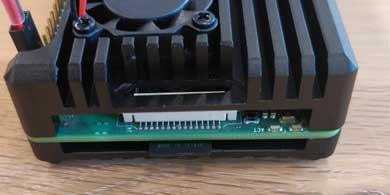
Place the supplied Micro-SD card in the SD slot with the metal strips facing the PCB.
Extra information about the fans
De Raspberry Pi has a row of GPIO Pins.
On the picture here on the right you can see what it looks like.
Use the selected pins in the top left corner if you want the fan to be always on. (as long as the Raspberry Pi on)
The left pin is the 5V and the right is the GND

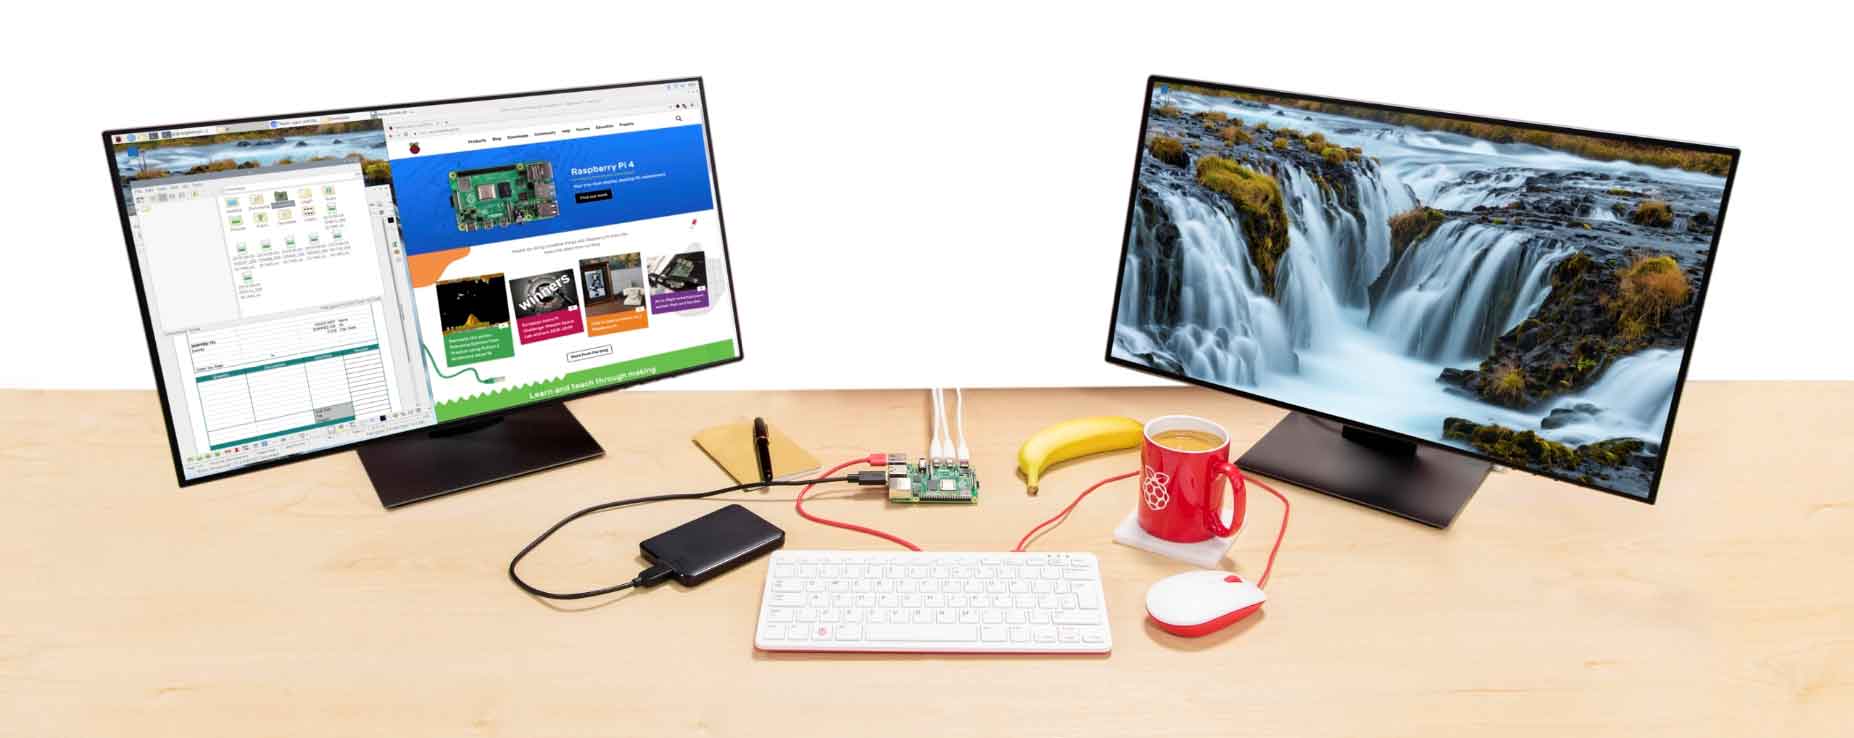
Connecting & Booting
In the above steps you have attached the housing. You have also connected the fans and Micro-SD card. On the side of the Raspberry Pi 4B are two Micro HDMI ports. Plug the included Micro HDMI cable into the left port, and the HDMI end into a monitor or display.
Connect a keyboard & mouse to the USB ports and finally insert the power cable into the USB-C port.
Your setup is now ready to start.
If the de Raspberry Pi Now you start up you will see a desktop on your monitor. When you start up for the first time, you have to set it up, but that is explained step by step.
You can now start browsing, programming, editing texts and much more!