4.7 avg.
5158+ reviews5158+ reviews
Order by 16:00 for same day shipping
14 days return
EN
Individual
Business
Filters
Price
to
Colour
Brand
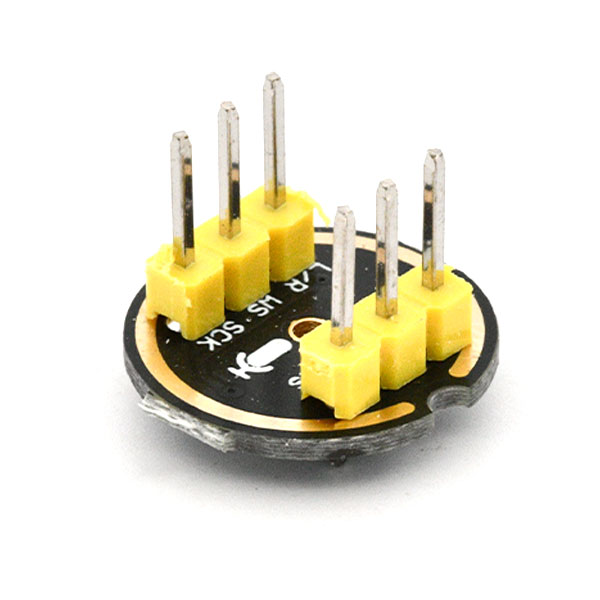
Sensortyp
RPI Accessory
LED / Display
LED / Display color
Button / switch type
Resistor type
Capacitor / transistor type
Volt
Farad
Arduino USB
Button color
Raspberry Pi
Arduino Type
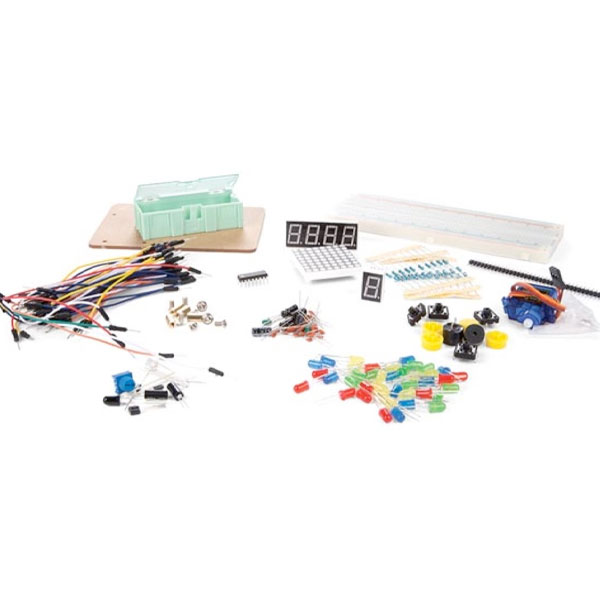
Components
For almost all projects you will need a number of components. Check out the full range of buttons, lights, sensors and more!
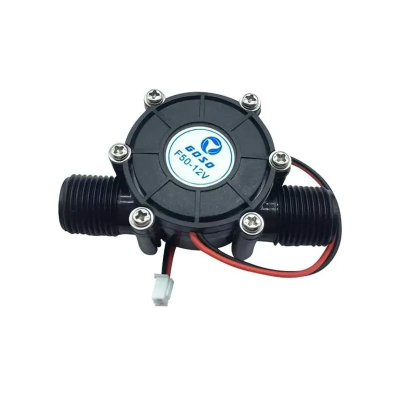
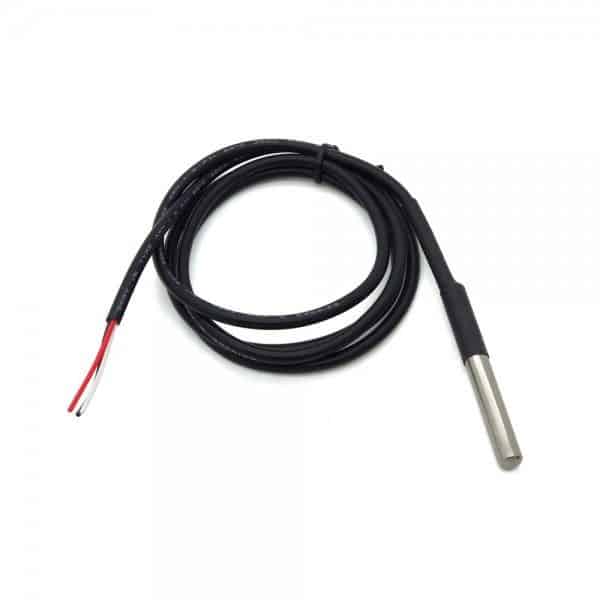
Sensors
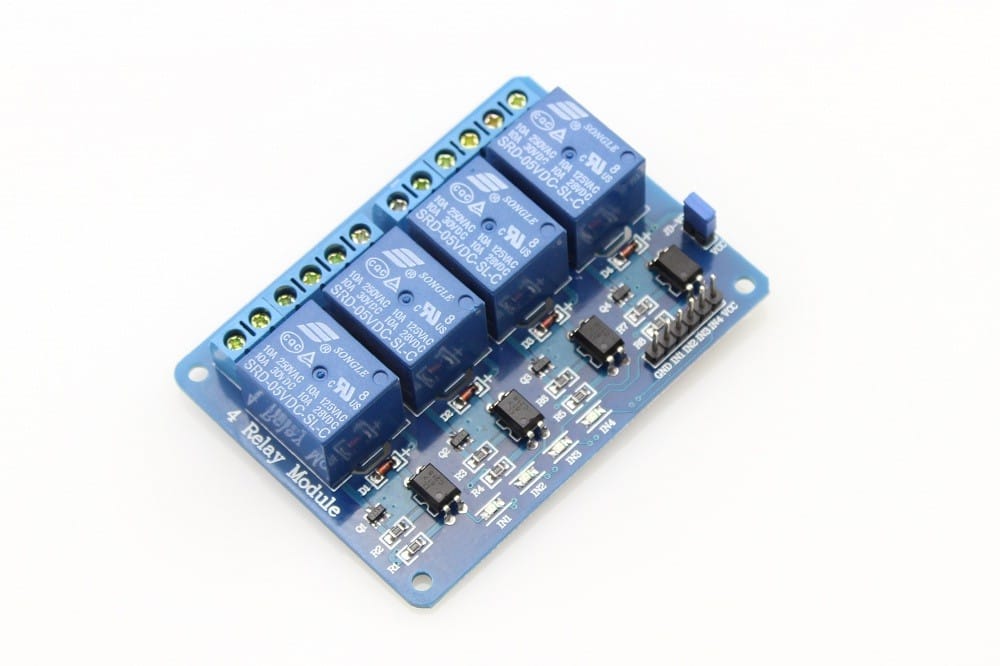
Relays & Actuators
Buttons & Switches
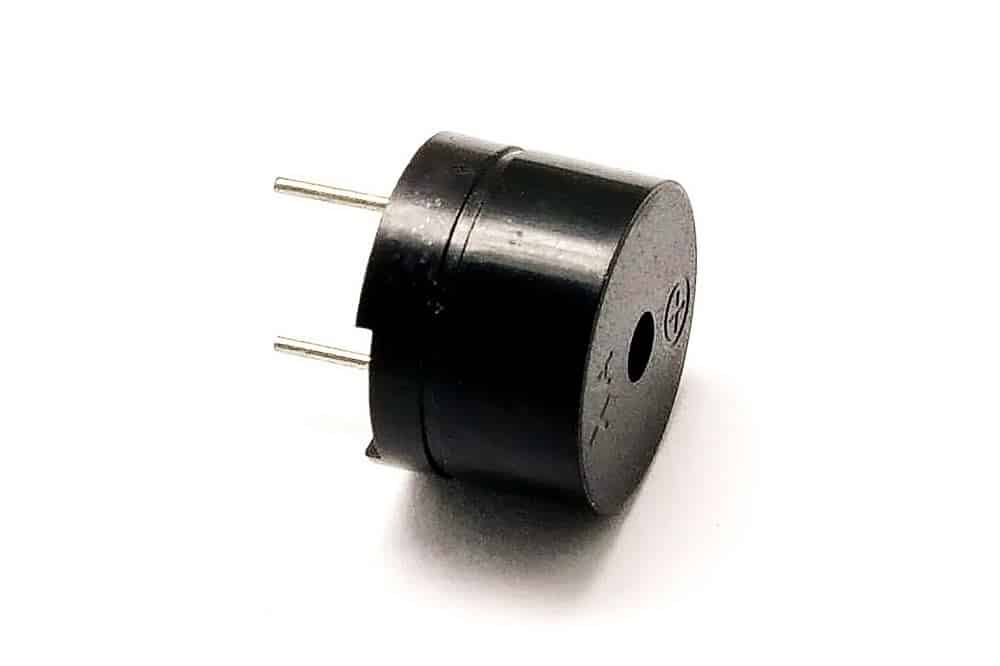
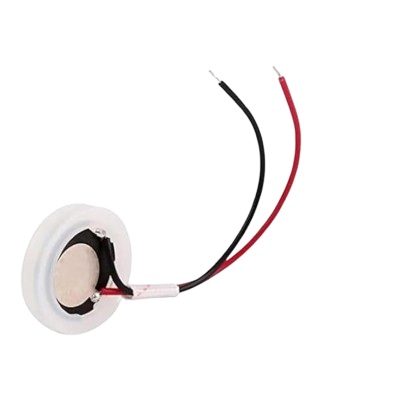
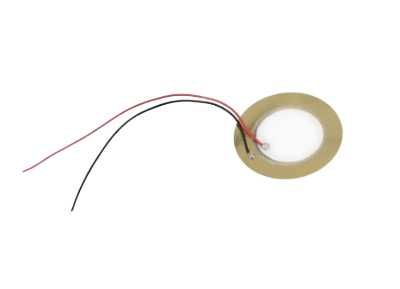
Sound
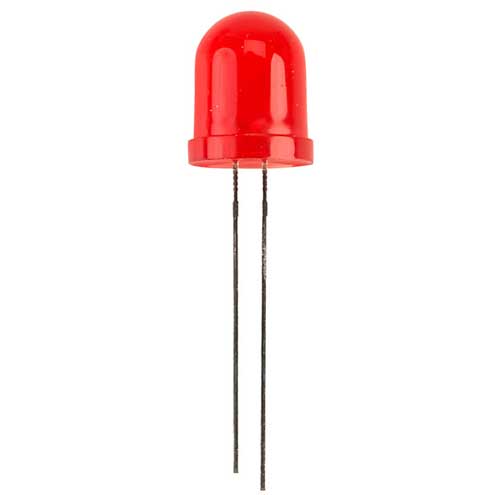
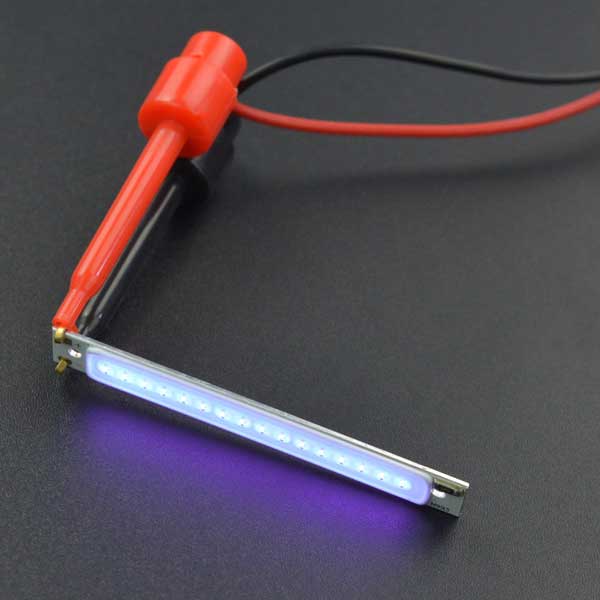
LED & Display
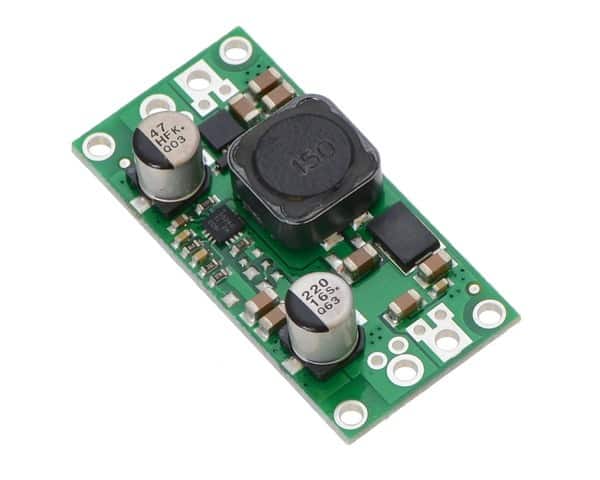
Spanning converter & regulator
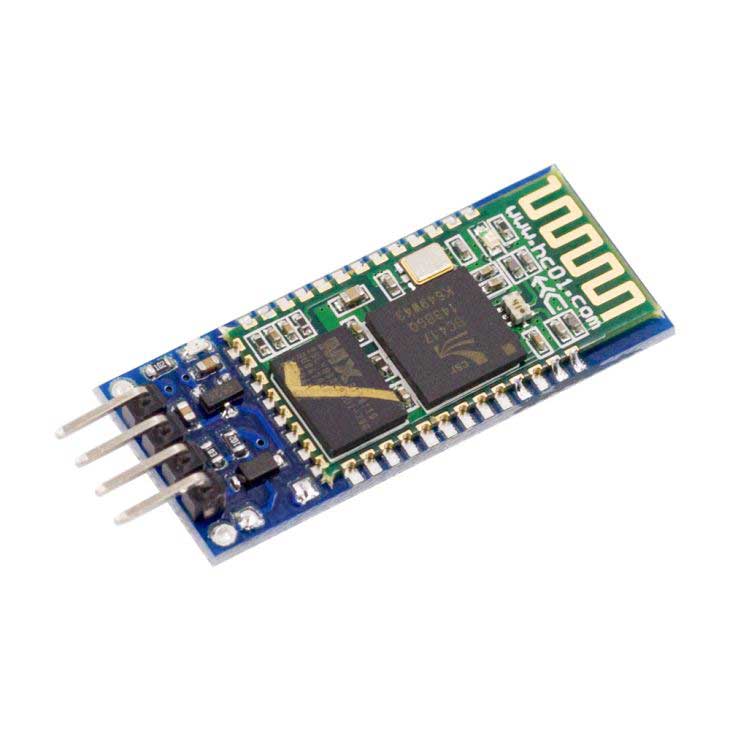
Communication
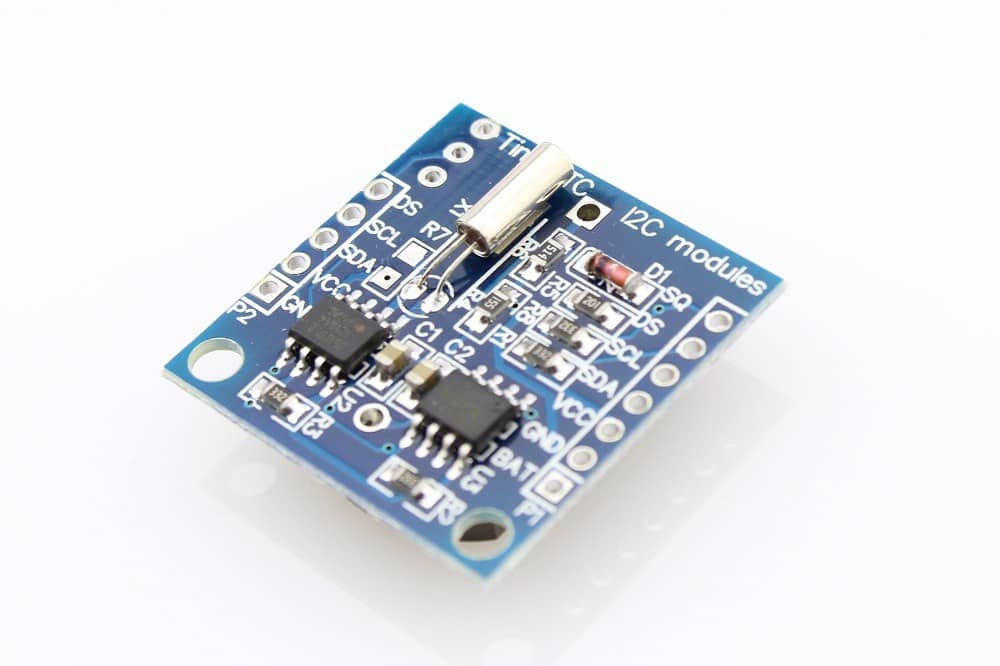
Modules & Adapters
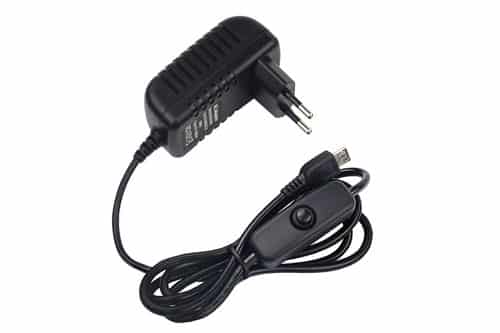
Power supply
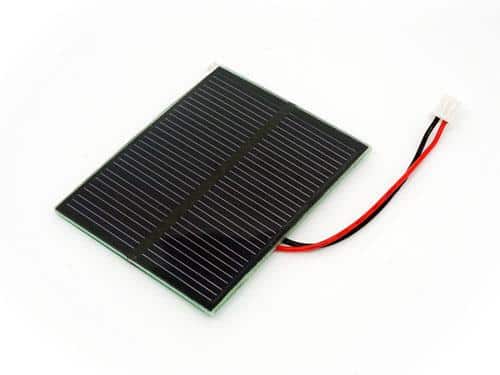
Green energy
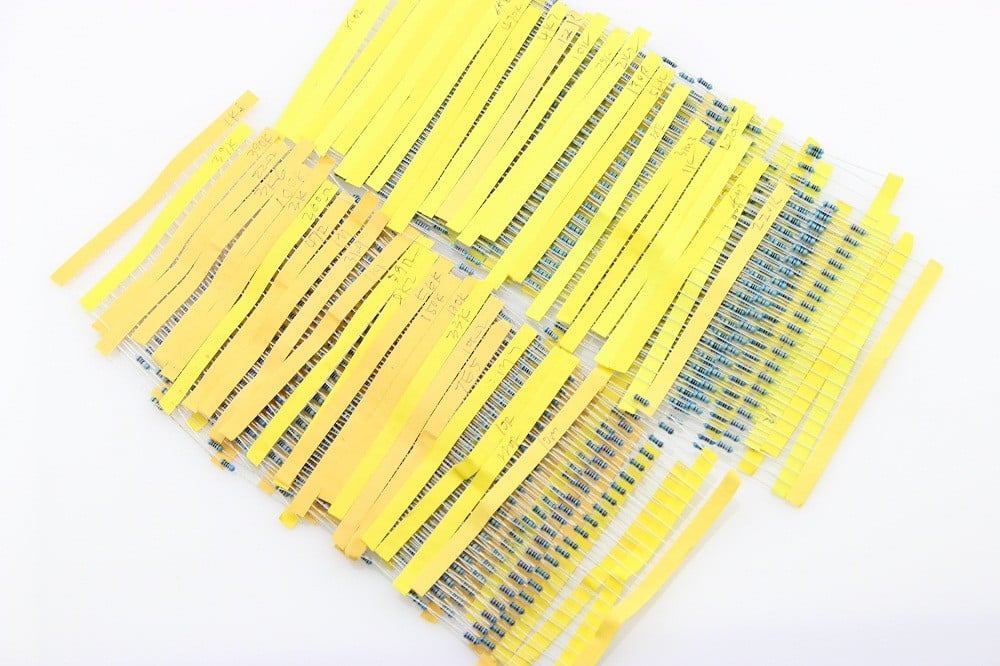
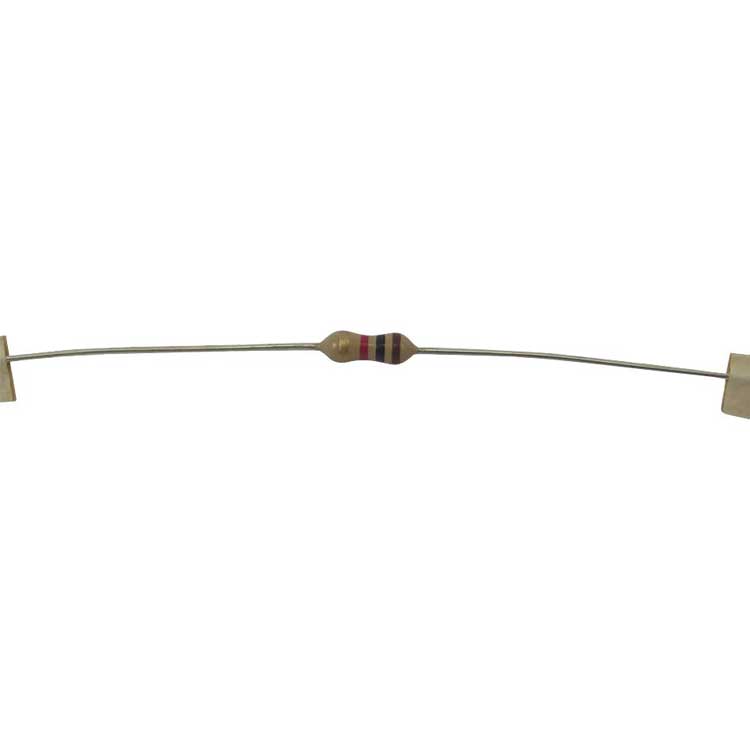
Resistors
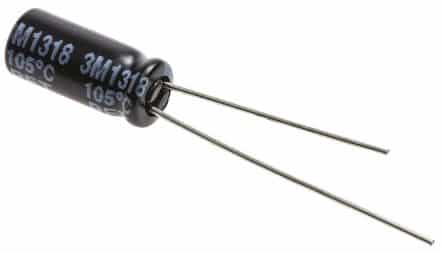
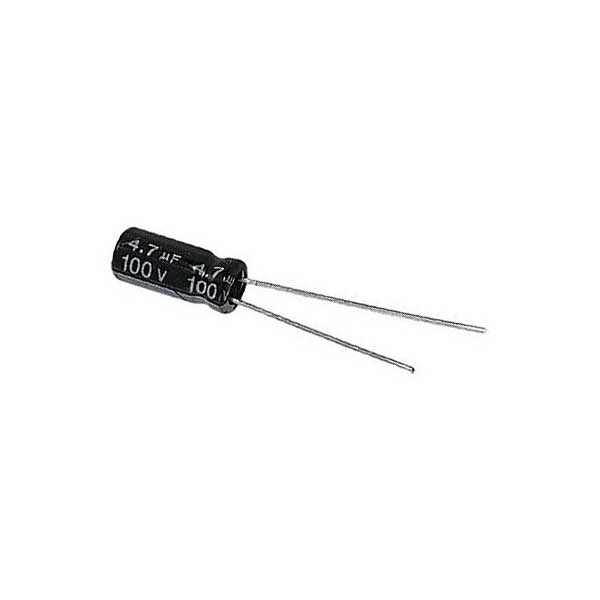
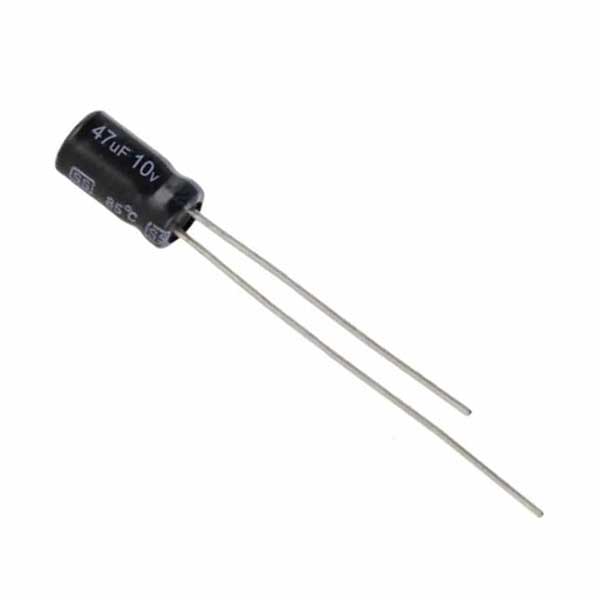
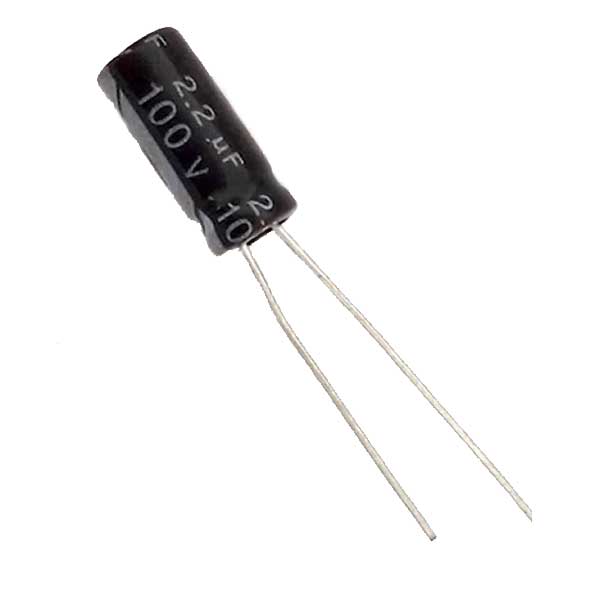
Capacitors & Transistors
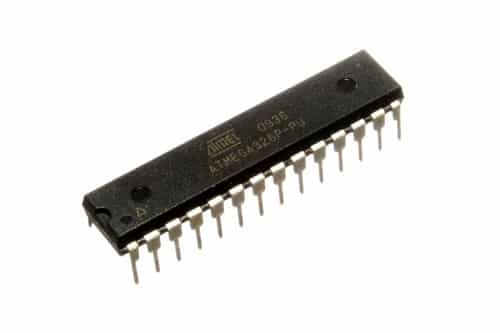
IC & Sockets
Diodes & Rectifiers
Fuses
Huskylens & Pixy
Other
501 products found
Sort by:

Buy components?
Using components in your project is essential. These are for example buttons, switches, LED lights and relays. By adding these components you make your project much more interesting and challenging . Most components are available in all shapes and sizes. The components also have different functions. So what do you look for and how do you know which is the right component for your project? If you are not yet familiar with a component, take a look at the datasheet. All information about a component can be found in the description.
Why buy components?
What should you pay attention to when purchasing components?
Are you looking for components for your project? First, consider which motherboard you want to use. How many port inputs do you probably need? It is wise to leave enough space to connect your components. Also consider how much power your motherboard has to work on and what is the limit?
Always check the product description before purchasing. Also check whether the components can be connected to the breadboard. Take for example an LCD LED display. This cannot be connected directly to a breadboard. To connect this you have to solder headers to the pins of the display.
LCD LED display
With an LCD LED display you can display text on the screen. In the program you indicate how many lines and characters fit on your display. This is indicated by e.g.: 16x2. This indicates that the display can show 2 lines of 16 characters long at the same time.
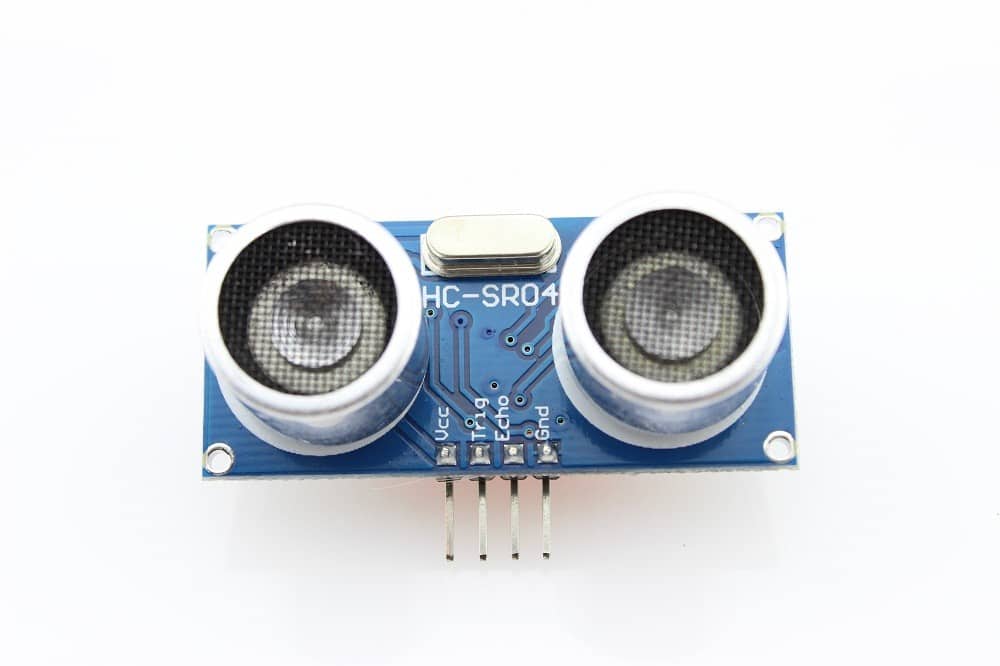
Sensors
To decide which sensor you want to use, you first need to figure out what application you want to use it for. Should the sensor detect color or motion, does it measure over a long distance or close up and what is the maximum measurement value of this? You can find this information in the description or view the data sheet.
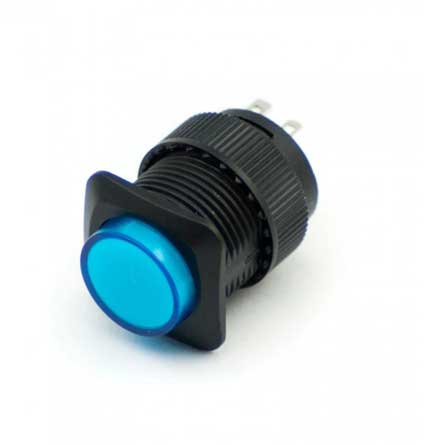
Push buttons
If you decide to incorporate push buttons into your project, it is useful to take a few things into account. Look carefully at the position of the push buttons, push buttons can be switched NO (normally open) or NC (normally closed). This is important if you want to wire.
Some push buttons have a built-in LED lamp, if you choose a built-in LED it is useful to check if there is a resistor built in. If this is not the case you can connect a resistor yourself.