5183+ reviews
Order by 16:00 for same day shipping
14 days return
EN
Individual
Business
GPIO Project 8 - Sound Controlled Motor
Beginner
30 Minuten
113,90
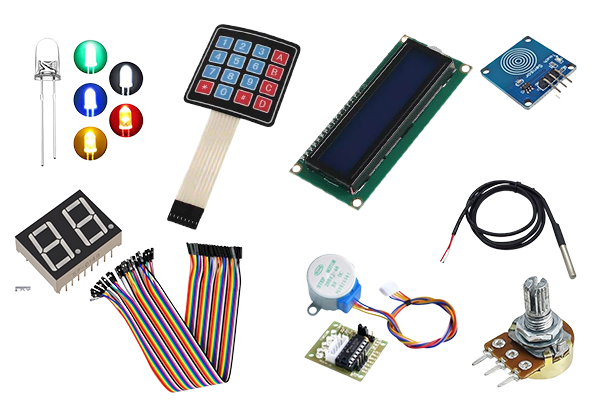
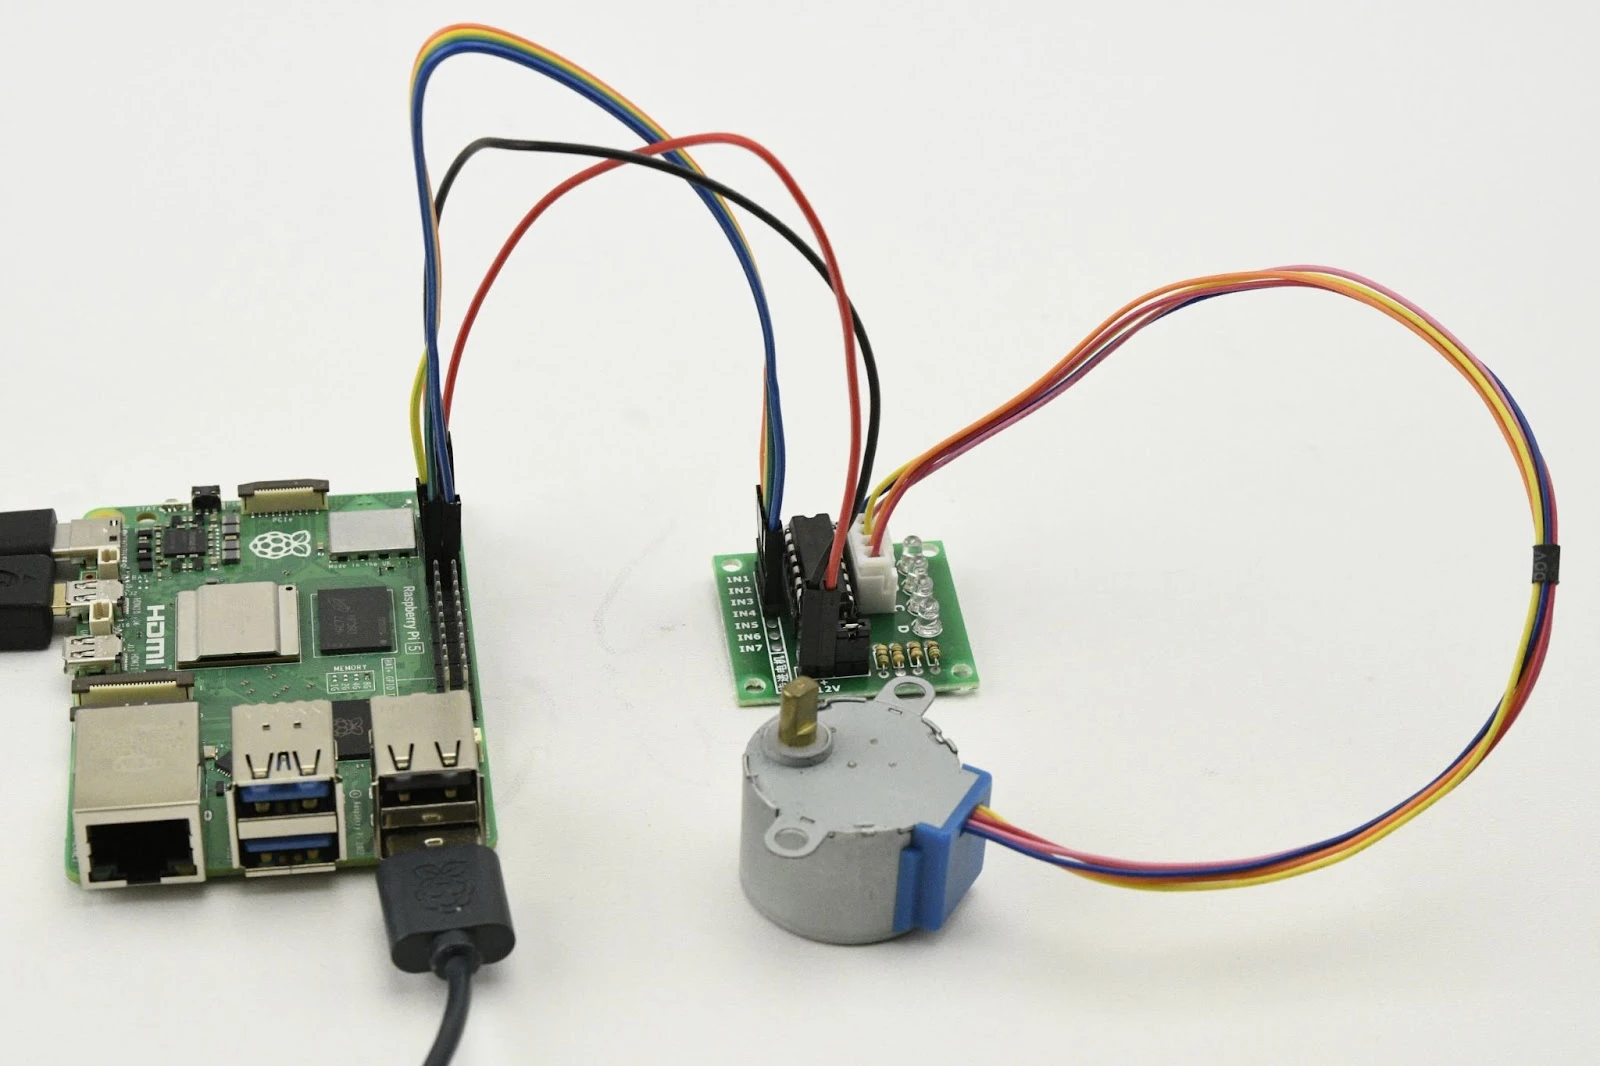
In this project you will learn how to use a sound sensor (found in the GPIO kit ) to control a motor. The sound sensor detects sounds (e.g. a clap) and sends a signal to the Raspberry Pi , which activates a motor.
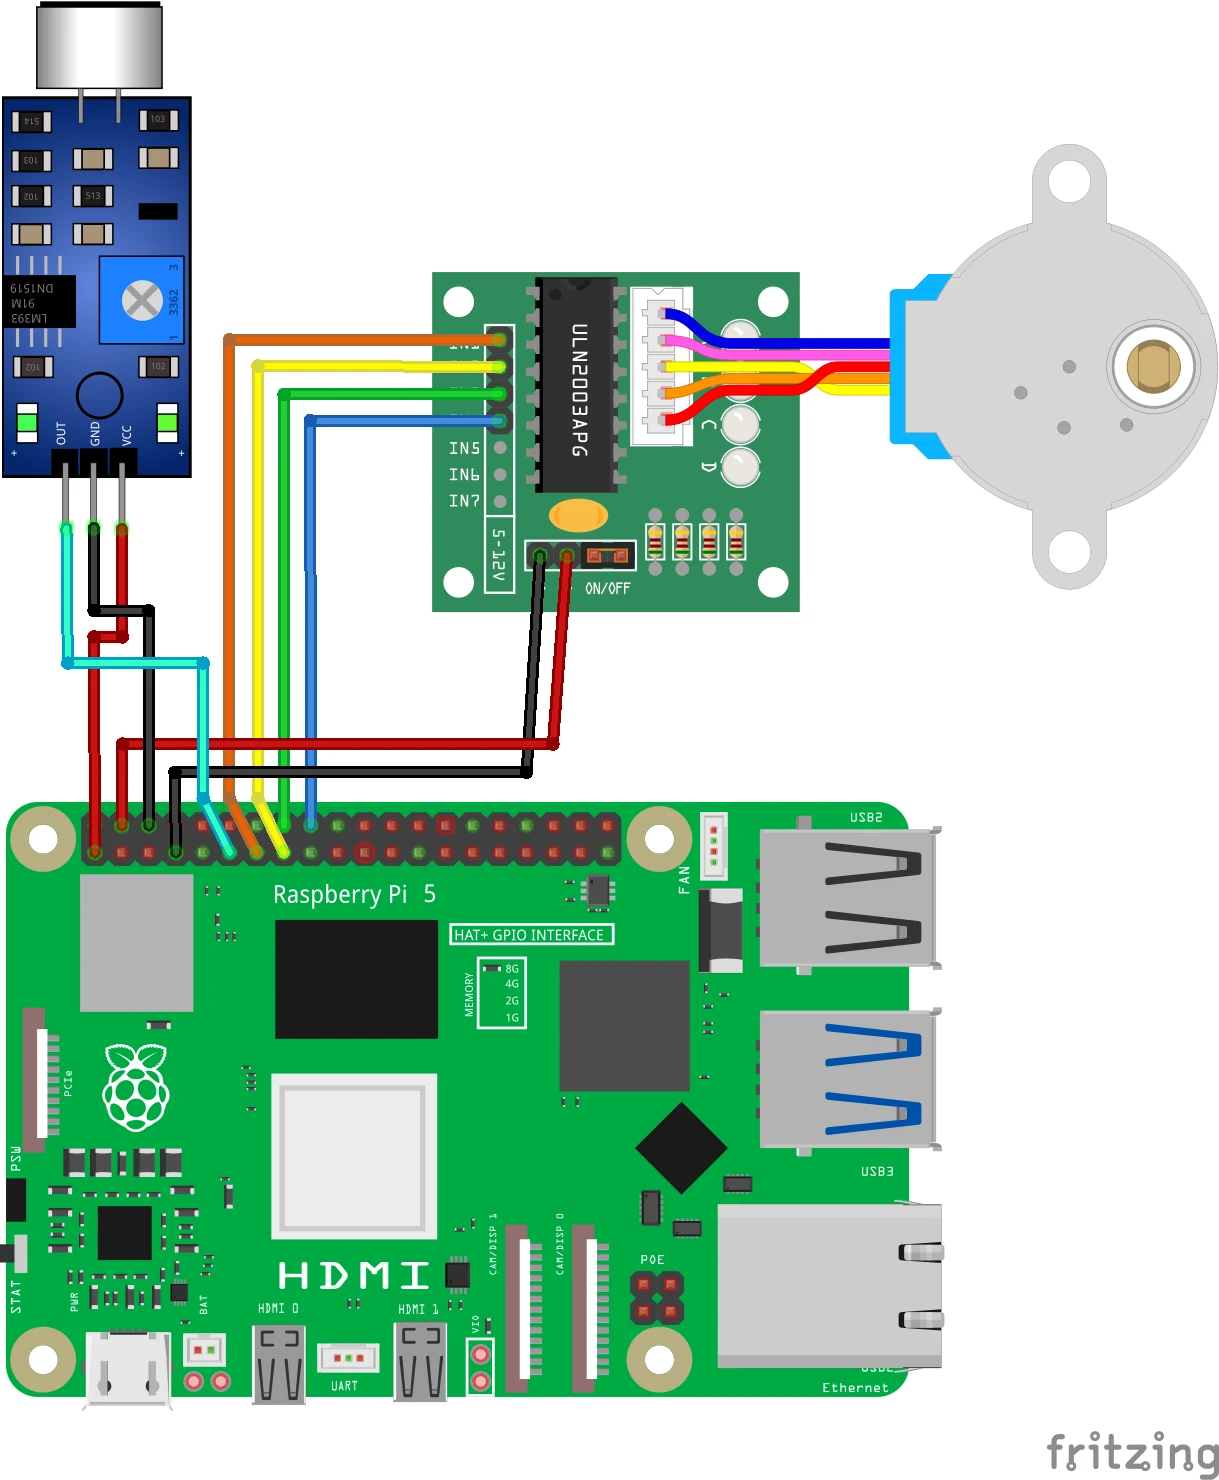
Connection diagram
Connect the sound sensor:
- VCC : Connect to 3.3V (pin 1) .
- GND : Connect to GND (pin 6) .
- DO (digital output) : Connect to GPIO 17 (pin 11) .
Connect the ULN2003 driver to the stepper motor:
- Stepper Motor : Connect the stepper motor connector to the header of the ULN2003 driver.
- ULN2003 driver :
- IN1 : Connect to GPIO 27 (pin 13) .
- IN2 : Connect to GPIO 22 (pin 15) .
- IN3 : Connect to GPIO 23 (pin 16) .
- IN4 : Connect to GPIO 24 (pin 18) .
- VCC : Connect to 5V (pin 2) .
- GND : Connect to GND (pin 6) .
Pinout Reference
GPIO | Pin # | Function | Connection |
| GPIO 17 | Pin 11 | Digital input | Sound sensor DO |
| GPIO 27 | Pin 13 | Stepper motor | ULN2003 IN1 |
| GPIO 22 | Pin 15 | Stepper motor | ULN2003 IN2 |
| GPIO 23 | Pin 16 | Stepper motor | ULN2003 IN3 |
| GPIO 24 | Pin 18 | Stepper motor | ULN2003 IN4 |
| 3.3V | Pin 1 | Power supply | Sound sensor VCC |
| 5V | Pin 2 | Power supply | ULN2003 VCC |
| GND | Pin 6 | Earth (Ground) | Sound sensor and ULN2003 |
Python code in Thonny
Step 1: Write your code
Open the Thonny Python IDE and enter the following code:
import RPi.GPIO as GPIO
from time import sleep
from collections import deque

# Geluidssensor en motor-pinnen
IN1 = 17
IN2 = 27
IN3 = 22
IN4 = 23
SOUND_SENSOR_PIN = 24

# GPIO instellen
GPIO.setmode(GPIO.BCM)
GPIO.setup(SOUND_SENSOR_PIN, GPIO.IN)  # Geluidssensor als input
GPIO.setup(IN1, GPIO.OUT)
GPIO.setup(IN2, GPIO.OUT)
GPIO.setup(IN3, GPIO.OUT)
GPIO.setup(IN4, GPIO.OUT)

# Stepper motor sequentie (4-fase stappen)
step_sequence = [
    [1, 0, 0, 0],
    [1, 1, 0, 0],
    [0, 1, 0, 0],
    [0, 1, 1, 0],
    [0, 0, 1, 0],
    [0, 0, 1, 1],
    [0, 0, 0, 1],
    [1, 0, 0, 1]
]

# Instellingen voor piekdetectie
HISTORY_SIZE = 10	# Hoeveel metingen we bijhouden
THRESHOLD = 7		# Aantal HIGH's in HISTORY_SIZE om als piek te zien
MINIMUM_ACTIVE_TIME = 1	# Minimal actief blijven (seconden)

# Historie van geluidmetingen
sound_history = deque([1] * HISTORY_SIZE, maxlen=HISTORYSIZE)

def set_step(w1, w2, w3, w4):
    """Stel de status van de motorpinnen in."""
    GPIO.output(IN1, w1)
    GPIO.output(IN2, w2)
    GPIO.output(IN3, w3)
    GPIO.output(IN4, w4)

def step_motor(steps, delay):
    """Draai de motor een aantal stappen."""
    for _ in range(steps):
        for step in step_sequence:
            set_step(*step)
            sleep(delay)

try:
    while True:
       # Lees de huidige status van de geluidssensor
	current_state = GPIO.INPUT(SOUND_SENSOR_PIN)

	# Voeg de huidige meting toe aan de historie
	sound_history.append(current_state)

	# Tel hoeveel keer HIGH (1) in historie
	low_count = sound_history.count(0)

	# Controleer of er een piek is
	if low_count >= THRESHOLD:
		print("Piek in geluid gedetecteerd! Steppermotor draait.")
		step_motor(512, 0.002)	# Draai 512 stappen vooruit
		sound_hitory.clear()	# Reset de historie na een plek
		sound_history.extend([1] * HISTORY_SIZE)	# Vermijd snelle heractivatie
		sleep(MINIMUM_ACTIVE_TIME)	# Zorg dat de motor niet constant triggert
	sleep(0.01)

except KeyboardInterrupt:
    print("\nProgramma gestopt.")
finally:
    GPIO.cleanup()  # Reset de GPIO-instellingen
Step 2: Save the file
Click File > Save As and name the file sound_controlled_motor.py .
Step 3: Run the script
Click the green Run button (▶) at the top of the Thonny interface.
How does it work?
- Sound sensor:
- The sensor detects sounds such as clapping and sends a high signal (HIGH) to GPIO 17.
- Stepper motor:
- Once sound is detected, the motor will rotate 512 steps (forward).
- Adjust speed and steps:
- Adjust the value of delay and steps in the step_motor() function to change the speed and distance of the motor rotation.
Result
- Sound Detected : The stepper motor rotates one full rotation (512 steps).
- No sound detected : The motor remains silent.
Experimenting
- Adjust direction:
- Make the motor run backwards by reversing the order of the step_sequence list.
- Using light or other sensors:
- Replace the sound sensor with another input, such as an LDR or a push button.
- Add blinking LED:
- Add an LED that flashes when the engine is running.
