4.7 avg.
5152+ reviews5152+ reviews
Order by 16:00 for same day shipping
14 days return
EN
Individual
Business
Raspberry Pi project: Python Turtle
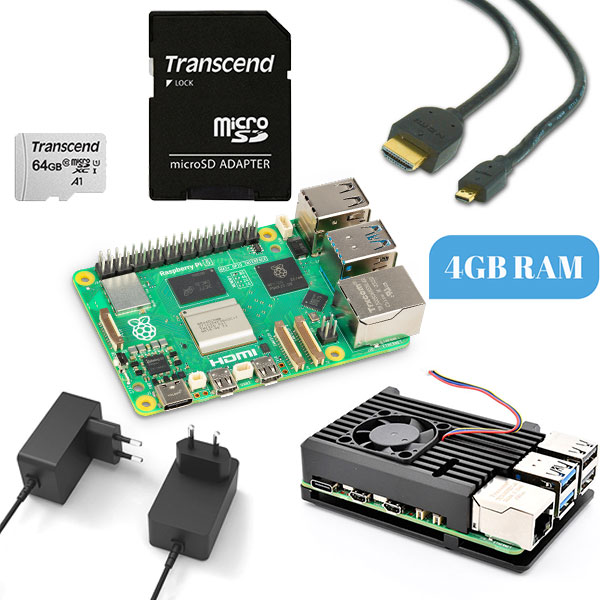
In this project we will program with Python Turtle. Turtle images are a popular way to introduce children to programming. It was part of the original Logo programming language, developed by Wally Feurzeig, Seymour Papert and Cynthia Solomon in 1967. This Python library is already installed on your Raspberry Pi .
This manual covers:
- electronicsforyou.com /raspberry-pi-project-python-turtle/#Requirements">Requirements
- electronicsforyou.com /raspberry-pi-project-python-turtle/#Functions">Turtle functions
- electronicsforyou.com /raspberry-pi-project-python-turtle/#Programming">Programming
- electronicsforyou.com /raspberry-pi-project-python-turtle/#Result">Result
Turtle Features
Like every Python library, the Turtle library also has its own functions. In this project we do not use all functions of the Turtle library. The functions we do use are listed below:
- electronicsvoorjou.nl /raspberry-pi-project-python-turtle/#bgcolor">bgcolor(
) - electronicsvoorjou.nl /raspberry-pi-project-python-turtle/#pen">pen()
- electronicsvoorjou.nl /raspberry-pi-project-python-turtle/#forward">forward(
) - electronicsvoorjou.nl /raspberry-pi-project-python-turtle/#backward">backward(
) - electronicsvoorjou.nl /raspberry-pi-project-python-turtle/#right">right(
) - electronicsvoorjou.nl /raspberry-pi-project-python-turtle/#left">left(
) - electronicsvoorjou.nl /raspberry-pi-project-python-turtle/#circle">circle(
)
- electronicsvoorjou.nl /raspberry-pi-project-python-turtle/#penup">penup()
- electronicsvoorjou.nl /raspberry-pi-project-python-turtle/#pendown">pendown()
- electronicsvoorjou.nl /raspberry-pi-project-python-turtle/#begin_fill">begin_fill()
- electronicsvoorjou.nl /raspberry-pi-project-python-turtle/#end_fill">end_fill()
- electronicsvoorjou.nl /raspberry-pi-project-python-turtle/#goto">goto(x,y)
- electronicsvoorjou.nl /raspberry-pi-project-python-turtle/#home">home()
Programming
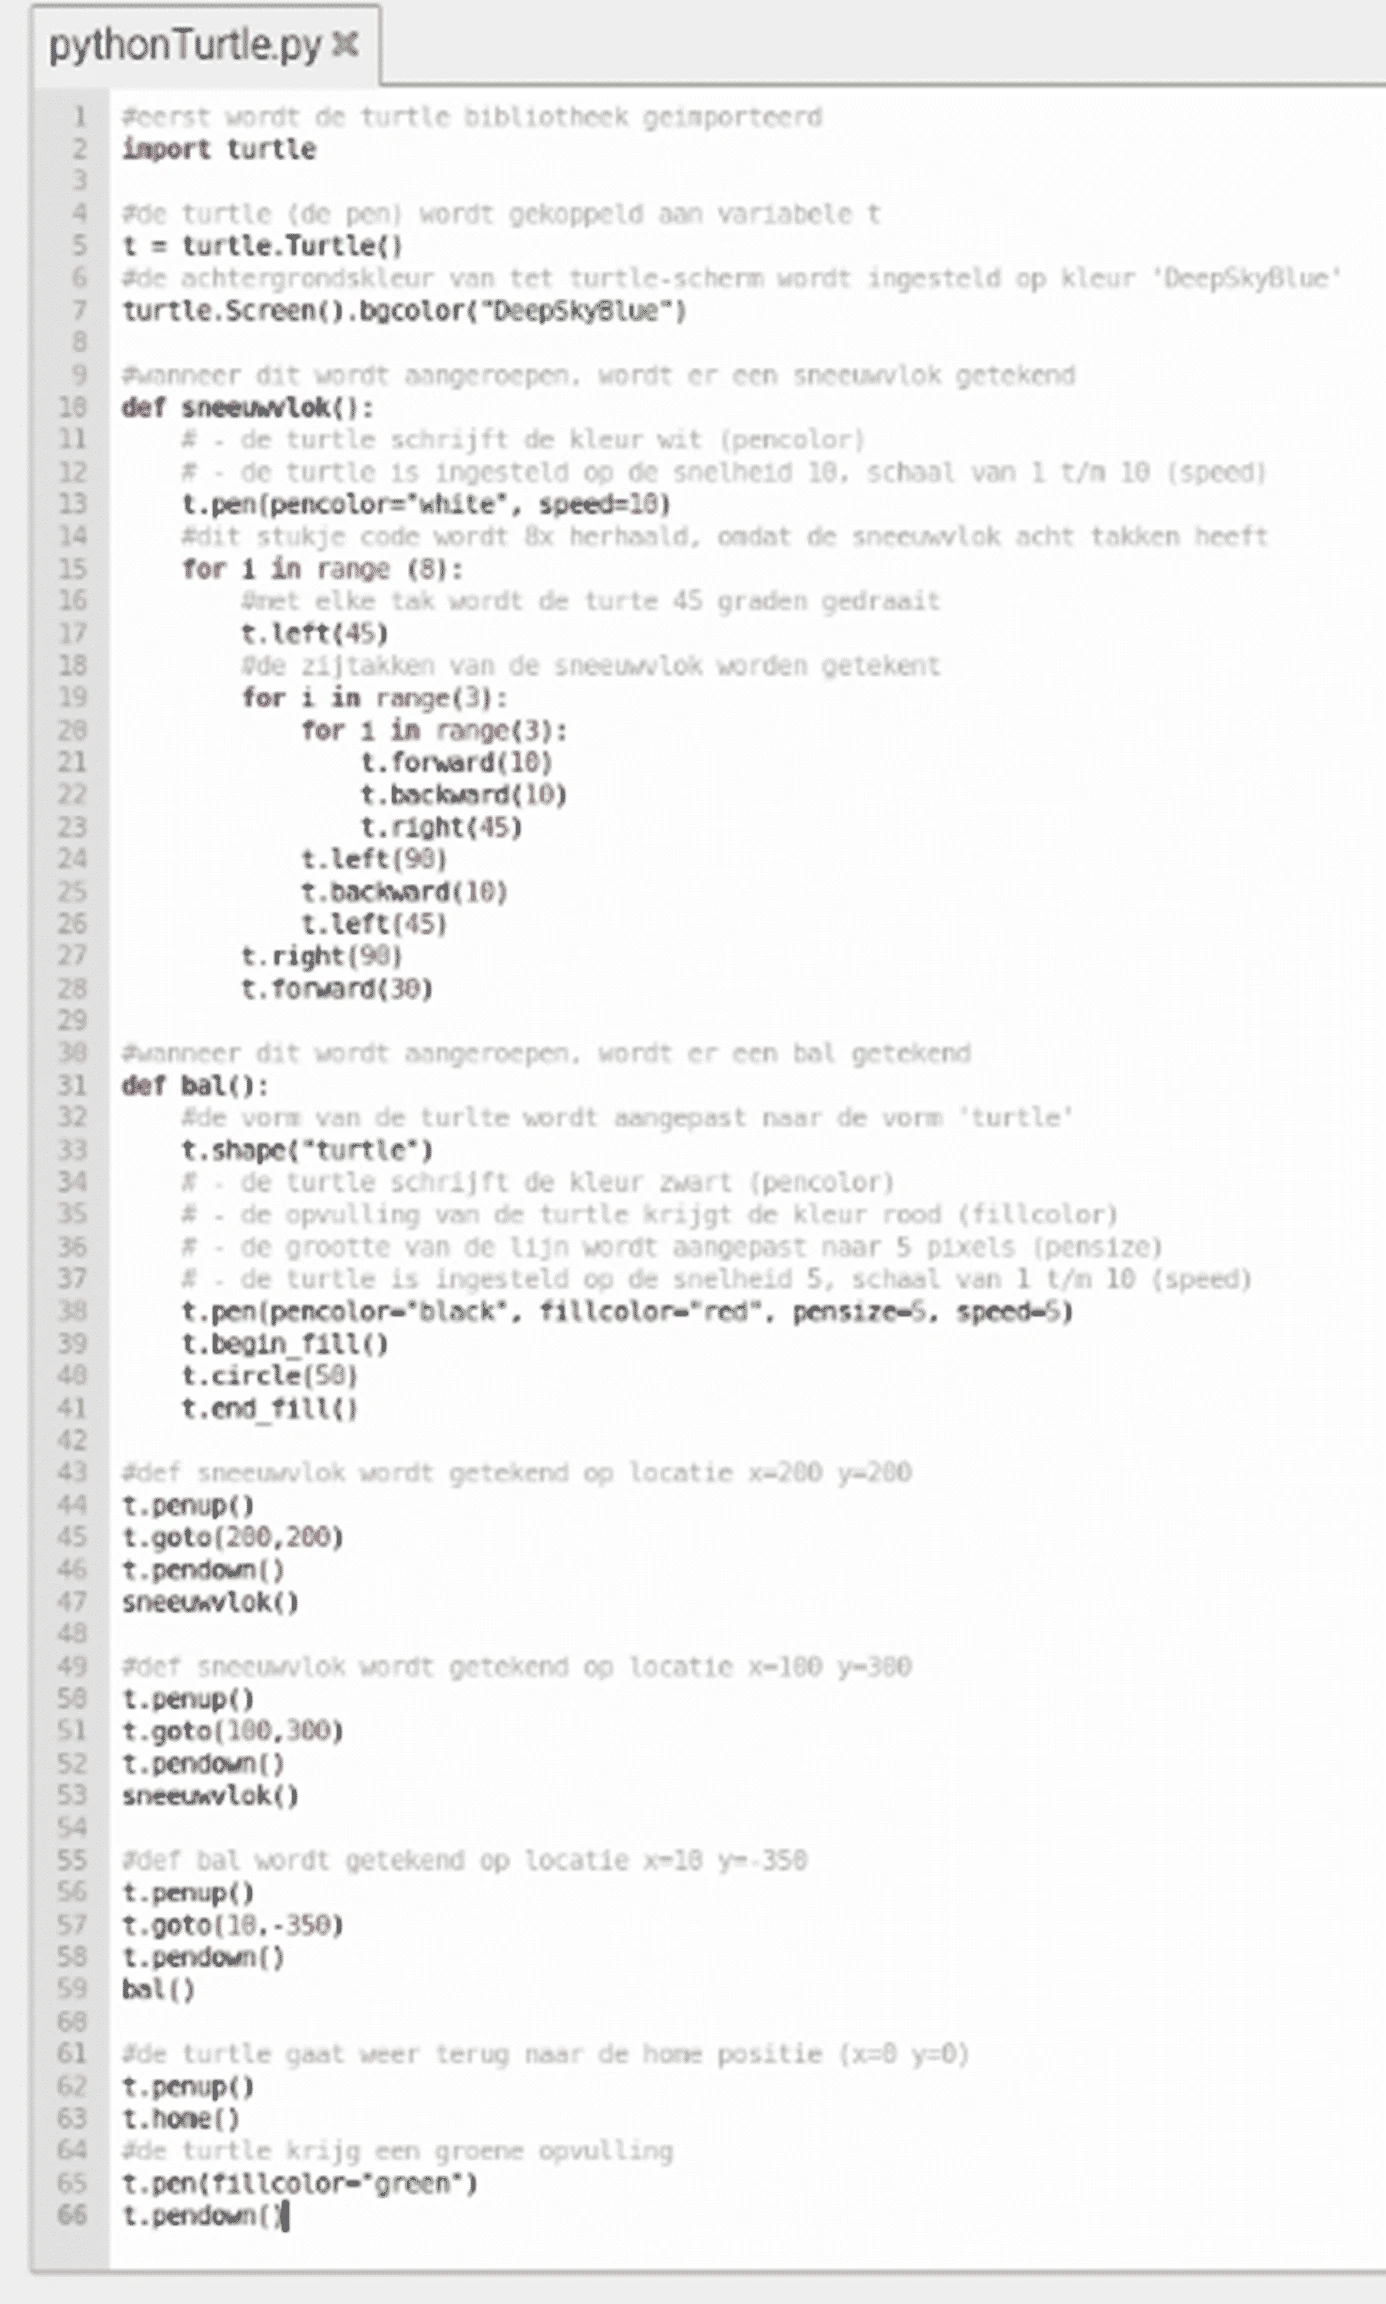
We program with Python in the Python IDE. You can follow the following steps to draw different things with the turtle library.
At the top of the code we first import the turtle library.
Next we set the settings for the turtle and the background.
In def snowflake() we write the program lines on how we want to draw the snowflake. When snowflake() is called, this will be drawn.
In the def bal() we write the code on how to draw the ball. We do this by drawing a circle, after which we color it. by calling bal() the ball will be drawn.
The code itself starts by moving the turtle to another location. No drawing is done here. When the turtle is in the right location, we call snowflake(), after which a snowflake will be drawn. We then repeat this again. The third time, we no longer call snowflake(), but call ball().
Finally, we move the turtle to the home location, after which we change the color of the turtle to green.
#eerst wordt de turtle bibliotheek geimporteerd
import turtle

#de turtle (de pen) wordt gekoppeld aan variabele t

t = turtle.Turtle()
#de achtergrondskleur van tet turtle-scherm wordt ingesteld op kleur ‘DeepSkyBlue’
turtle.bgcolor(“DeepSkyBlue”)

#wanneer dit wordt aangeroepen, wordt er een sneeuwvlok getekend
def sneeuwvlok():
    # – de turtle schrijft de kleur wit (pencolor)
    # – de turtle is ingesteld op de snelheid 10, schaal van 1 t/m 10 (speed)
    t.pen(pencolor=“white”, speed=10)
    #dit stukje code wordt 8x herhaald, omdat de sneeuwvlok acht takken heeft
    for i in range (8):
        #met elke tak wordt de turte 45 graden gedraait
        t.left(45)
        #de zijtakken van de sneeuwvlok worden getekent
        for i in range(3):
            for i in range(3):
                t.forward(10)
                t.backward(10)
                t.right(45)
            t.left(90)
            t.backward(10)
        t.left(45)
    t.right(90)
    t.forward(30)

#wanneer dit wordt aangeroepen, wordt er een bal getekend
def bal():
    #de vorm van de turlte wordt aangepast naar de vorm ‘turtle’
    t.shape(“turtle”)
    # – de turtle schrijft de kleur zwart (pencolor)
    # – de opvulling van de turtle krijgt de kleur rood (fillcolor)
    # – de grootte van de lijn wordt aangepast naar 5 pixels (pensize)
    # – de turtle is ingesteld op de snelheid 5, schaal van 1 t/m 10 (speed)
    t.pen(pencolor=“black”, fillcolor=“red”, pensize=5, speed=5)
    t.begin_fill()
    t.circle(50)
    t.end_fill()

#def sneeuwvlok wordt getekend op locatie x=200 y=200
t.penup()
t.goto(200,200)
t.pendown()
sneeuwvlok()

#def sneeuwvlok wordt getekend op locatie x=100 y=300
t.penup()
t.goto(100,300)
t.pendown()
sneeuwvlok()

#def bal wordt getekend op locatie x=10 y=-350
t.penup()
t.goto(10,-350)
t.pendown()
bal()

#de turtle gaat weer terug naar de home positie (x=0 y=0)
t.penup()
t.home()

#de turtle krijg een groene opvulling
t.pen(fillcolor=“green”)
t.pendown()
Result
When you have filled in the code correctly, you can click on “Run”. Then the Python Turtle Graphics will open, after which the figures will be drawn. When everything is drawn, it will look like the following:
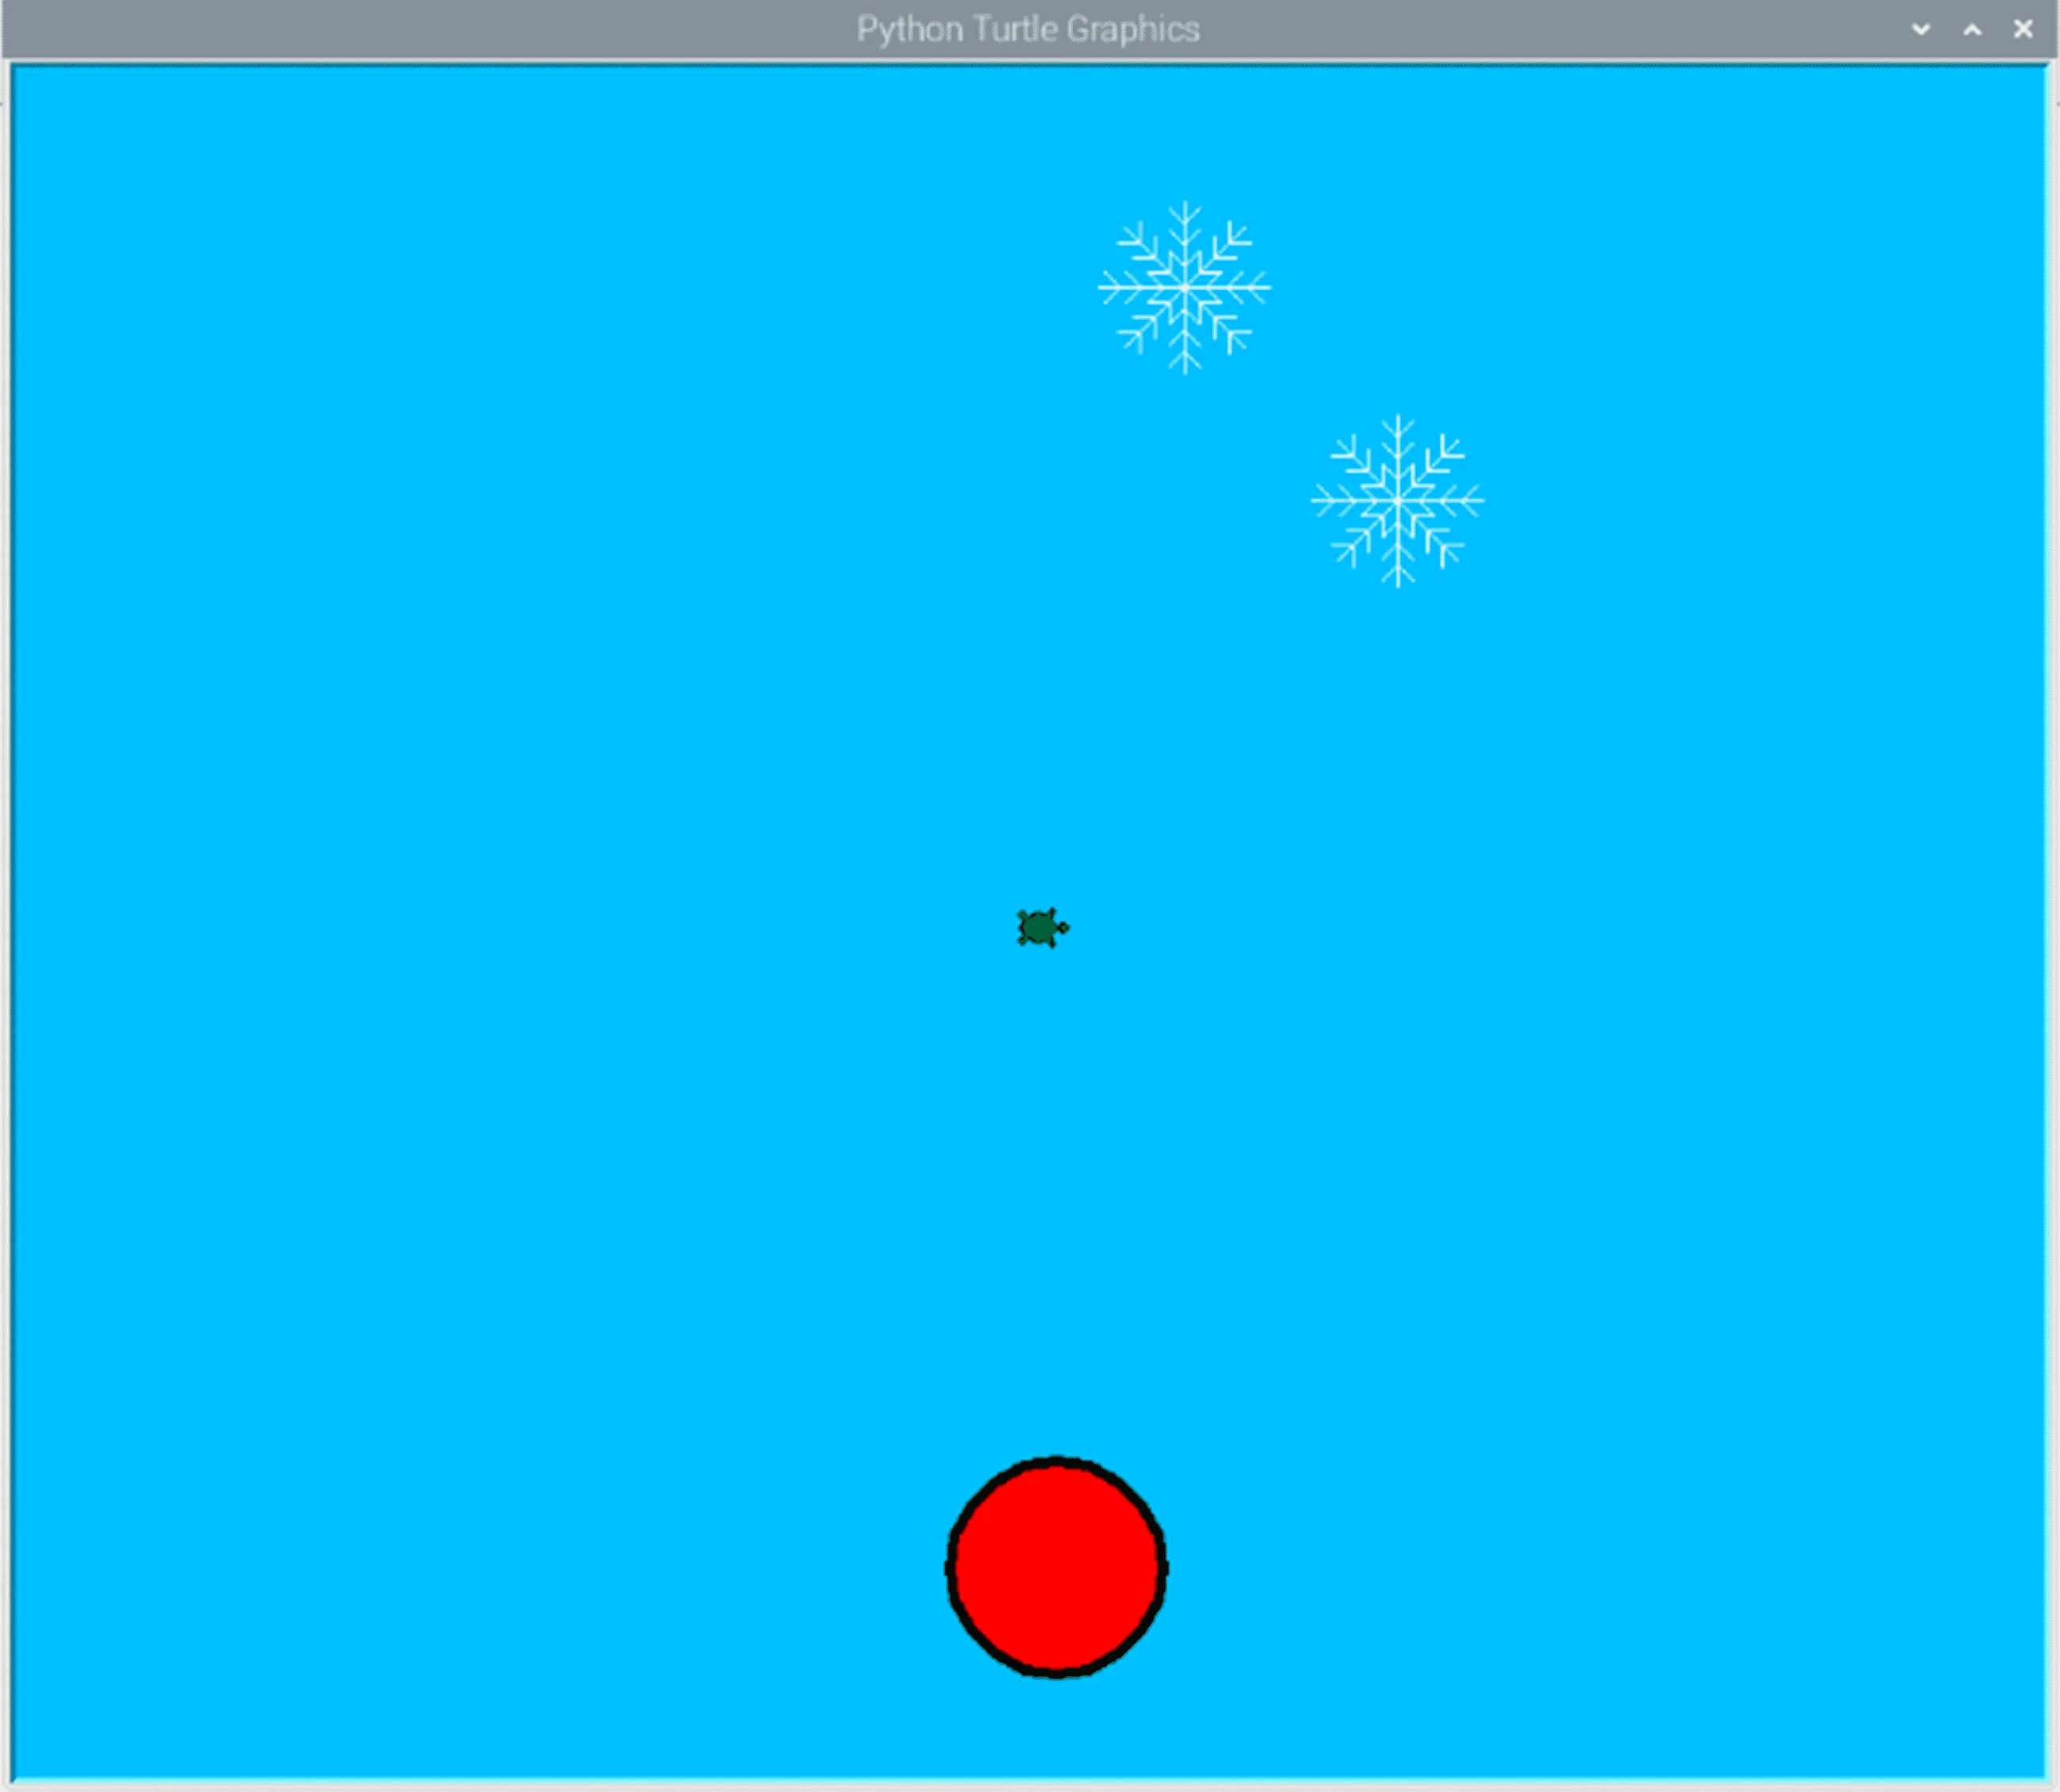
When you have completed this project, you will now know how to work with the Python Turtle library. With this you can also draw a lot of fun figures.
Footnotes
Here are the turtle functions that are further elaborated and processed in the project.
bgcolor(
This allows you to change the background color of the turtle screen. This color is placed between the brackets.
pen():
This changes the properties of the pen. In between the brackets you put what you want to change about the pen. For example, with t.pen(pencolor=”
forward(
With forward(
backward(
With backward(
right(
With right(
left(
With left(
circle(
With circle(
penup():
Normally the turtle draws a line when it changes position. With penup() you can turn this off, allowing the turtle to change position without drawing a line.
pendown():
With pendown() you do the opposite of penup(). Here you set that, when you change the position of the turtle, a line is drawn again.
begin_fill():
With bigin_fill() you set a start point for when you want to fill a figure.
end_fill():
With end_fill() you set the end of when you want to fill a figure. After calling this function, the figure will be filled with the color you set.
goto(x,y):
With goto(x,y) you quickly direct the turtle to a coordinate. Between the brackets you set this coordinate. First you state the x-axis, and then the y-axis.
home():
With home() you quickly direct the turtle to your home position. This is the coordinate (0,0).