
You have most likely heard of it or played it, Minecraft.
This very famous game is fun for young and old. It's a simple sandbox where you can build or create almost anything you can think of. Especially if you use mods. During this fun project you will learn how to make your own Minecraft server with a Raspberry Pi. Make sure you have a Minecraft account. What is nice about having your own server is that you can play on it with other people at the same time.
But now that said, have fun making this project.
- Level - beginner 40%
- Duration - 40/60 Min 60%
- Costs - € 55.29 euros complete 50%
Step 1: Requirements
- Raspberry Pi 4
- HDMI cable
- Monitor
- Mouse & Keyboard
Step 2: Building and Wiring
Before you can create your server you must Raspberry Pi connect to a monitor.
We do this by connecting the HDMI cable from the HDMI port on the Raspberry Pi in that of the screen. Your keyboard and mouse via the USB ports and the power supply via the mirco-USB connection. When you have done this you have everything connected. So now we can start creating the server.
Step 3: Download spigot
To create your server you must first download spigot. This is the file we use to assemble the server, it contains all the building blocks we need for it. Follow the steps below and run it in the Terminal.
First we create a folder for the spigot file and make sure we are in this directory.
mkdir /home/pi/spigot
cd /home/pi/spigot
Now we are going to download the spigot file that we do with this code below.
wget https://hub.spigotmc.org/jenkins/job/BuildTools/lastSuccessfulBuild/artifact/target/BuildTools.jarcd / home / pi / spigot
sudo apt-get install git openjdk-8-jre-headless

git config --global --unset core.autocrlf

java -jar BuildTools.jar
ls -latr /home/pi/spigot/*.jar
Step 4: Start up your server
Before you can start your server for the first time, you must first create a special folder for your server. Once you have made these move everything in the spigot folder to this one. The explanation for how to do this is in the code below.
mkdir /home/pi/minecraft
mkdir /home/pi/minecraft/server
cp /home/pi/spigot/spigot-1.13.2.jar /home/pi/minecraft/server
Now that you know which spigot version you have and have created a folder for your server, you can start booting your server for the first time. It probably gives an error shortly after you start it up and shuts down. This is because you have to change false to true in the eula text file
cd /home/pi/minecraft/server/
java -jar spigot-1.13.2.jar
nano eula.txtsudo apt-get install git openjdk-8-jre-headless
git config --global --unset core.autocrlf
java -jar BuildTools.jar
java -jar spigot-1.13.2.jar
stop
Step 5: Configure your server
Now you can still configure your server according to your wishes. So for example adjusting the maximum player amount and many other things. You can change all this by typing in the code below and then editing the file.
nano server.propertiesStep 6: Connecting to your server
In order to get on your server you have to switch it on again. Do this with the code below.
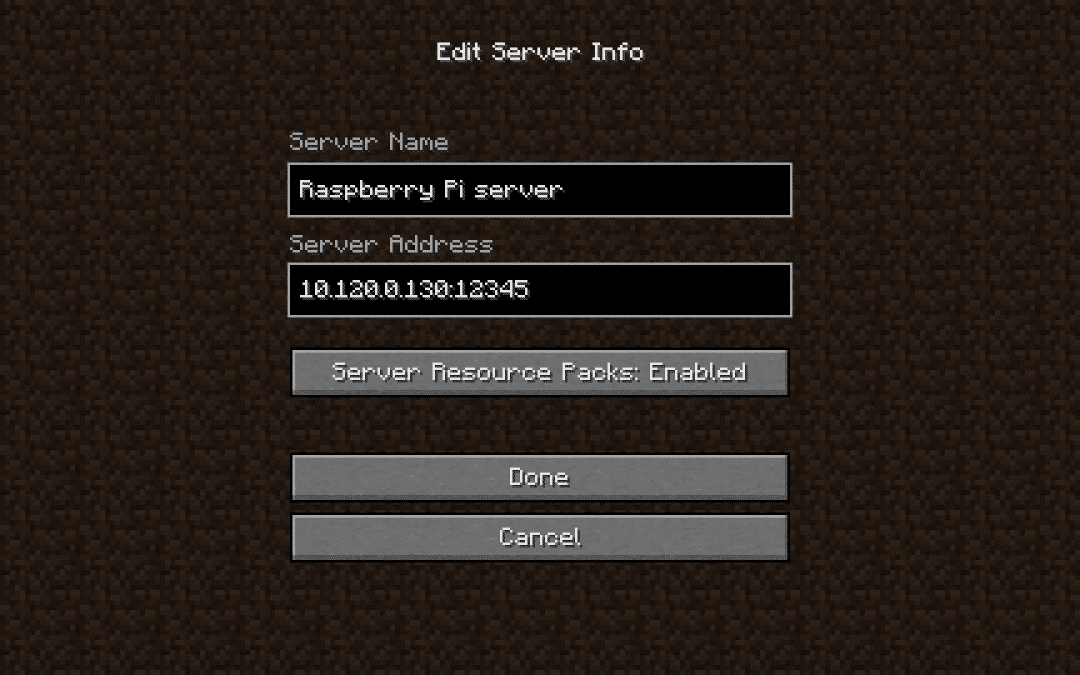
java -jar spigot-1.13.2.jarNow you have to start Minecraft in the same version as your spigot so in my case 1.13.2. Once it's started, you'll go to multiplayer. Then select add server and type your ip address Raspberry Pi in with there behind the port. The port is 25565 by default but this can be changed in the properties file.
Now your Minecraft server is ready have fun playing.
Are you happy with the result?
Have you completed this project to your satisfaction and would you like to learn more about programming?
Perhaps it is programming this online course what for you!