4.7 avg.
5158+ reviews5158+ reviews
Order by 16:00 for same day shipping
14 days return
EN
Individual
Business
Filters
Price
to
Raspberry Pi
RAM
Software
Cable length
Raspberry Pi
Are you looking for a powerful Single Board Computer (SBC)? Then you should buy a Raspberry Pi ! It allows you to, among other things, computerize, control your home automation, develop machines and much more. View our full range of Raspberry Pi here .
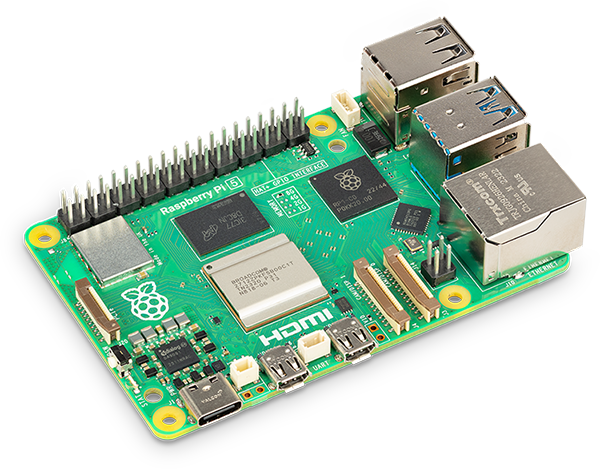
Raspberry Pi 5
Raspberry Pi Boards
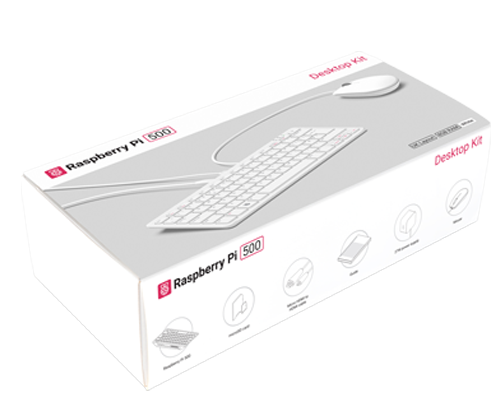
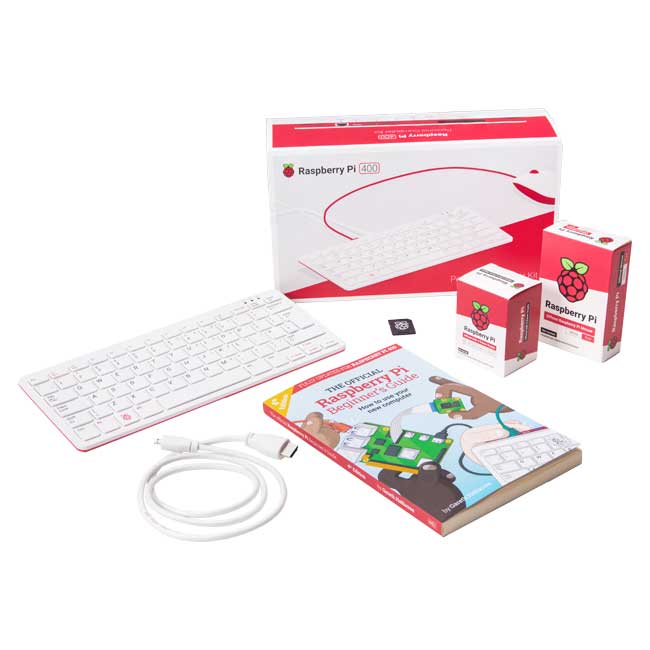
Raspberry Pi Kits
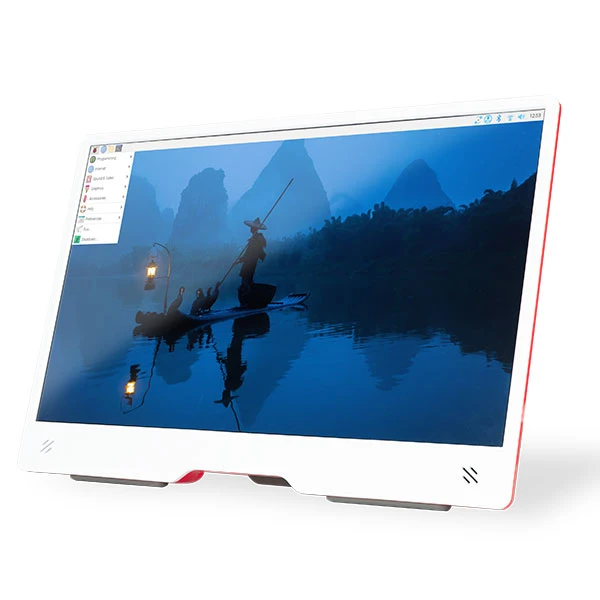
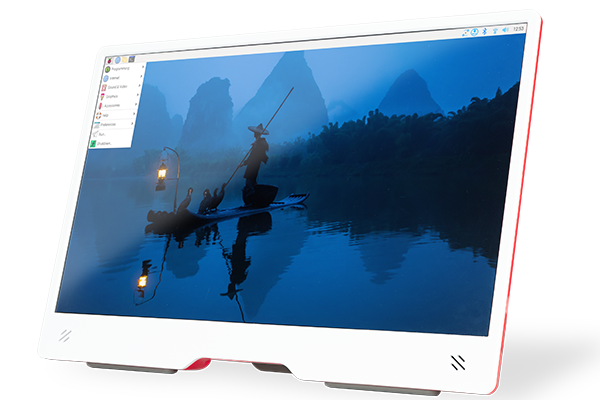
Raspberry Pi Displays
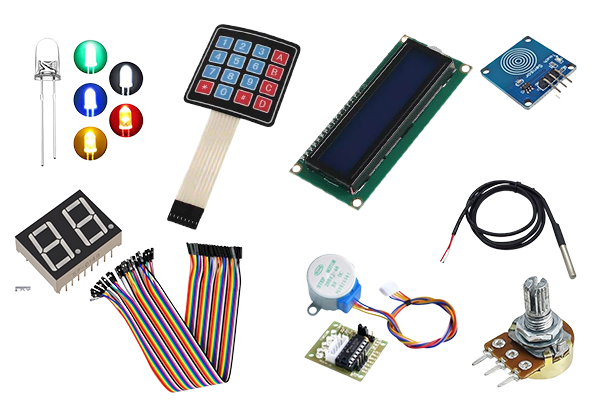
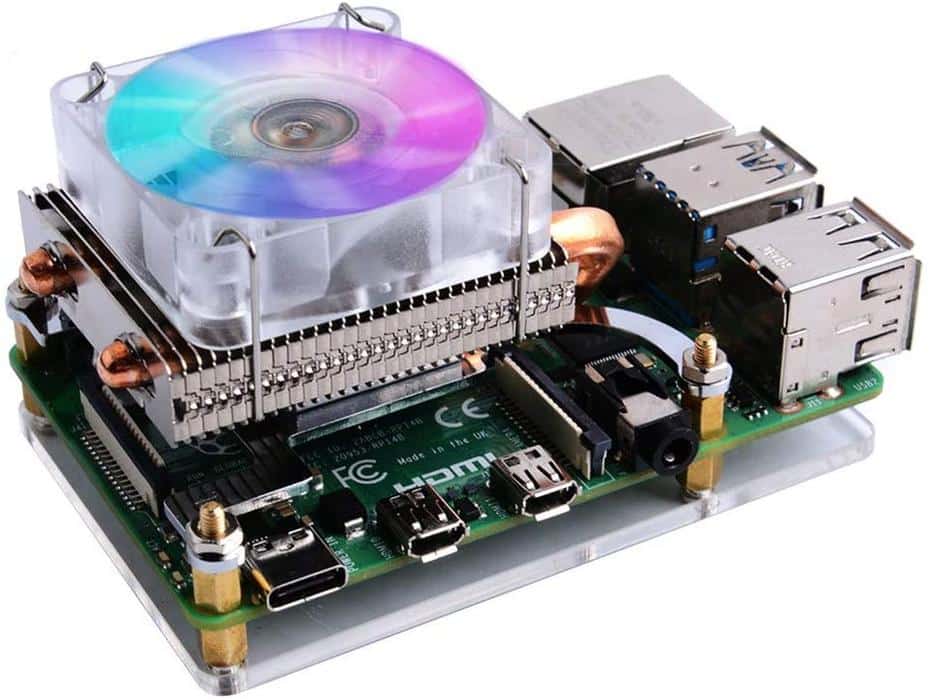
Raspberry Pi Accessories
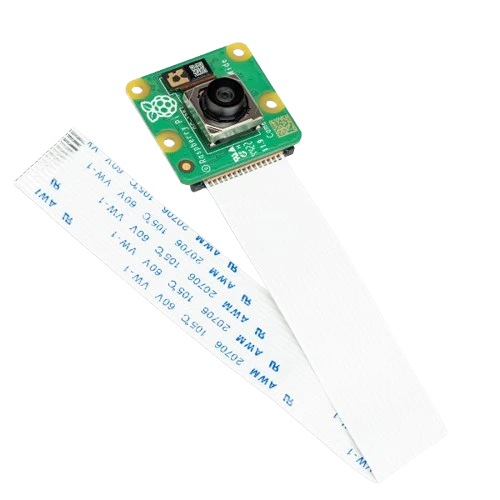
Raspberry Pi Camera
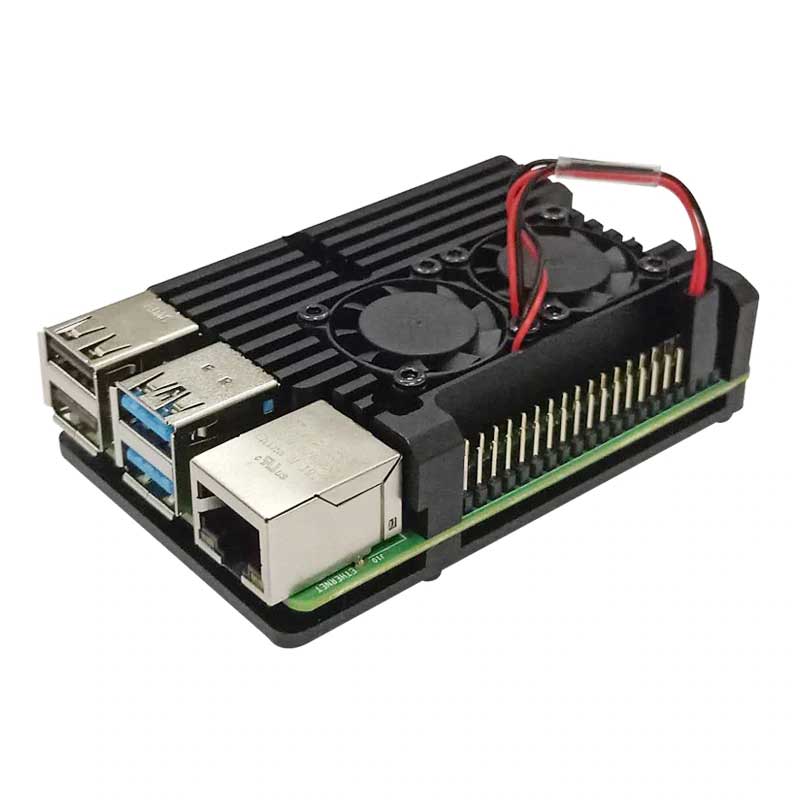
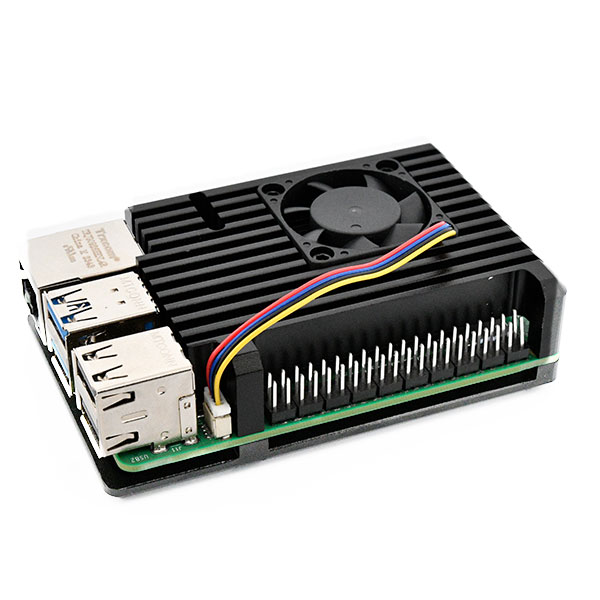
Raspberry Pi Case
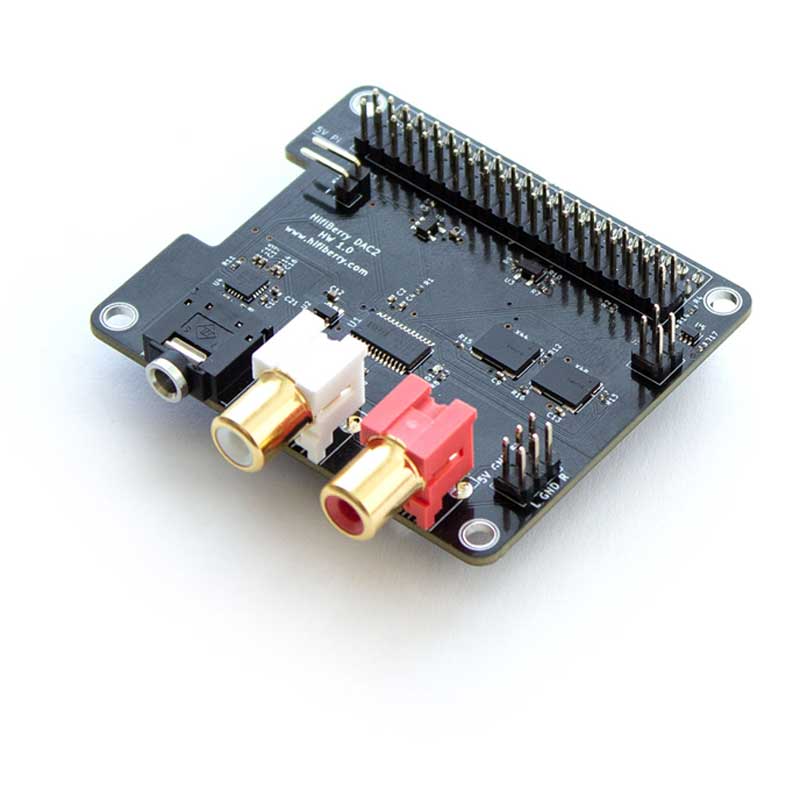
HAT & pHAT
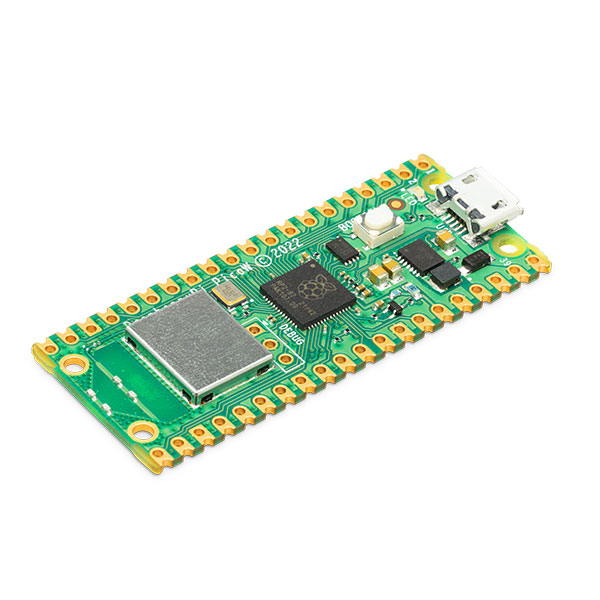
Raspberry Pi Pico
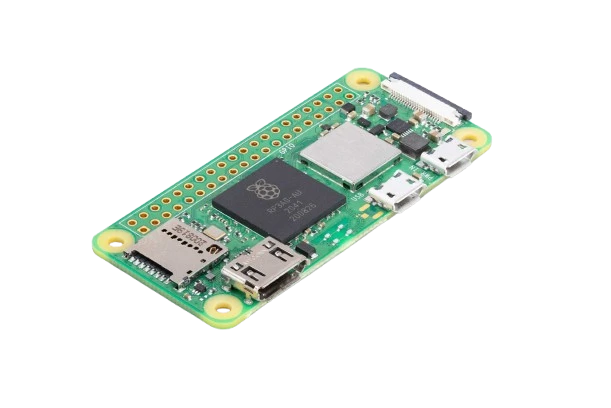
Raspberry Pi Zero
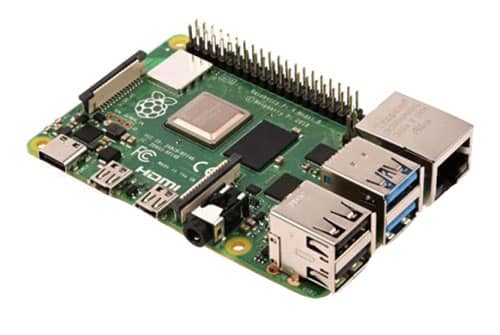
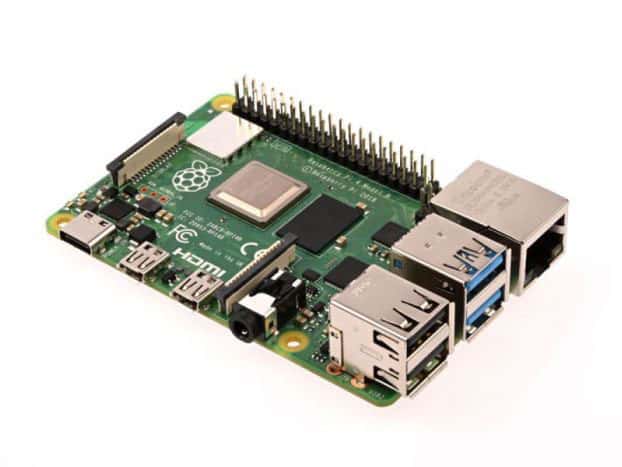
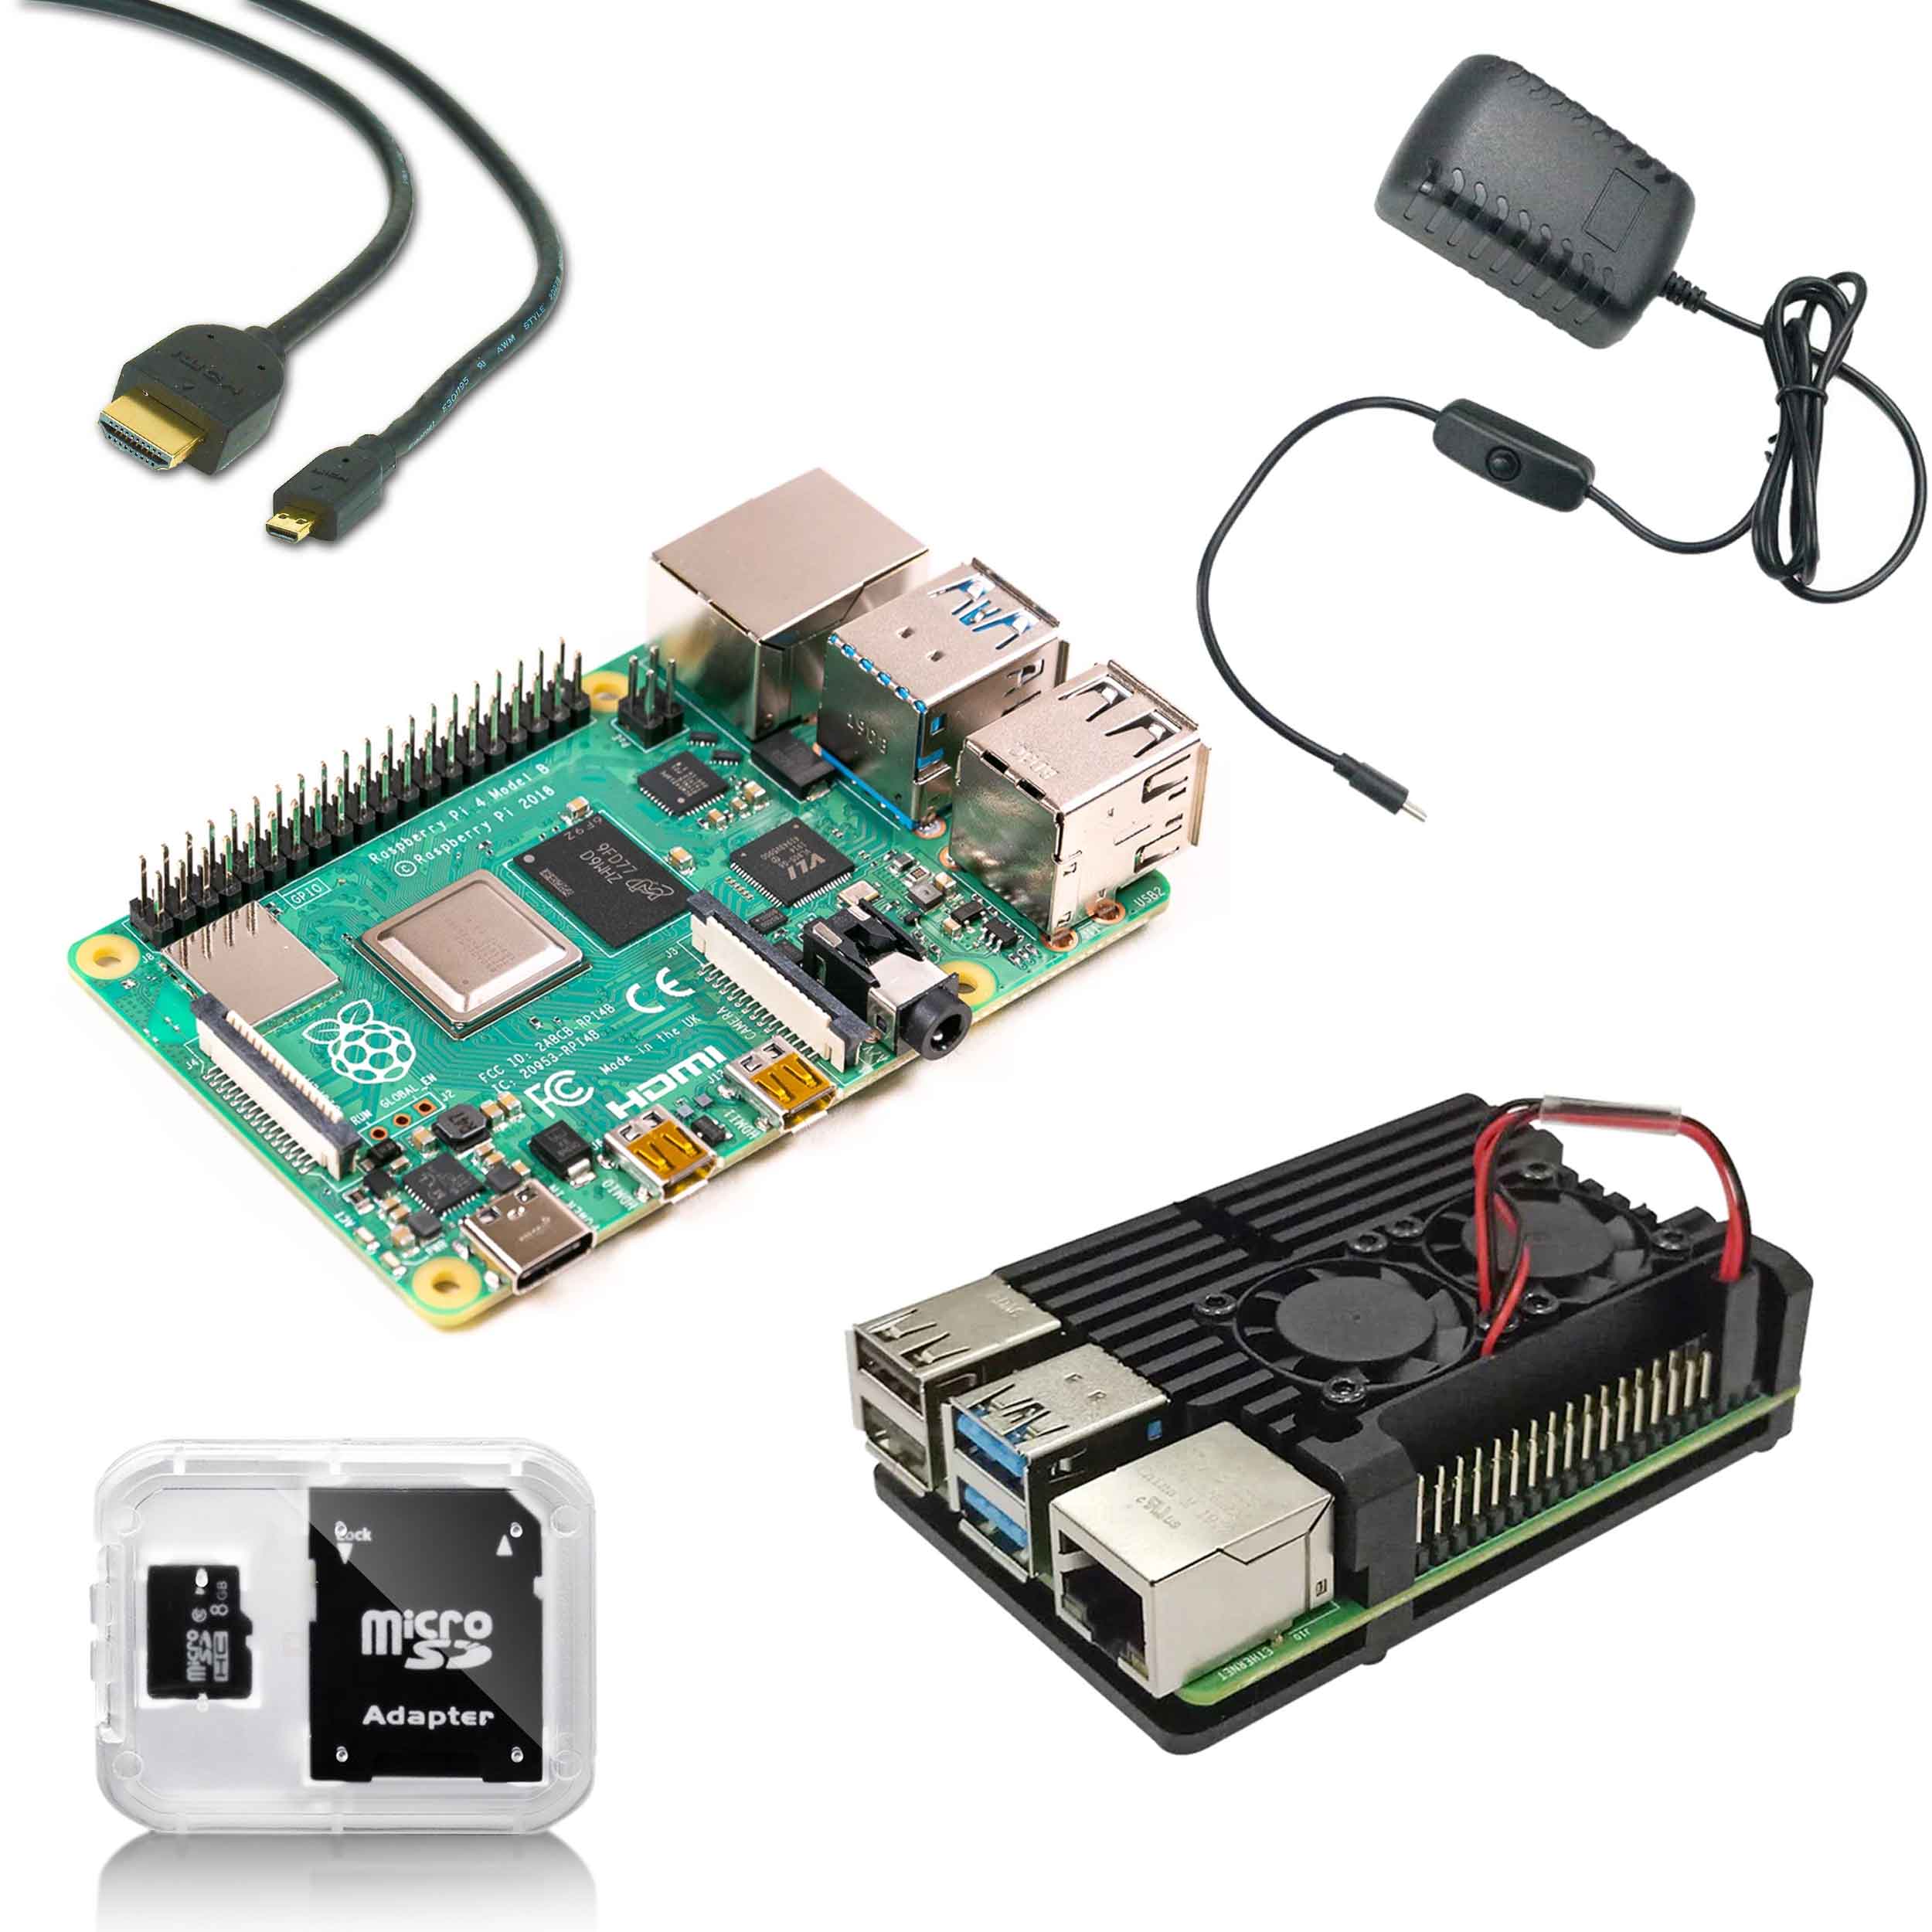
Raspberry Pi 4
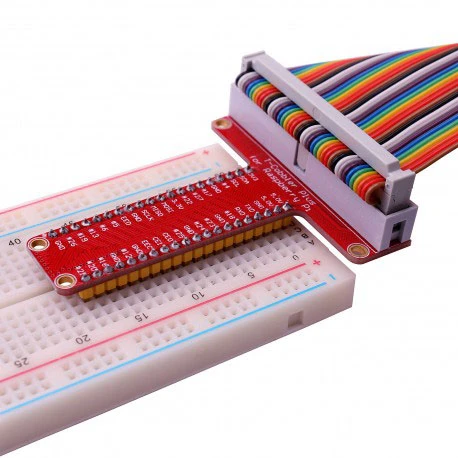
Raspberry Pi GPIO

Raspberry Pi 3
252 products found
Sort by:


Raspberry Pi : what types are there?
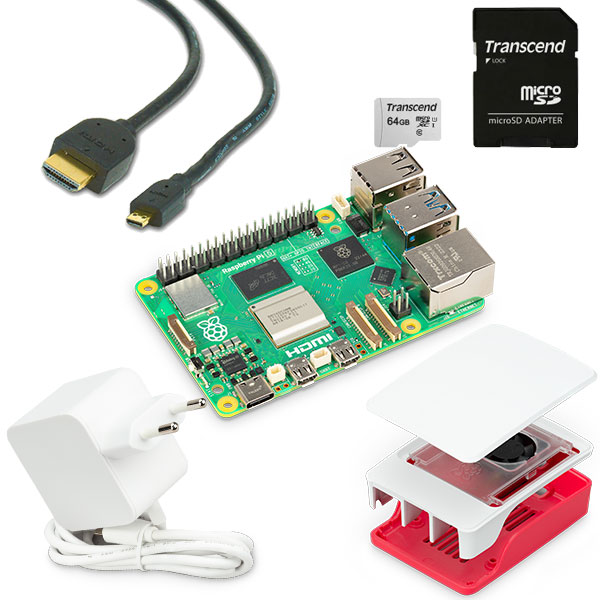
If you are not yet familiar with the Raspberry Pi products, you will be amazed by the possibilities. There are two types of Raspberry Pi boards. The Raspberry Pi Pico's (microcontroller boards) and the Raspberry Pi mini computers. The Pico's offer a cheap solution to read inputs and control outputs. Think of a light that goes on when a sensor detects that it is dark. Or a robot that can drive autonomously. The Raspberry Pi mini computers are the most popular and well-known products. The newest types of these are the 4B and Zero 2 W.
So the Raspberry Pi is a small computer, but what can you do with it? It is ideal for making lots of fun and challenging projects. You can make projects with the Raspberry Pi such as:
- A desktop computer
- Create and play your own games
- Automating your home (home automation)
These are just a few projects that are possible with the Raspberry Pi . You can choose which software you use on a Raspberry Pi . You can install this software on a Micro-SD card or on an SSD. By connecting this to the Raspberry Pi you can get started quickly.
What should you consider when buying a board?
The electronicsforyou.com /product-categorie/raspberry-pi/raspberry-pi-4/"> Raspberry Pi 4 is a newer version of the Raspberry 3 B+. The Raspberry 3 B+ comes standard with 1 GB RAM. The Raspberry 4 is available with 2 GB, 4 GB or 8 GB RAM. Consider what you want to use the Raspberry Pi for and how much RAM you think you need. Both boards have WiFi, Bluetooth, Ethernet and 4 USB ports. They also both have a 40-pin GPIO header. This is used to connect electronic components. Do you have any questions about Rasberry Pi? Feel free to email us at: electronicsforyou.com ">info@ electronicsforyou.com . Or call 033 - 200 3116. We are happy to assist you in choosing your Raspberry Pi and its accessories.