4.7 avg.
5158+ reviews5158+ reviews
Order by 16:00 for same day shipping
14 days return
EN
Individual
Business
Filters
Price
to
Brand
Arduino Type
Arduino WiFi
Arduino USB
Shield Type
MKR Type
Arduino
Arduino is an Italian company that develops Open-source single-board computers. These computers are based on a simple microcontroller board and a user-friendly programming environment. Each board has a number of inputs and outputs. The inputs can be used to read various sensors. The outputs can be used to control lights, small motors, relays and other actuators. A board can work Stand-alone, but can also be connected to a computer system. In the free downloadable programming environment: IDE, you can write codes that are based on C++. All Arduino products
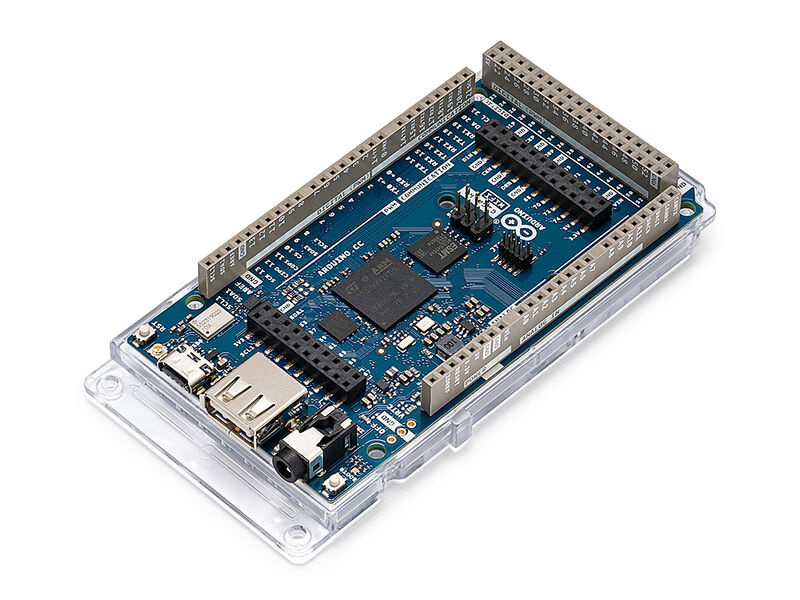
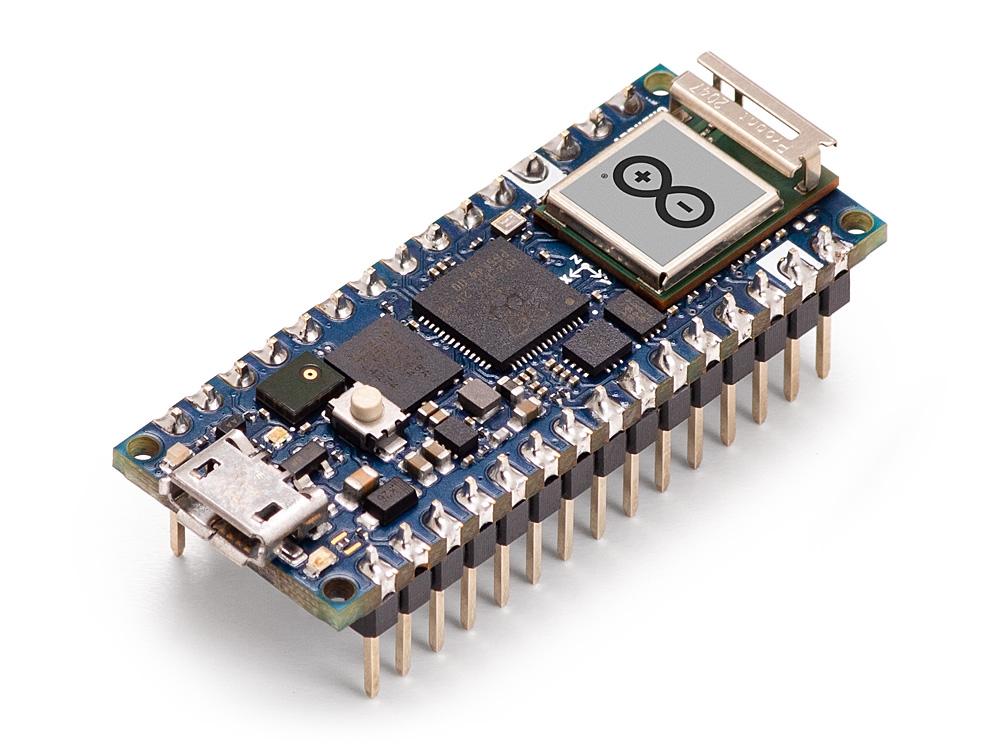
Arduino Boards
Arduino starter kits
Arduino Shields
Arduino Accessories
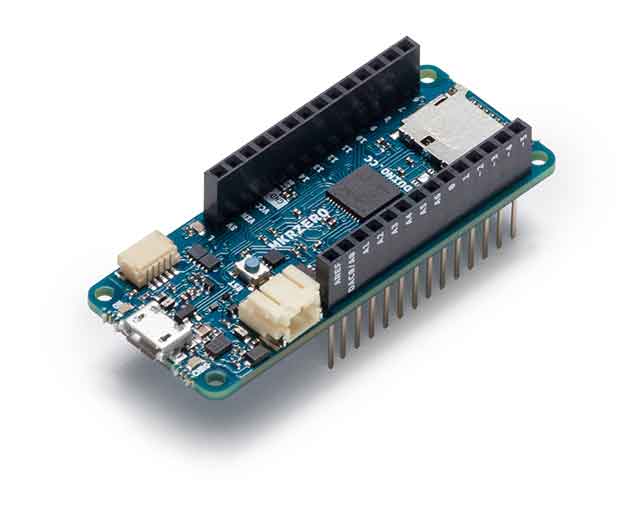
Arduino MKR
104 products found
Sort by:


Why buy an Arduino?
What should you pay attention to when buying an Arduino?
Arduino is the world leader in open-source hardware & software.
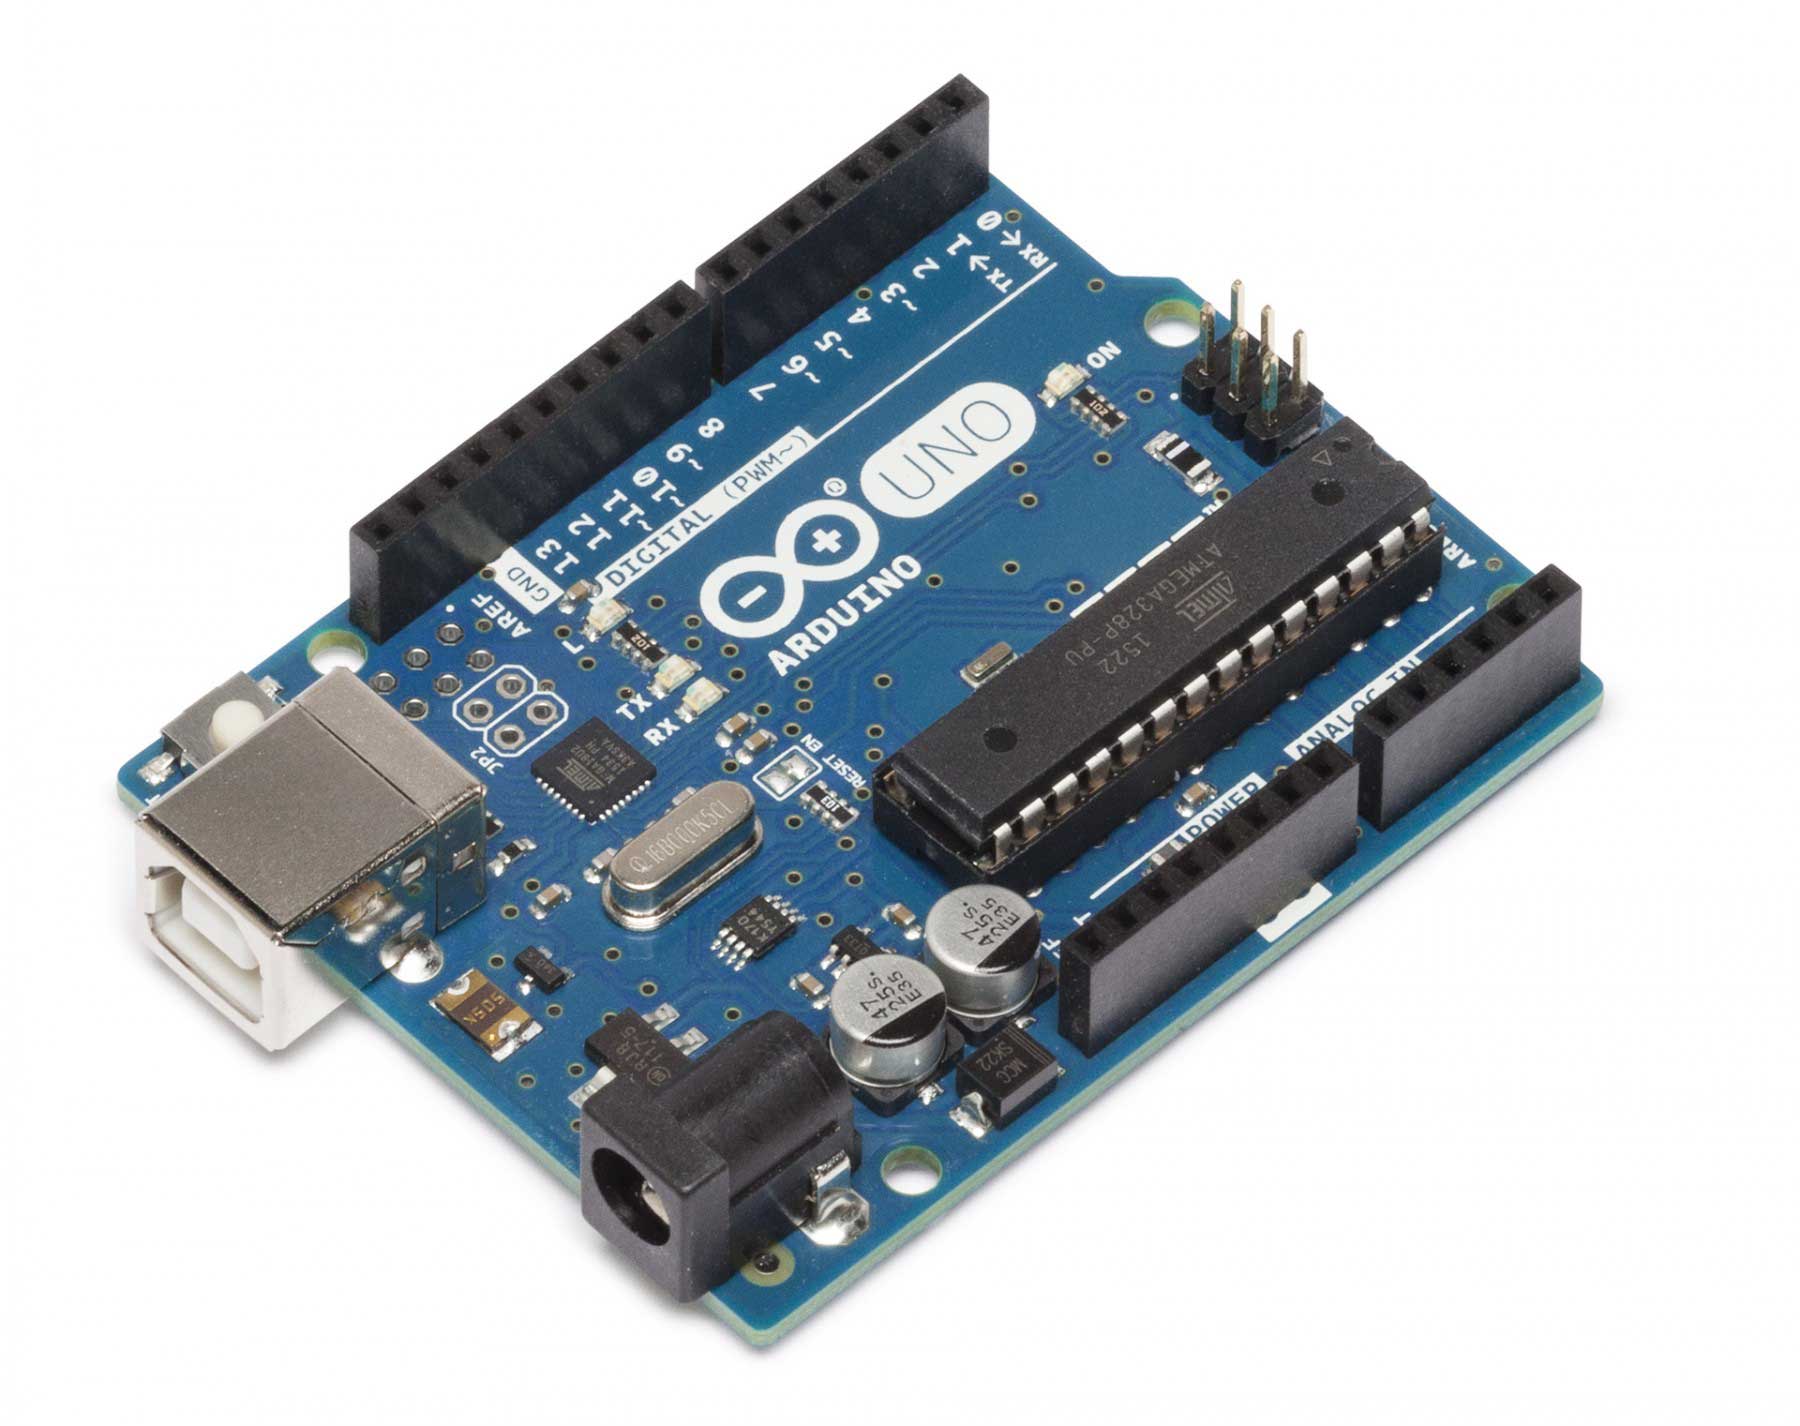
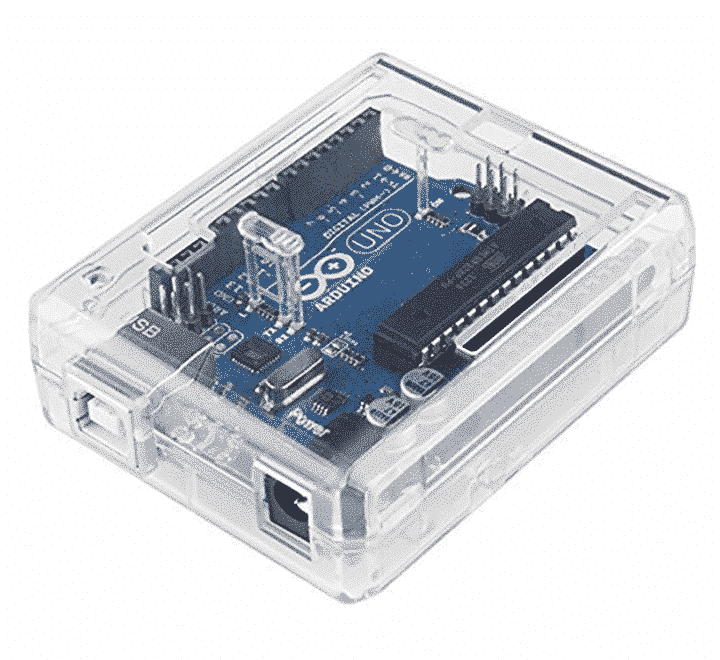
There are various Arduino Board s available, each with its own characteristics. It is therefore good to first consider what you want to do with the board before you buy one. The Arduino Uno is the most popular and is a good choice for beginners and standard projects. The Arduino Nano is comparable to the Uno but has a smaller size which makes it better suited for small projects. The Mega offers extra I/O pins for larger projects.
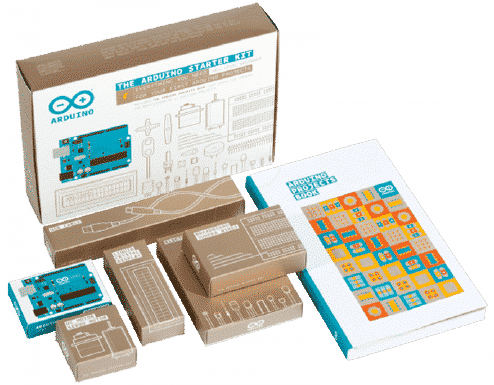
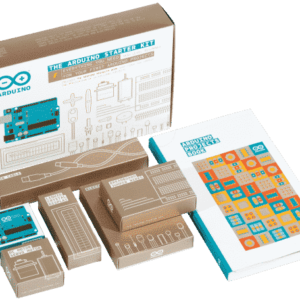
Arduino starter kits
Starter Kits are packed with information and hardware.
There are many similar kits, however they all differ slightly.
It is therefore important that you choose a kit that suits your way of learning!
Learning progress is largely determined by the projects and hardware you use during the various projects. There are 3 important things to consider when buying a starter kit.
1, Which board do you want to use?
2, Which components do you find interesting?
3, How do you want to learn? (From a book or digitally)
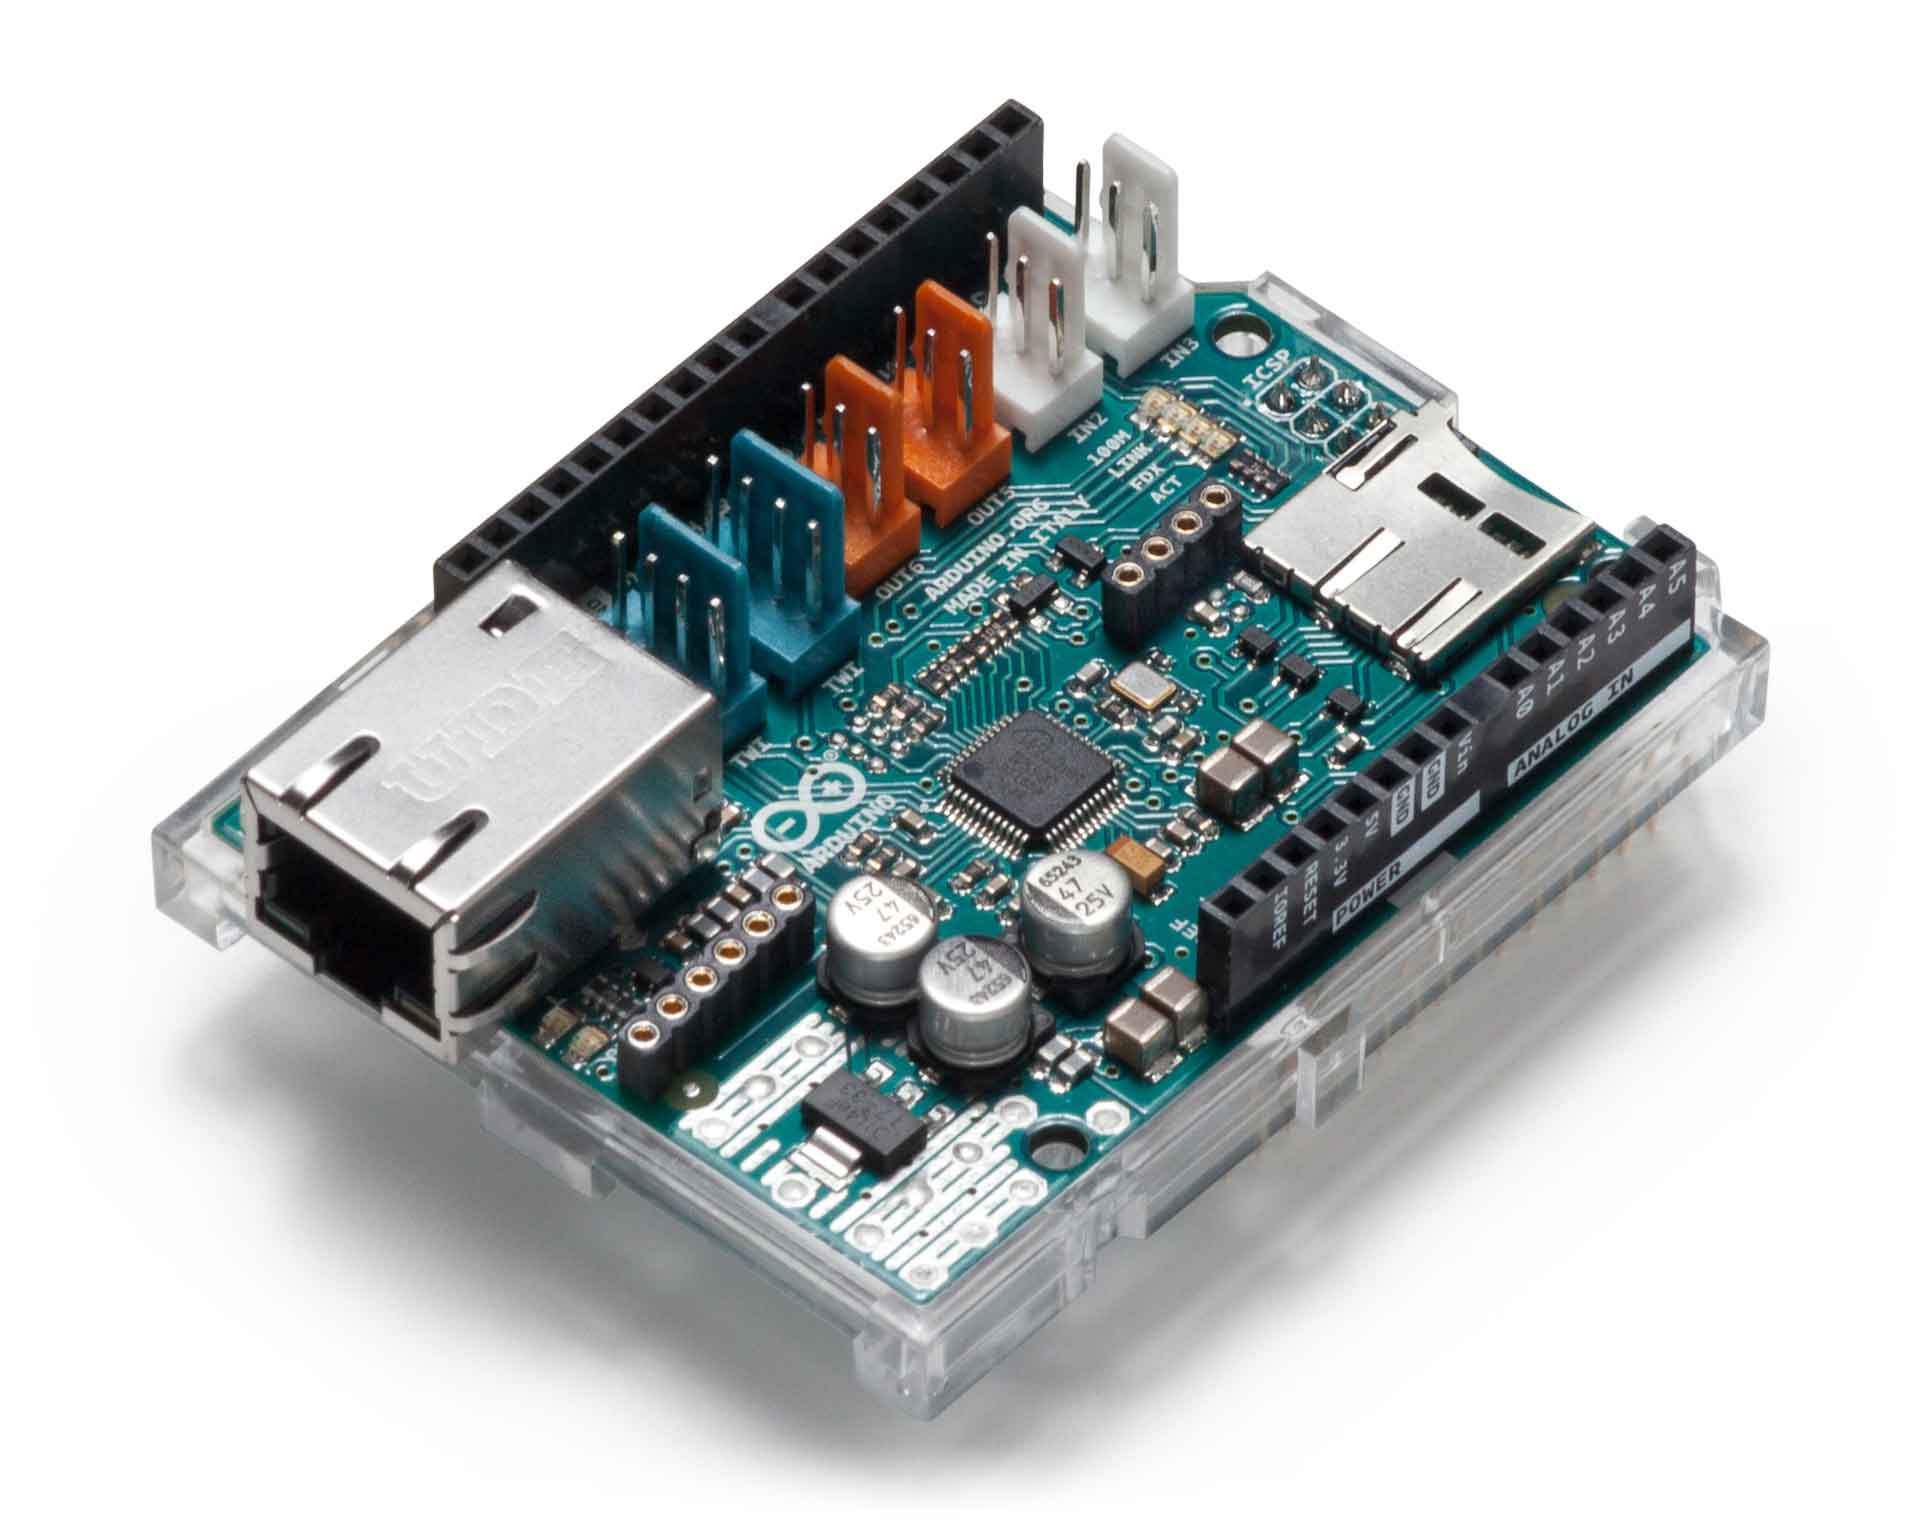
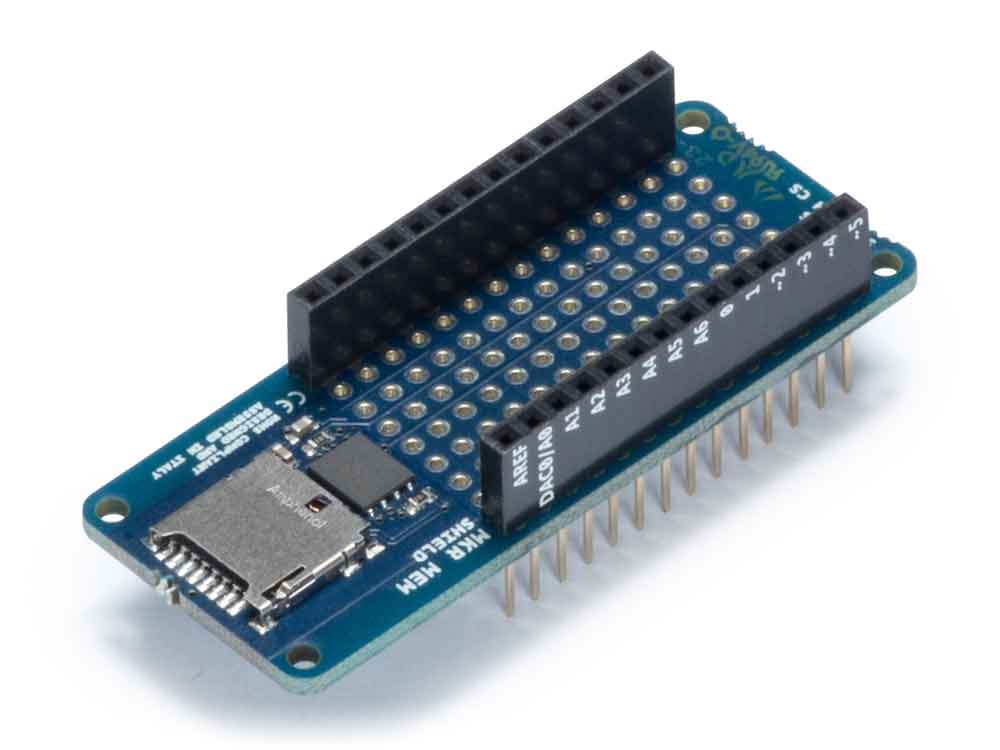
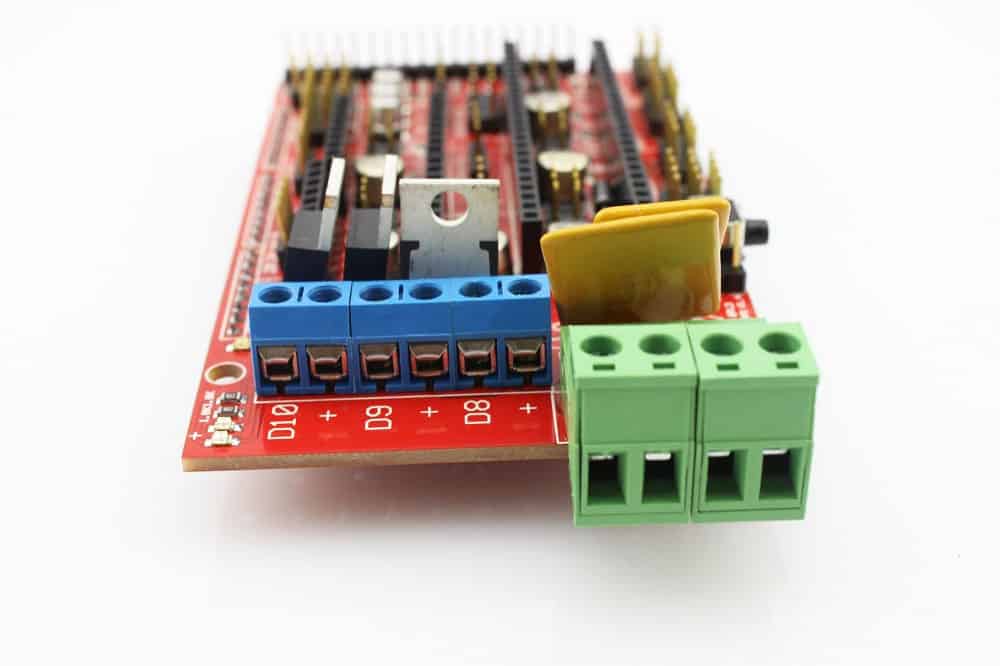
Arduino Shields
Arduino Shields are printed circuit boards that you can place on a board such as the Uno.
These shields ensure that the board is expanded with additional functionalities.
If you want to control motors, you can use a motor shield, for example.
Do you want to connect your Arduino board to the internet? Then you use an Ethernet shield for example.
Arduino itself has a few Shields available but there are also other companies that develop good shields. There are numerous shields, each with its own functionalities.
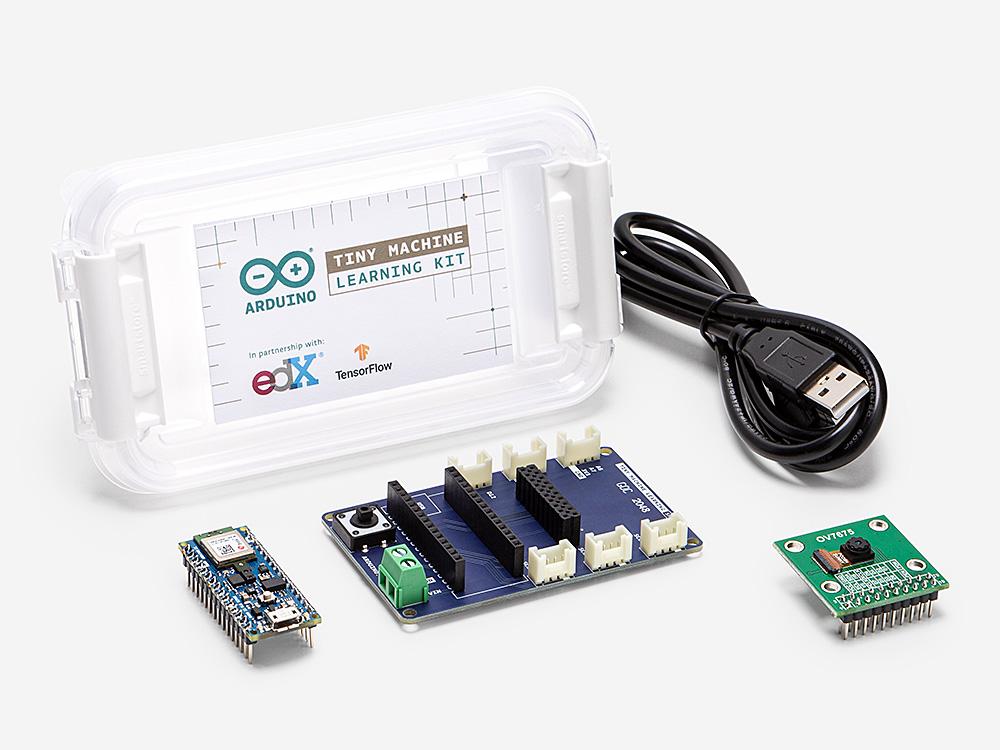
Arduino MKR Family
The Arduino MKR boards combine the power of a 32-bit Arm microcontroller.
With a choice of integrated WiFi, GSM, NB-IoT, SigFox or LoRa connectivity.
They are powered by the same Arduino IDE that millions of users know – making IoT accessible for beginners and productive for professionals.
MKR boards are designed with end products in mind. All boards are FCC, RoHS and CE certified. The MKR Board s have a robust mechanical design. This makes them ideal for industrial applications. This can be done in combination with the RS 485, CAN or Ethernet shields. A special crypto chip means efficient, secure internet connectivity with TLS support.