
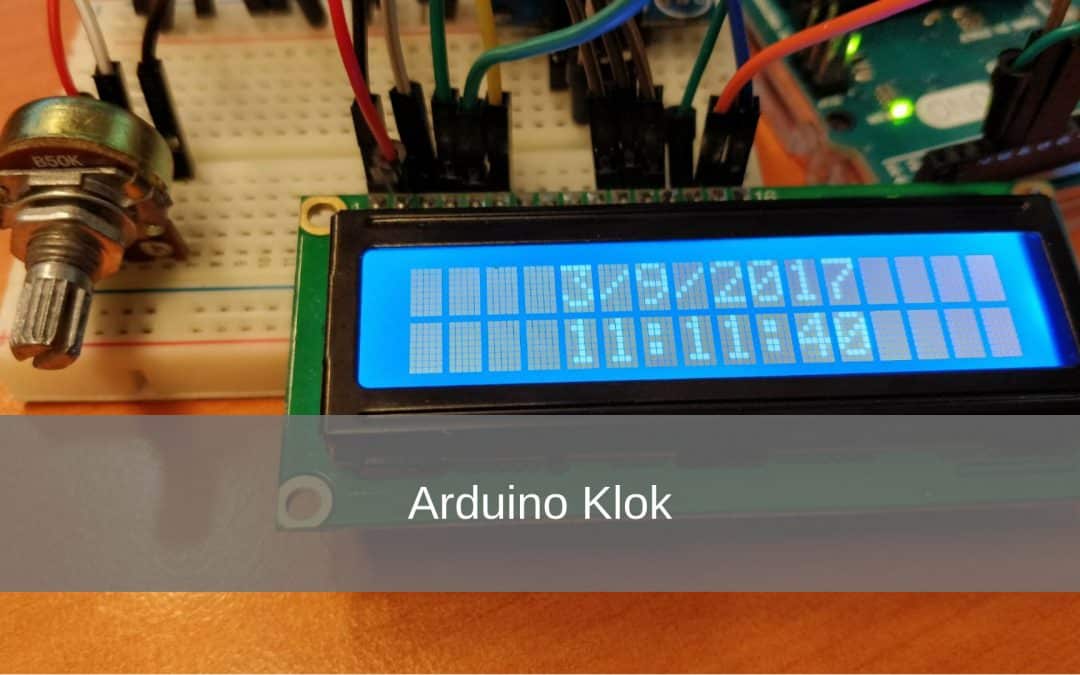
In this project I will show you how to make an Arduino clock yourself
With this Arduino clock you can see the date and time.
In this project we use a 16 × 2 LCD screen, a real time clock module and a potentiometer. The real time clock (from now on RTC) is actually a watch but in an electronic form. If the power goes out of the Arduino, the RTC will continue because it will run on a small battery. This way he can keep time for 7 years. This is especially useful if you want to run the Arduino clock on a battery. If the battery runs out, you do not always have to set the time correctly. We use the potentiometer to change the brightness of the LCD screen.
- Level - average 45%
- Duration - 40/60 Min 45%
- Costs - € 48.85 euros complete 30%
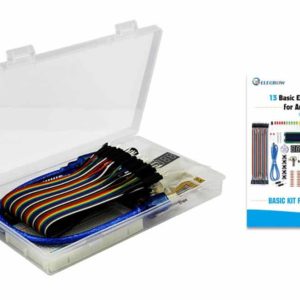
Step 1: Requirements

Step 2: Building and Wiring
Now we are going to build the project
We'll start by soldering the pin headers to the RTC. Do this according to the pictures below. If you look closely you can see that I put the RTC upside down on the breadboard have placed. I did this so that he is better on the breadboard fits as my pin headers were not long enough. You have to see for yourself what you find easiest. Make sure that you use the correct connections on the RTC.
After you have soldered the pinheaders you can place the components according to the drawing. After that you can start wiring the components and the Arduino.
It is important that you connect the correct components to the correct Arduino pins, otherwise the code will not work!
RTC -> Arduino Uno
SCL -> pin A5
SDA -> pin A4
VCC -> 5V
GND -> GND
LCD -> Arduino Uno
VSS -> GND
VDD -> 5V
VO -> potentiometer signal
RS -> pin 12
RW -> GND
E -> pin 11
D4 -> pin 5
D5 -> pin 4
D6 -> pin 3
D7 -> pin 2
A -> 5V
K -> GND

Step 3: Programming
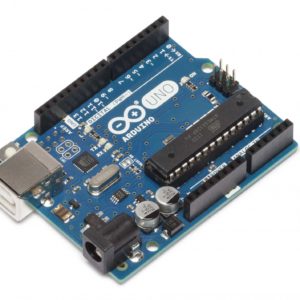
Now that you're done wiring and building your Arduino Alarm, you can start programming the Arduino Uno.
We also need to add a library for this code.
A Library or Include file often contains code that can often be reused in other Sketches. Often libraries (libraries) are a collection of related functions aimed at a particular application. For example to control a strip with LEDs, special mathematical functions or, for example, to control an LCD screen.
We use the library for the RTC, otherwise he doesn't know what to do.
Download the Library here
To add the Library to the IDE we need to copy the RTC folder or move it to the libraries folder.
this folder is normally found in C: \ Users \ (name) \ Documents \ Arduino \ libraries
You can then completely copy and paste the code below into the Arduino IDE.
Upload the code to the Arduino Uno and see if it works.
The LCD screen should be lit and the correct date and time will be displayed.
With the potentiometer you can change the brightness of the LCD screen.
If so, the LCD screen is on but nothing indicates you have to turn the potentiometer to the left or right.
Now copy the code below into your Arduino program, we recommend that you take it over yourself as you learn more from this.
#include
#include // make sure you put the RTC folder in the correct libraries folder
#include
RTC_DS1307 RTC;
const int rs = 12, and = 11, d4 = 5, d5 = 4, d6 = 3, d7 = 2;
LiquidCrystal lcd (rs, and, d4, d5, d6, d7);
void setup () {
Serial.begin (9600);
Wire.begin ();
RTC.begin ();
lcd.begin (16, 2);
// the next sentence resets the time from the RTC to the time when this code is uploaded to the Arduino
RTC.adjust (DateTime (_DATE, __TIME_));
}
void loop () {
DateTime now = RTC.now ();
lcd.setCursor (4,0);
lcd.print (now.day (), DEC);
lcd.print ('/');
lcd.print (now.month (), DEC);
lcd.print ('/');
lcd.print (now.year (), DEC);
lcd.print ('');
lcd.setCursor (4,1);
lcd.print (now.hour (), DEC);
lcd.print (':');
lcd.print (now.minute (), DEC);
lcd.print (':');
lcd.print (now.second (), DEC);
lcd.print ('');
delay (1000);
}
I hope you managed to make the Arduino clock!
Another comment I want to add to this project: The fact that you always load the RTC with an old date when you turn the setup off and on is of course extremely strange, why do you need a backup battery at all. You should definitely remove the loading of that date if you want to use the clock normally. You actually have to design some mechanism to set the clock. I did that with a so-called rotational encoder, but you can also connect a few push buttons to your arduino.
The next day turned on again and then it turned out to work. Maybe it took some getting used to. Time is now 15 hours behind.
Hi Jan,
Thanks for your response. Can you upload the code again? The current time is then also uploaded to the Arduino.
Good luck with the project!
I mean, I don't see a time on the display yet.
This is not how the code works, to begin with you should not use strange qoutes (open and close quotes) for the print statements that belong in a word processor. So the quotes here should all be replaced by normal ascii quotes. In addition, it works RTC.adjust (DateTime (_DATE, __TIME_)); either, it must be (__DATE__, __TIME__).
I have now built it and put in the program, but I still see it appear on the display for a while.