
Raspberry Pi Starter Kit Manual
Assemble the Case
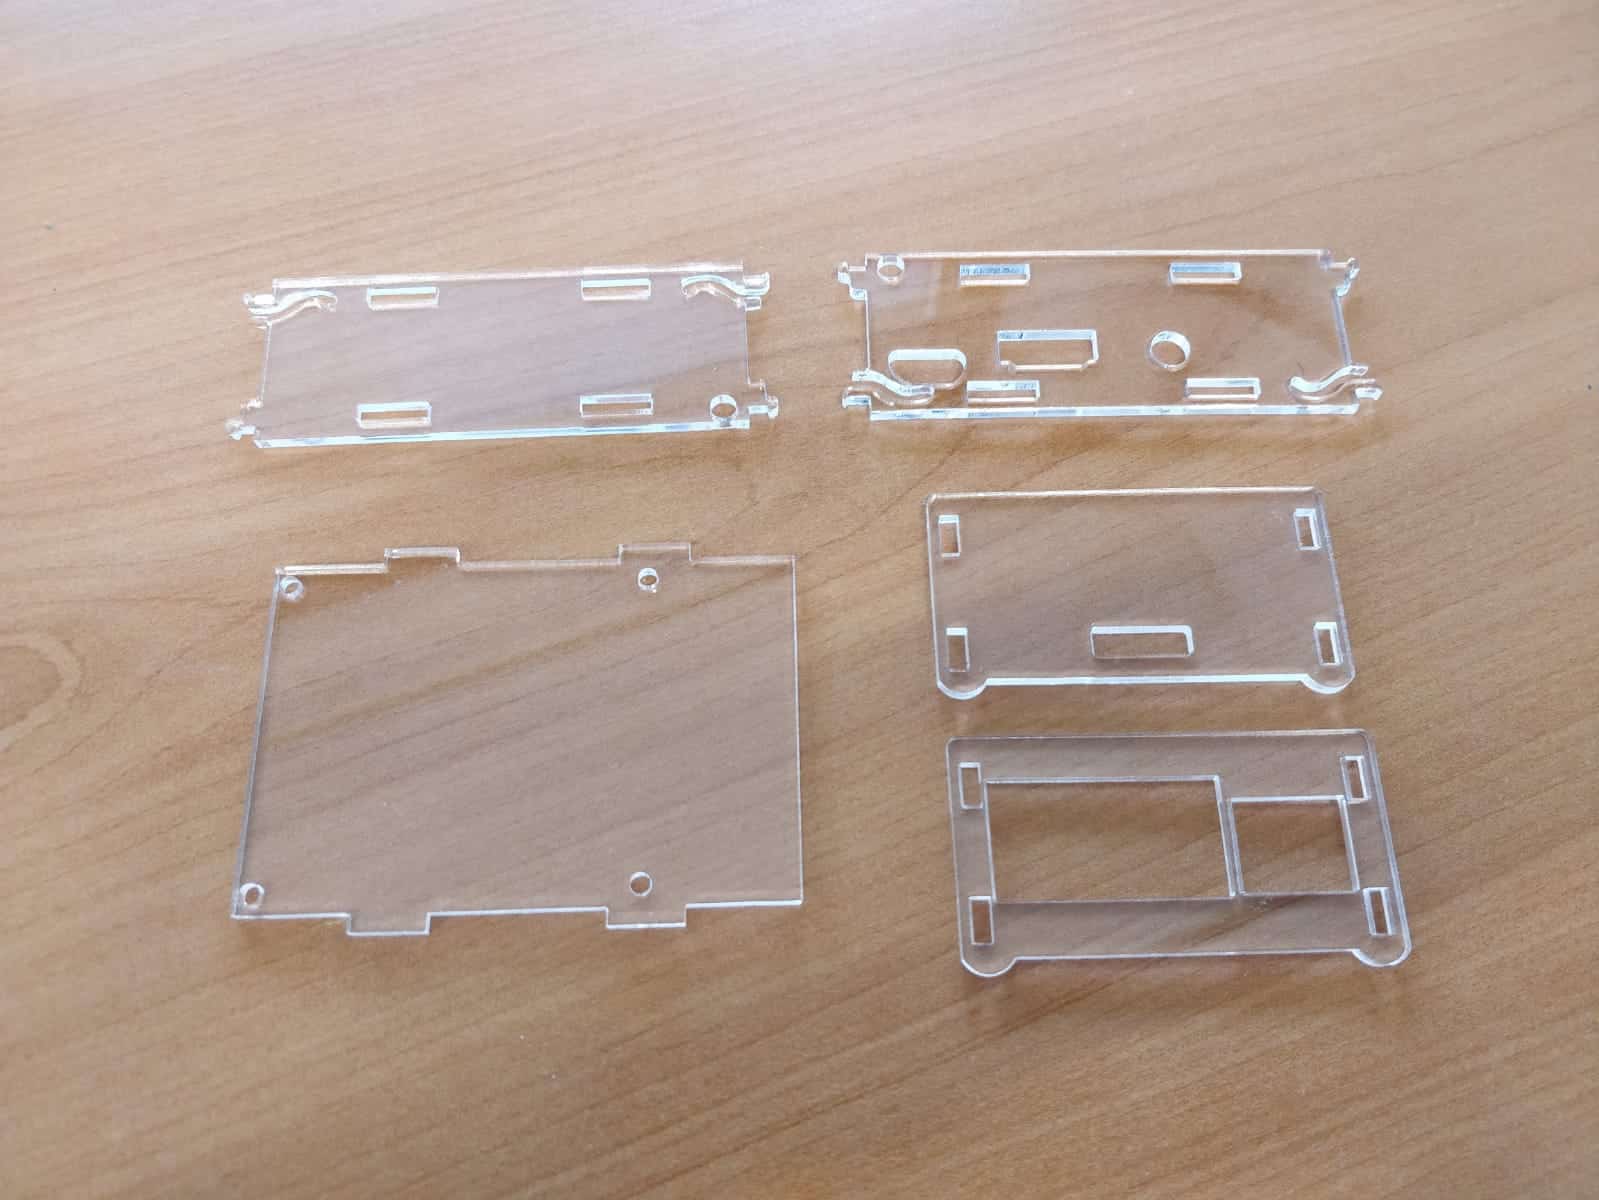
Step 1:
Make sure that the holes on the case are the same as those of the RPI
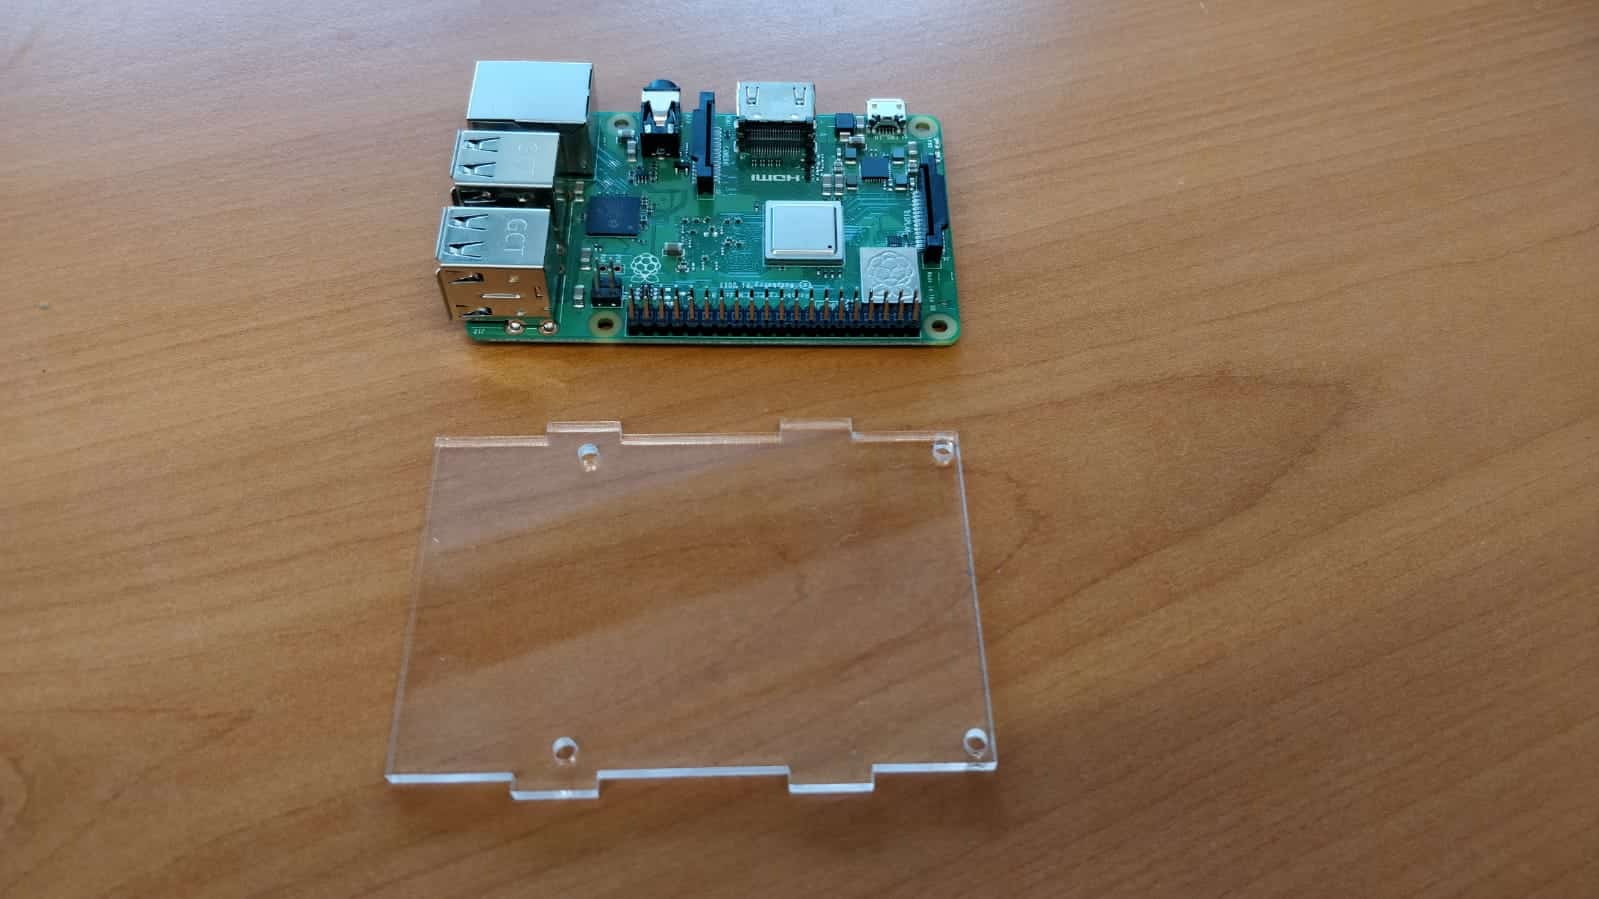
Step 2:
Mount the RPI on the acrylic plate using the bolts and nuts.
You can choose to use the spacers. We have not done this since it is not necessarily necessary.

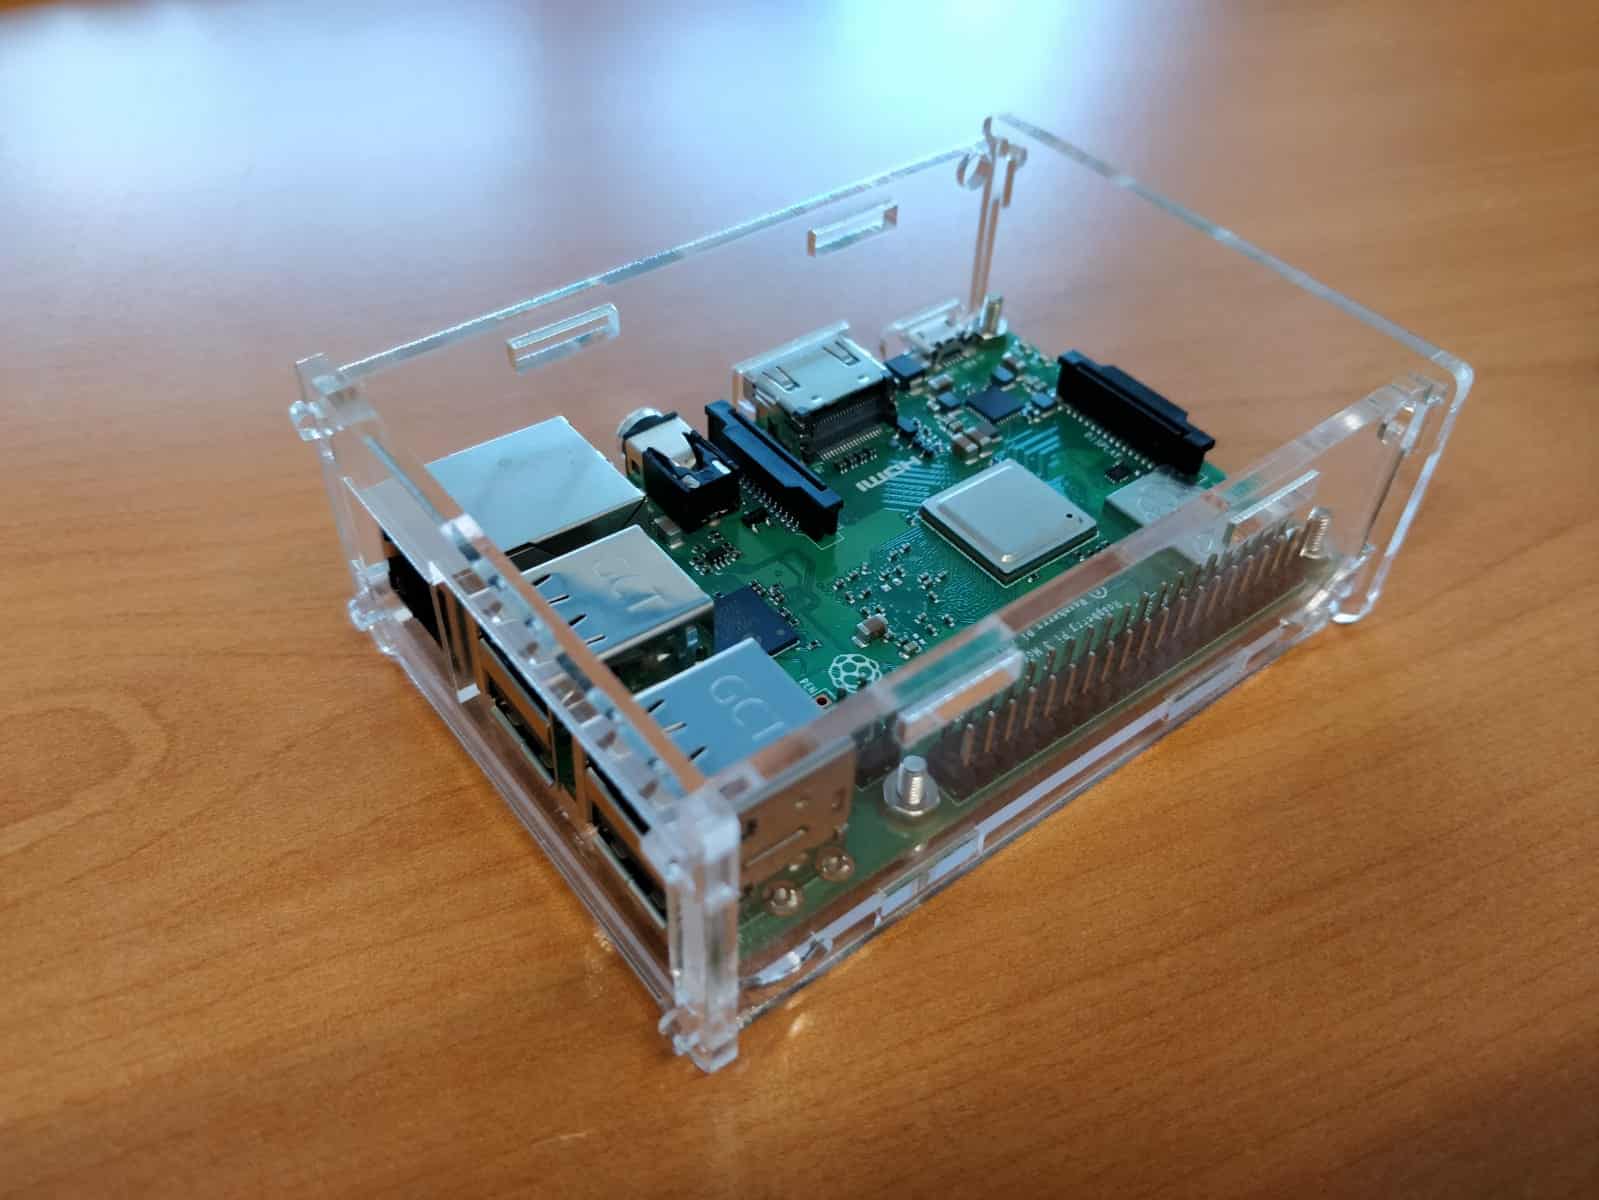
Step 3:
Install the side walls as shown
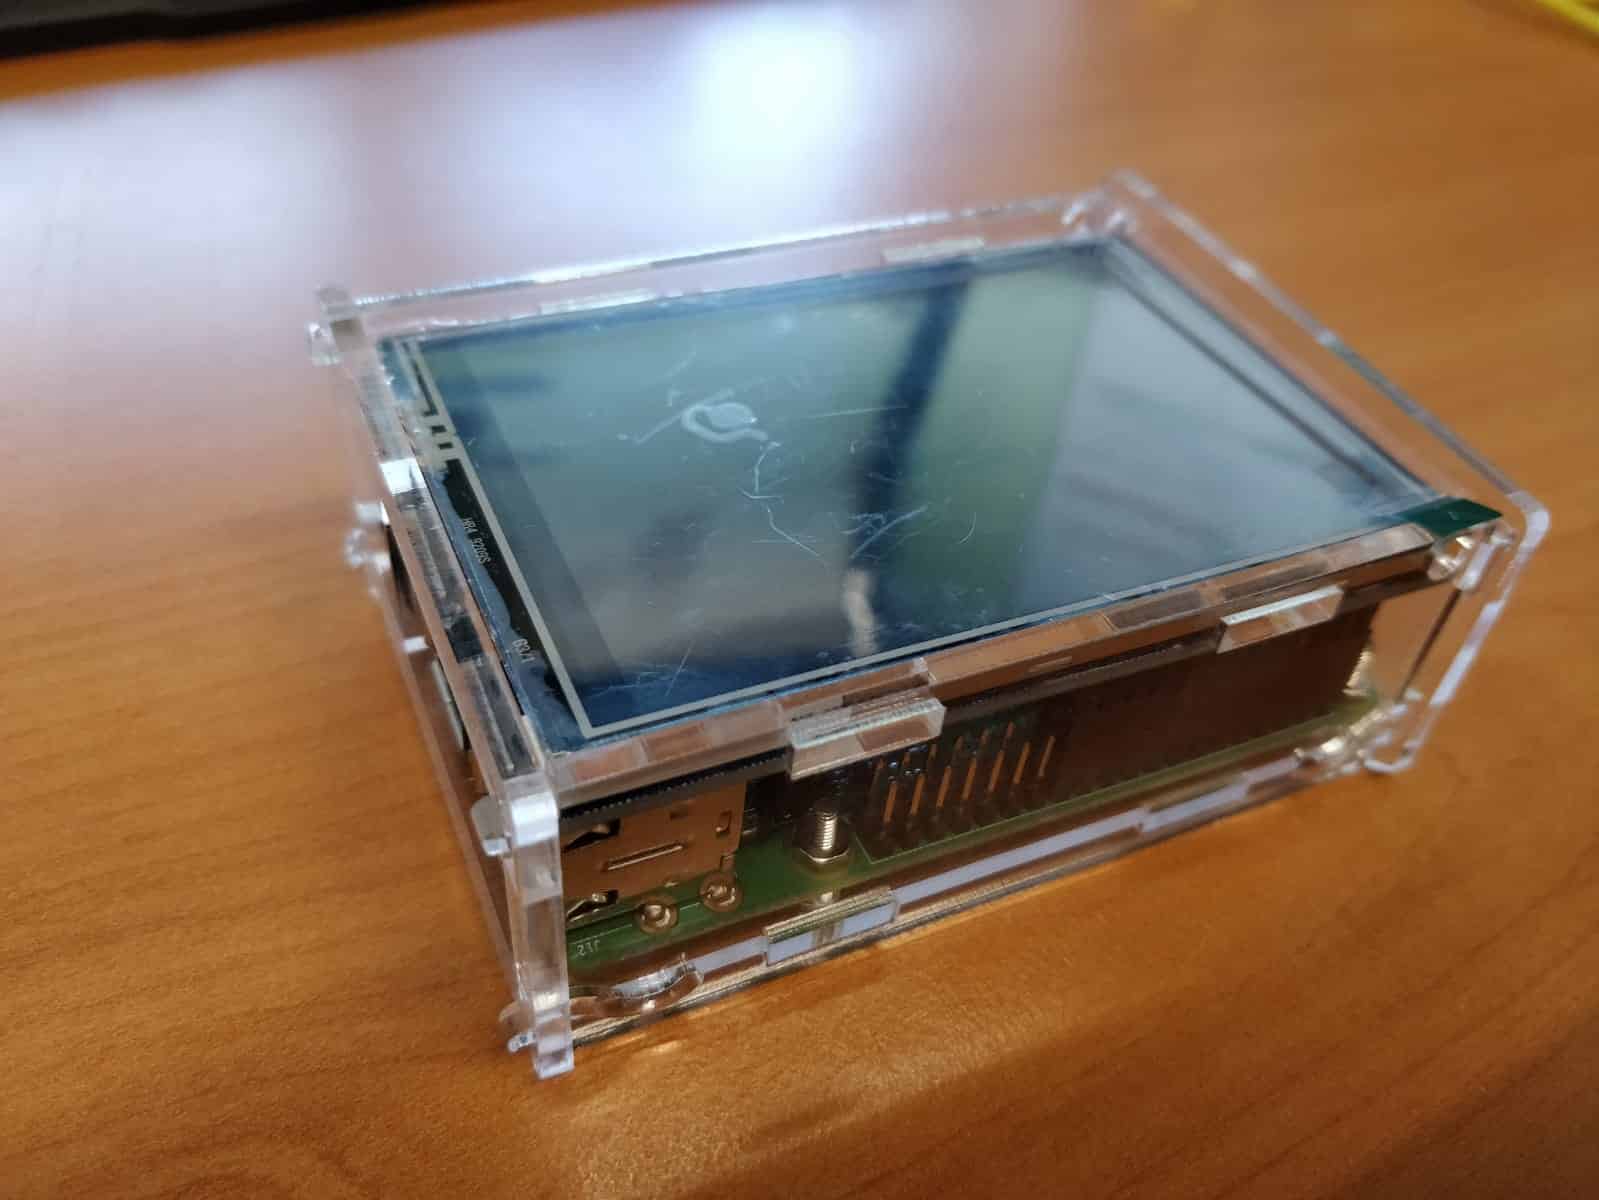
Step 4:
Place the display on the RPI
INSTALL LCD DISPLAY
Introduction
This tutorial is written for users who are more familiar with the Raspberry Pi on Linux.
Step 1: Insert the SD card with Raspbian into the RPI
Step 2: Start the Pi
close the raspberry pi to a monitor using the HDMI cable.
A keyboard & mouse is required for the following steps.
Follow the instructions on the monitor and update it board.
Step 3: Download the driver
Open the terminal.
Put in:
sudo rm -rf LCD-show
git clone https://github.com/goodtft/LCD-show.git
chmod -R 755 LCD-show
cd LCD-show/
sudo ./LCD35-show
The screen should now work.
Step 4: Install virtual keyboard
Open the terminal.
Put in:
sudo apt-get install matchbox-keyboard
You can find the keyboard via: Menu> Accessories> Keyboard & Mouse
Step 5: Calibrate the touchscreen
Open the terminal.
Put in:
sudo apt-get install -y xinput-calibrator
You can now calibrate the display.
To apply the new values, the board do reboot.
Put in:
sudo reboot
Switch between LCD & HDMI
As soon as your LCD Display works, your HDMI output no longer works.
If you still want to work via a monitor, you can activate the HDMI output again.
Put in:
sudo ./LCD-hdmi