
Do you want to use a servo but don't know how? In this project I will tell you everything you need to know about servo motors!
A servo motor is a motor that can make a precise movement using gears. This is done by comparing the control signal that he receives with the reference signal. If they are not equal to each other, the servo motor will move left or right until the difference signal is zero.
Now that you know what a servo is, you can proceed with the wiring and programming.
- Level - Beginner 30%
- Duration - 10/15 Min 30%
- Costs - € 34,40 euros complete 30%
Step 1: Requirements
1X Arduino UNO
1X Servo
3X M / M jumper wires
Step 2: Building and Wiring
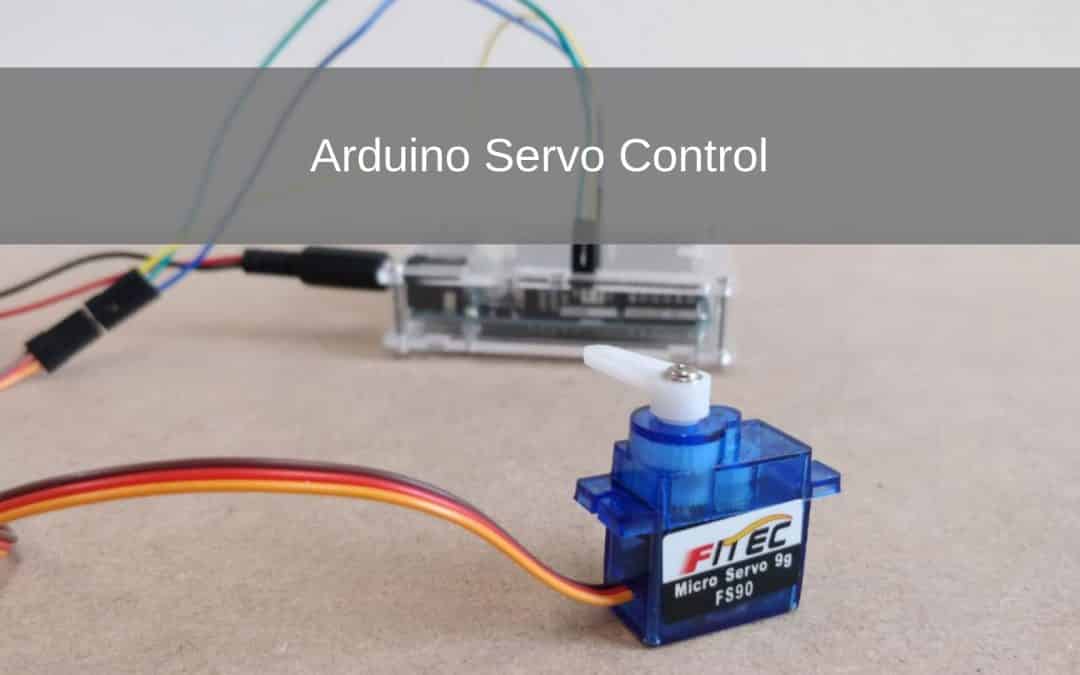
Wiring this project is quite simple.
The 5V goes to the red wire of the servo, the ground goes to the brown wire of the servo and the PWM pin 9 goes to the yellow wire of the servo.
Now you have everything connected.

Step 3: Programming
You can now start programming. We use the Arduino IDE for programming.
Programming this project is quite simple. All you have to take into account is that you have to put the servo library in it. More information can be found in the piezo piano project.
Once the library has been added you can start programming.
Once your code is finished you can test it, your servo should go back and forth. But you can program it to make multiple movements, experiment!
Step 4: Provide serial inputs
To operate the servo you must open the serial monitor. This explains what you need to specify to move the servo.
Hi there.
How can I control a Lego motor with Arduino Uno.
What I wish my Lego motor could run L-R and R-R.
I determine the speed with gears.
Regards,
Andre Onnes.
Dear André,
Below is a link to a project where someone Arduino Uno used to power his Lego motors.
https://create.arduino.cc/projecthub/Notthemarsian/take-control-over-lego-power-functions-ee0bfa
That project uses an L293 Dual H-Bridge motor driver. You can find it here:
https://elektronicavoorjou.nl/product/l293d-dual-h-bridge-motor-driver-ic/
I hope you can move on now.
Good luck with your project!
Yours faithfully,
Simon