
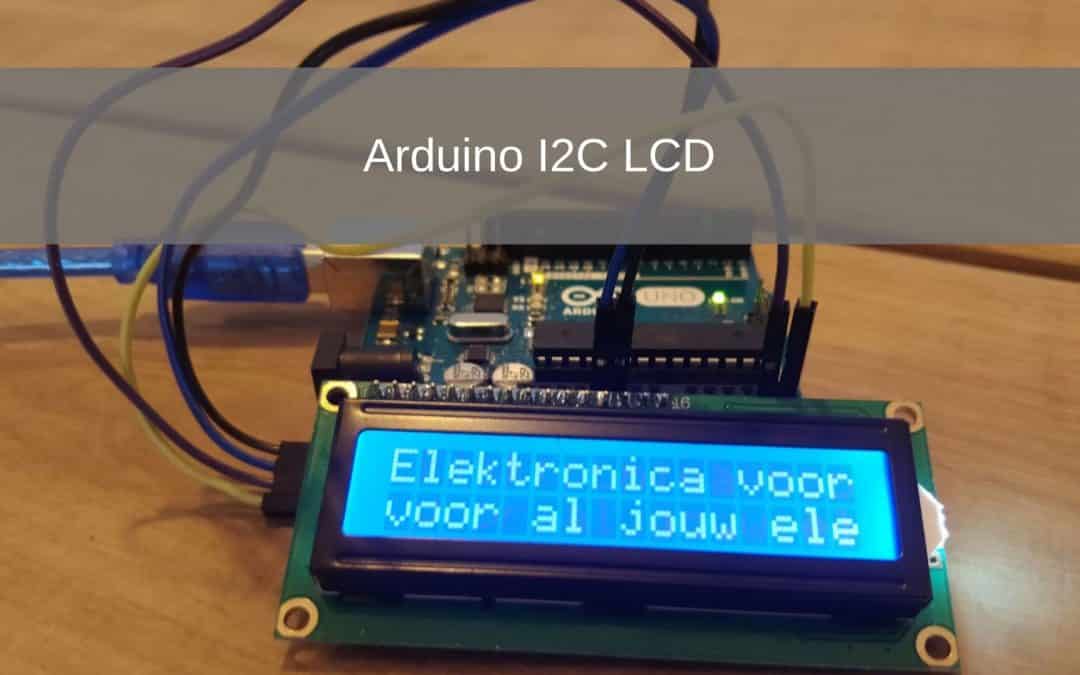
In this project I explain how you can connect an I2C LCD.
I will also show you how to put text on an LCD and how to move it. We connect the display that we use via the I2C on the back, which means that we only need 4 jumper wires.
We also do not need to connect a potentiometer because it is built into the I2C module. We can adjust this by turning it more to the left or more to the right with a screwdriver, by doing this we change the brightness of the screen.
- Level - Beginner 25%
- Duration - 10 / 15Min 25%
- Costs - € 38,95 euros complete 25%
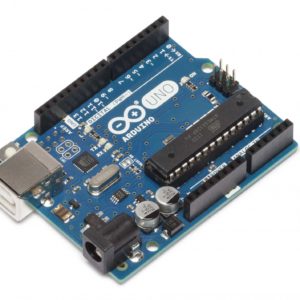
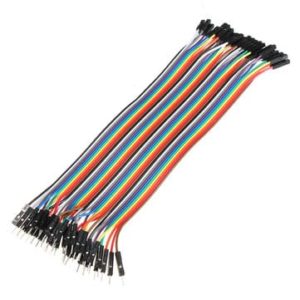
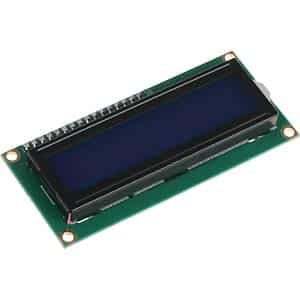
Step 1: Supplies Arduino LCD
Step 2: Building and Wiring
Once you have collected all the parts you can connect them.
To connect the Arduino to the display you have to put a jumper wire of the 5V in the VCC of the display. Once you have done that, do a jumper wire from the GND of the Arduino to the GND of the display. Then connect a jumper wire from A4 to the SDA pin on the screen and a jumper wire from A5 to the SCL pin on the screen.
The reason you use A4 and A5 is because these are the SDA and SCL pins of the Arduino UNO to be. Where A4 is the SDA pin and A5 is the SCL pin.
Once you have connected everything you can proceed to step 3 programming.

Step 3: Programming
Now we start programming.
Make sure you have the LiquidCrystal_I2C library and the Wire library. If you don't have it, your code won't work.
You can add these libraries by pressing sketch when you are in the Arduino IDE. Then select Use Library. Then click on manage library. Once you have done that you will get a pop-up screen, type in the top right of the library you need, for example LiquidCrystal_I2C. Then click install. You have now imported an extra library.
It is a fairly short code where you switch on the screen in the void setup and write the text. In the void loop, the text moves one box to the left every 150 milliseconds. You can change this by, for example, changing the left to right, then it goes from left to right. Whether adjusting the delay is faster or slower.
As soon as you put the code on the Arduino you will see text that moves from right to left.
#include
#include
// here we put all components on a pin
int sensor = A0;
int led1 = 2;
int led2 = 3;
int led3 = 4;
int led4 = 5;
int led5 = 6;
intValue = 0;
void setup () {
// Pins give a pulse
pinMode (led1, OUTPUT);
pinMode (led2, OUTPUT);
pinMode (led3, OUTPUT);
pinMode (led4, OUTPUT);
pinMode (led5, OUTPUT);
}
void loop () {
// Reads A0
Value = analogRead (sensor);
delay (100);
// if true is 110 or higher, light turns on
if (Value> = 110) {
digitalWrite (led1, HIGH);
Else {}
// otherwise he will go out
digitalWrite (led1, LOW);
}
if (Value> = 125) {
digitalWrite (led2, HIGH);
Else {}
digitalWrite (led2, LOW);
}
if (Value> = 140) {
digitalWrite (led3, HIGH);
Else {}
digitalWrite (led3, LOW);
}
if (Value> = 155) {
digitalWrite (led4, HIGH);
Else {}
digitalWrite (led4, LOW);
}
if (Value> = 170) {
digitalWrite (led5, HIGH);
Else {}
digitalWrite (led5, LOW);
}
}
Where can we enter the text? There is now only a blank screen that is lit.
Nice thank you very much.
Borgar Youngman