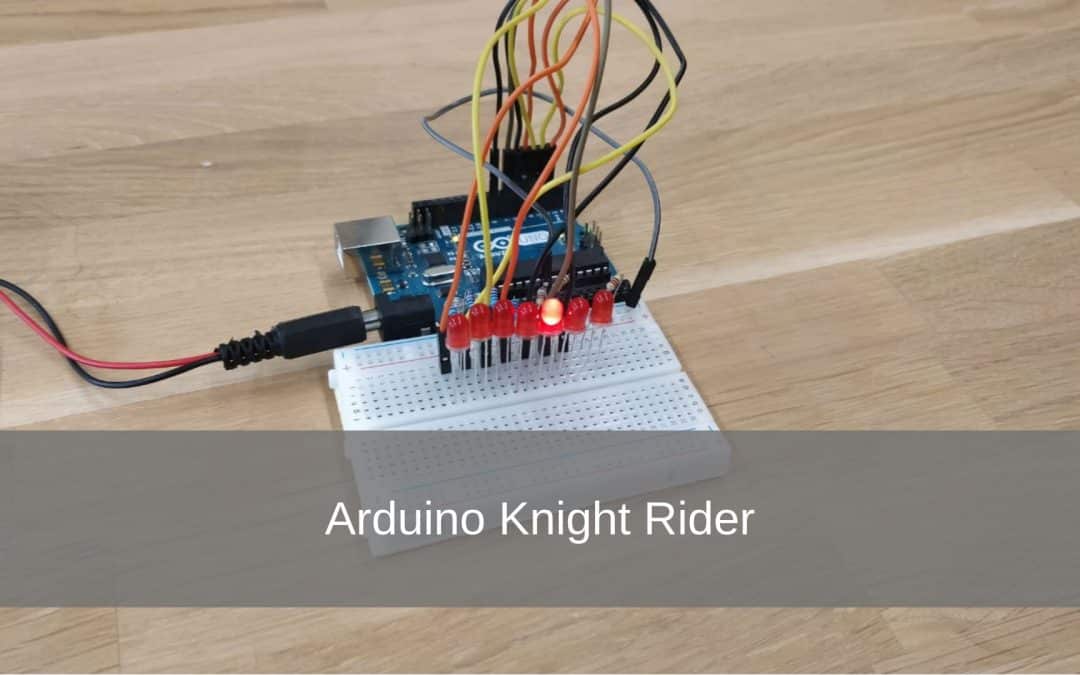
During this project you will learn how to make the moving lights from KITT from the series knight rider.
Knight rider is an '80s series about Michael Knight and a highly advanced car called KITT that fight crime together.
This is a beginner project where you let 7 LES lights go on and off in a smooth moving way.
- Level - Beginner 30%
- Duration - 10/15 Min 30%
- Costs - € 36,51 euros complete 30%
Step 1: Requirements
1X Arduino UNO
1X breadboard
8X jumper wires
7X red LED lights
7X 220 ohm resistors
Step 2: Building and Wiring
When you have collected all the parts you can start assembling the project.
Place the 7 LED lights in the breadboard† On the shortest pin of the led lights the 220 ohm resistors go to the minus of the breadboard.
Then you connect the GND of the arduino to the minus of the breadboard.
Then connect the LED lights to the I / O pins of the Arduino, as follows: The leftmost pin of the LED is connected to port 2 of the Arduino. You connect the next LED to port 3, which then to port 4 and so on.

Step 3: Programming
If you have followed step 2 completely, everything is now connected. This means that you can start programming.
It is a small and fairly simple code where you partly learn how to use an array.
If you have the code in Arduino IDE you can choose to adjust the value of the delay, so the LEDs go off / on faster or slower.
int led[] = {2, 3, 4, 5, 6, 7, 8};
int counter = 0;

void setup(){
  for(counter = 0; counter < 7; counter++){
    pinMode(led[counter], OUTPUT);
  }
}

void loop(){
  for(counter = 0; counter < 7; counter++){
    digitalWrite(led[counter], HIGH);
    delay(25);
    digitalWrite(led[counter + 1], HIGH);
    delay(25);
    digitalWrite(led[counter], LOW);
    delay(25);

  }
  for(counter = 7; counter > 0; counter--){
    digitalWrite(led[counter], HIGH);
    delay(25);
    digitalWrite(led[counter - 1], HIGH);
    delay(25);
    digitalWrite(led[counter], LOW);
    delay(25);
  }
}
Your Knight Rider project should now look something like the video below.