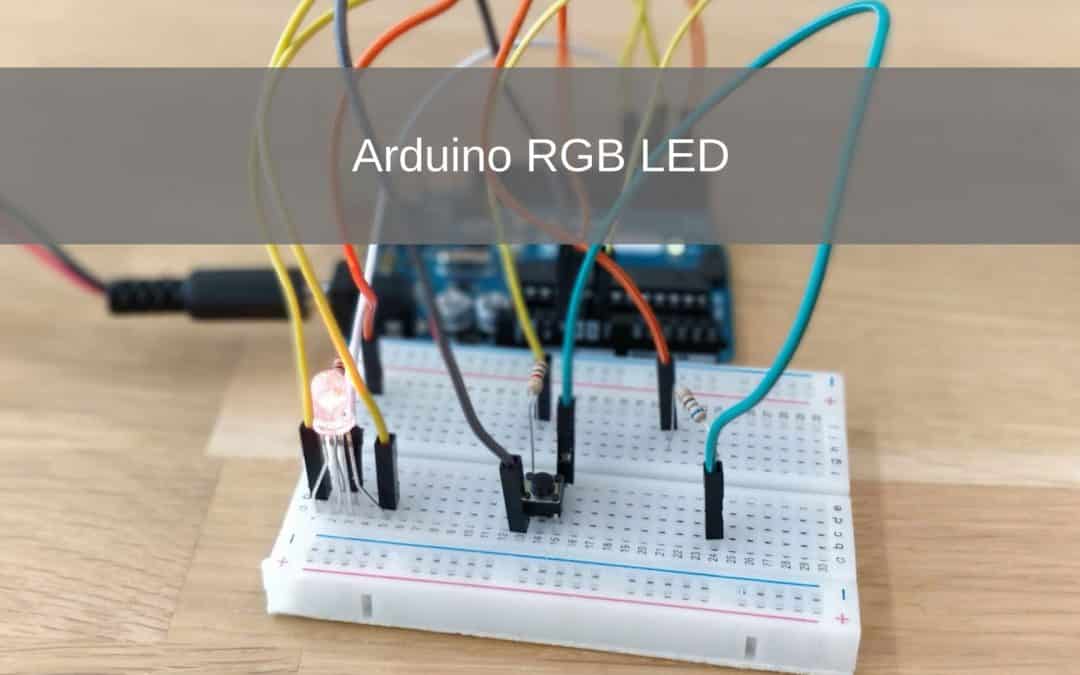
In this project I will show you how to make an RGB LED light that changes color when you press the button.
In this simple project you will learn to change color of an RGB LED with a button. With help from a Arduino UNO
- Level - Beginner 25%
- Duration - 10 / 15Min 25%
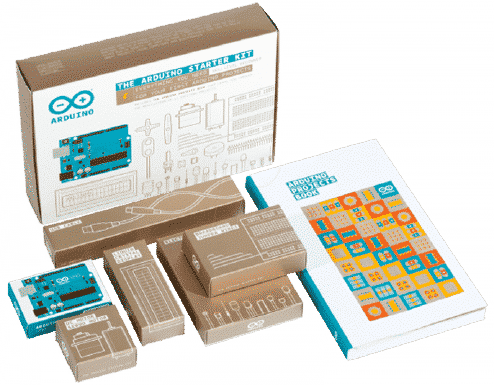
- Costs - € 41,42 euros complete 35%
Step 1: Requirements
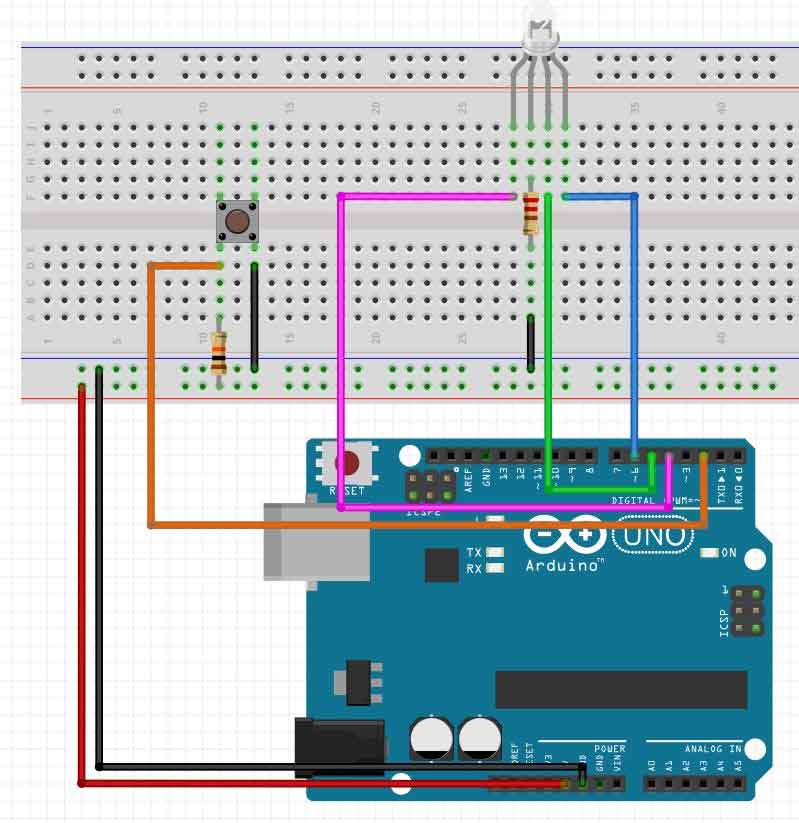
1X Arduino UNO
1x half loafboard
7X jumper wires
1X RGB LED
1X push buttons
Step 2: Building and Wiring
Step 3: Programming
Now that you have finished wiring the project, you can start programming.
It is a relatively simple code, you can adjust it yourself so that it shows a different color pattern than green, blue and red.
But for example purple or yellow.
intbutton = 2;
int led1 = 4;
int led2 = 5;
int led3 = 6;
int count = 0;
void setup () {
pinMode (2, INPUT);
pinMode (4, OUTPUT);
pinMode (5, OUTPUT);
pinMode (6, OUTPUT);
}
void loop () {
if (digitalRead (2) == LOW) {
count + +;
while (digitalRead (2) == LOW);
}
digitalWrite (4, LOW);
digitalWrite (5, LOW);
digitalWrite (6, LOW);
if (count == 1) {
digitalWrite (4, HIGH);
digitalWrite (5, LOW);
digitalWrite (6, LOW);
}
if (count == 2) {
digitalWrite (4, LOW);
digitalWrite (5, HIGH);
digitalWrite (6, LOW);
}
if (count == 3) {
digitalWrite (4, LOW);
digitalWrite (5, LOW);
digitalWrite (6, HIGH);
}
if (count == 4) {
count = 0;
}
}
This code works but still needs to be adjusted to function ideally.
We leave this to you because you will then really start programming!
Logo
EVJ-Arduino Offer

Raspberry 1

Stars