
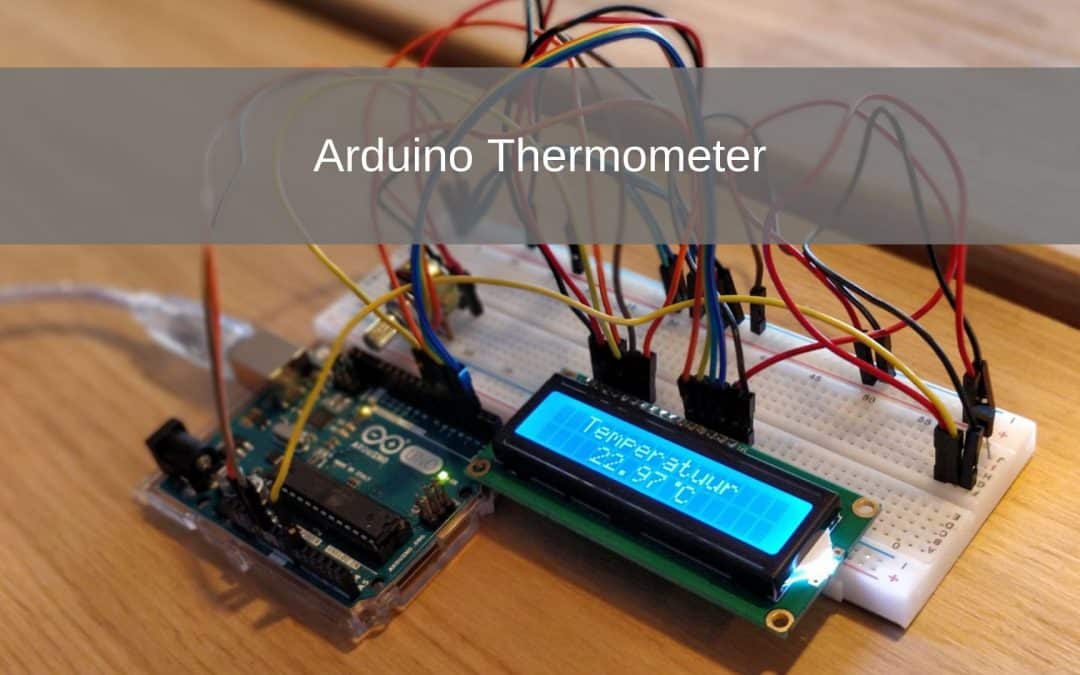
In this project you will learn how to easily make an Arduino thermometer with an LM35.
The Arduino thermometer will show text and temperature on a display.
For this project we use a 16 × 2 LCD display, an LM35 temperature sensor and a Potentiometer. With the temperature sensor we can measure the temperature in Celsius. If you prefer to display the temperature in Fahrenheit or Kelvin, that is of course also possible. The potentiometer is used to change the brightness of the LCD display.
- Level - Basic Present in several = 15%
- Duration - 10/20 Min Present in several = 15%
- Costs - € 46.40 euros complete Present in several = 30%
Step 1: Supplies Arduino thermometer
Step 2: Building and Wiring
Now we are going to build the project
Place the components as shown in the above drawing. Once you have done this you can start wiring. It is important that you connect the correct components to the correct Arduino pins, otherwise the code will not work!
Note: If you connect the LM35 the wrong way round, it will not work. It will also get very hot and can break.
LM35 -> Arduino Uno
VCC -> 5V
VOUT -> pin A0
GND -> GND
LCD -> Arduino Uno
VSS -> GND
VDD -> 5V
VO -> potentiometer signal
RS -> pin 7
RW -> GND
E -> pin 6
D4 -> pin 5
D5 -> pin 4
D6 -> pin 3
D7 -> pin 2
A -> 5V
K -> GND

Step 3: Programming
Now that you're done wiring and building your Arduino thermometer, it's time to start programming the Arduino Uno.
You can then completely copy and paste the code below into the Arduino IDE.
Upload the code to the Arduino Uno and see if it works.
If all goes well, the LCD screen will be lit and the correct text will appear here.
With the potentiometer you can change the brightness of the LCD display.
If so, the LCD screen is on but nothing indicates you have to turn the potentiometer to the left or right.
/*Elektronicavoorjou.nl Project Digital Thermometer
Supplies Arduino Uno
16X2 LCD Display
LM35 Temperature sensor
10K potentiometer
19 Jumper wires
*/
/ * Start code8 * /
#include
LiquidCrystal LCD (7,6,5,4,3,2);
#define sensor A0
unsigned char degree [8] = {0b00011, 0b00011, 0b00000, 0b00000, 0b00000, 0b00000, 0b00000, 0b00000};
void setup () {
lcd.begin (16,2);
lcd.createChar (1, degree);
lcd.setCursor (0,0);
lcd.print ("Electronics");
lcd.setCursor (0,1);
lcd.print ("For You");
delay (4000);
lcd.clear ();
lcd.setCursor (0,0);
lcd.print (“Digital”);
lcd.setCursor (0,1);
lcd.print (“Thermometer”);
delay (4000);
lcd.clear ();
}
void loop () {
/*Temperature*/
float reading = analogRead (sensor);
float temperature = reading * (5.0 / 1023.0) * 100;
delay (10);
/ * Display * /
lcd.clear ();
lcd.setCursor (2,0);
lcd.print (“Temperature”);
lcd.setCursor (4,1);
lcd.print (temperature);
lcd.write (1);
lcd.print (“C”);
delay (1000);
}
You now have a working Arduino Thermometer!
Which arduino version do you need for this project?