Joy-it Sand Clock Kit with Raspberry Pico
€49,95 /€41,28 excl. VAT
16 in stock
- Free shipping from € 74,95 NL. (€ 99,95 BE / DE)
- Ordered before 16:00 tomorrow Indoor
- Express ordered before 10:30 am tonight at home*
- 14 days free return *
- Can also be collected from us in Leusden!
Description Joy-it Sand Clock Kit with Raspberry Pico
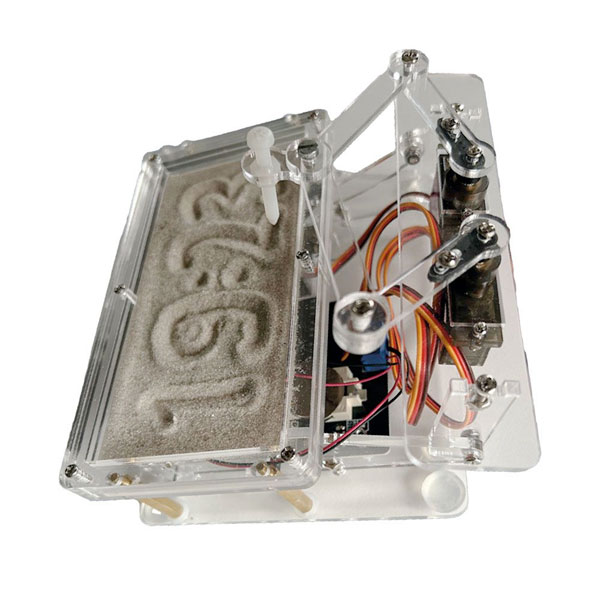
The Joy-it Sand Clock Kit is a creative and educational building kit. With this package you can build a unique hourglass. It uses sand to show time. The time is written by servo motors. The time is cleared by vibration motors. The assembly is educational. The package is ideal for hobbyists and technicians.
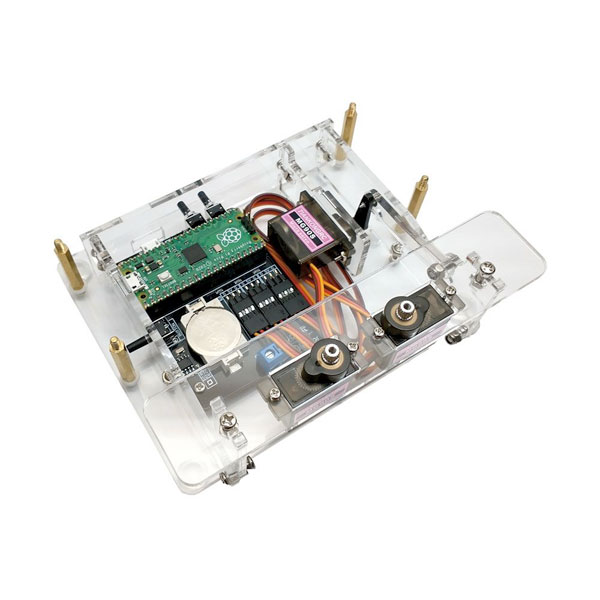
De Raspberry Pico is included. The construction time is approximately 1,5 to 2 hours. The dimensions of the clock are 135 x 110 x 80 mm. The total weight is 450 g. In the kit you will find everything you need: housing, mounting material, main board, motors, battery, Raspberry Pi Pico, sand, and a USB cable. This kit combines technology with design. It is perfect for learning about mechanics and electronics.
Features Joy-it Sand Clock Kit with Raspberry Pico
-
Creative Construction Kit: A unique hourglass with an interactive design.
-
Technology: Used Raspberry Pi Pico for the controls.
-
Assembly: Ideal for technicians and hobbyists.
-
Construction time: About 1,5 to 2 hours.
-
Dimensions: Compact at 135 x 110 x 80 mm.
-
Weight: 450 grams, sturdy and durable.
-
Content: Includes acrylic housing, mounting hardware, main board, 2 vibration motors, 3 servo motors, RTC battery, sand and a USB cable.
-
Educational: Perfect for learning about mechanics and electronics.


Henk Wullems (verified owner) -
Although the manual indicates 1.1 2024, it appears, among other things, that the version of the Raspberry Pi Board not 3.30 but already 8 versions later... luckily there is plenty of support on the internet with videos that make it much clearer. The USB cable is also not a success. Of course it works fine if nothing has been built in yet, but if the frame is placed around the pico, the USB connection is bad... the plastic covering of the cable is against the frame and therefore the connection is bad. Fortunately, I had a USB cable with a longer (metal) connection.